Burp Suite Primer
P.Leclercq in Security 2024-11-10 technology

Burp Suite Primer
Introduction
This article will deviate a little from the previous content to describe an offensive tool used to test a website security.
Burp Suite is a graphical tool for testing Web application security.
The tool is written in Java and is cross-platform. It was created by Dafydd Stuttard, author of The Web Application Hacker’s Handbook, a reference in web application and penetration testing, and is now sold and supported by his English company, PortSwigger Web Security.
Burp Suite is currently available in three editions:
- Community — free version, installed by default in Kali Linux.
- Professional — adds automation and advanced testing tools, costing around 449 €/year/user.
- Enterprise — meant for continuous scanning, includes a cloud-maintained option, starting at around 4000 €/year.
The Community Edition is available for download at the PortSwigger website.
Burp is a web proxy, inserting itself between your browser and the target website. By default, it listens on port 8080 on the loopback interface. To use it, you should therefore configure your browser to use a proxy on localhost:8080.
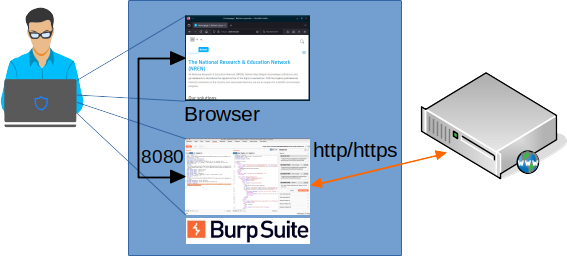
Sitting between your browser and the target website, Burp allows you to intercept, view and modify web requests and responses.
Monitoring web traffic
The following description is based on the free Community Edition.
Starting Burp Suite
From the menu, start Burp Suite.
The first screen opens, and warns you that the Community Edition cannot store your project settings on disk.
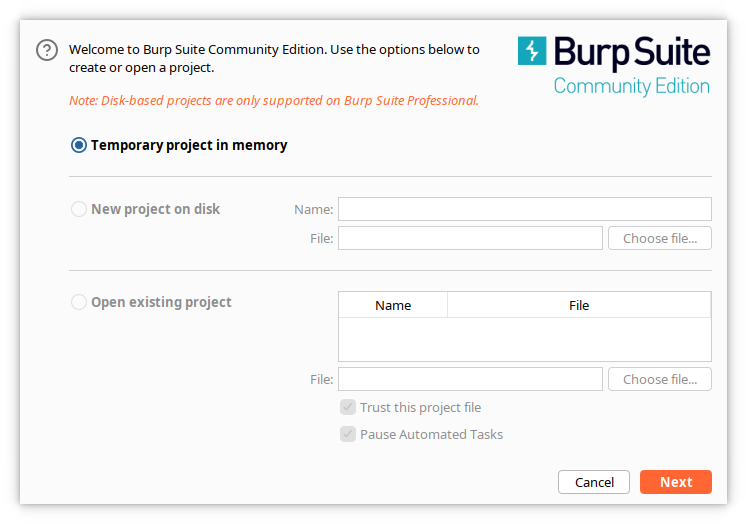
Click Next. Burp now asks for a configuration file.
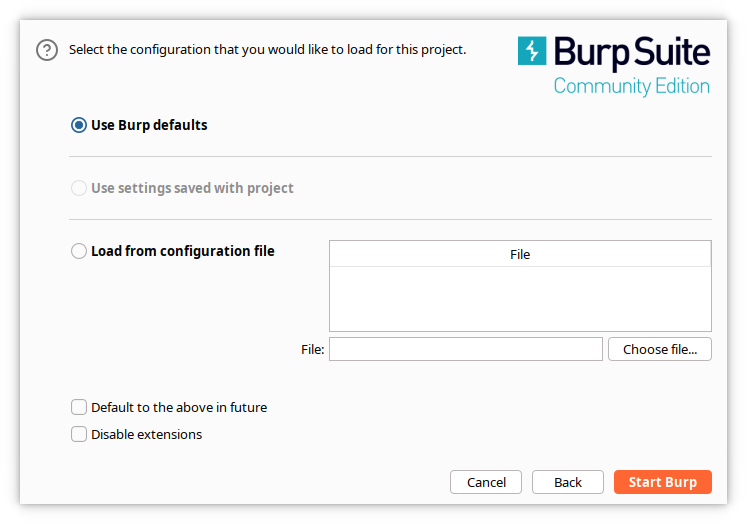
Click Start Burp. The Dashboard screen opens.
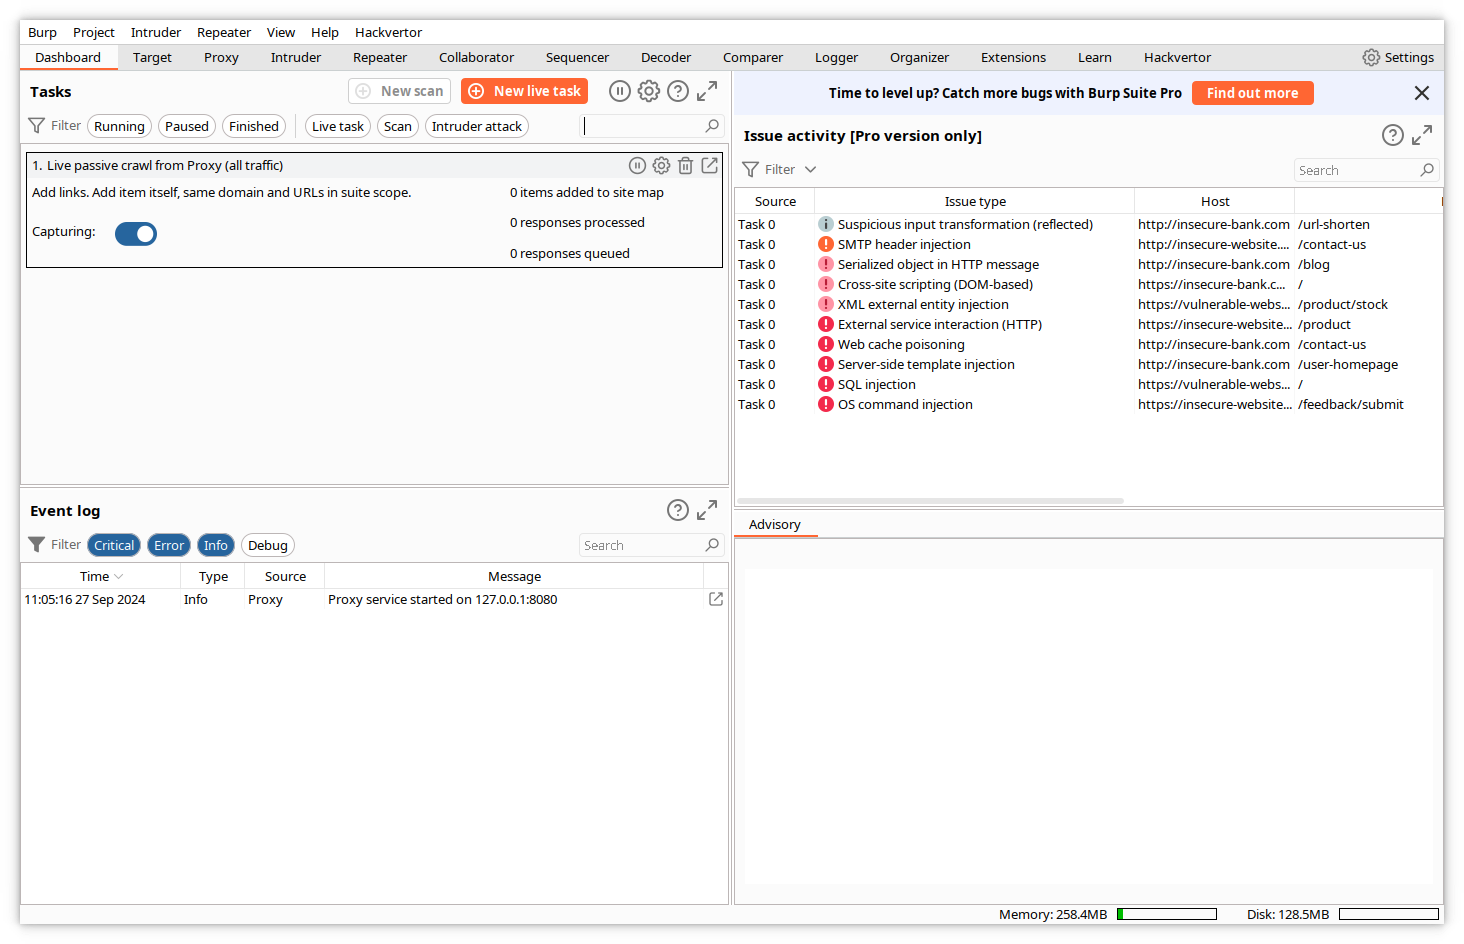
This screen is mainly useful for the Pro edition. Click on Proxy->Intercept in the top menu.
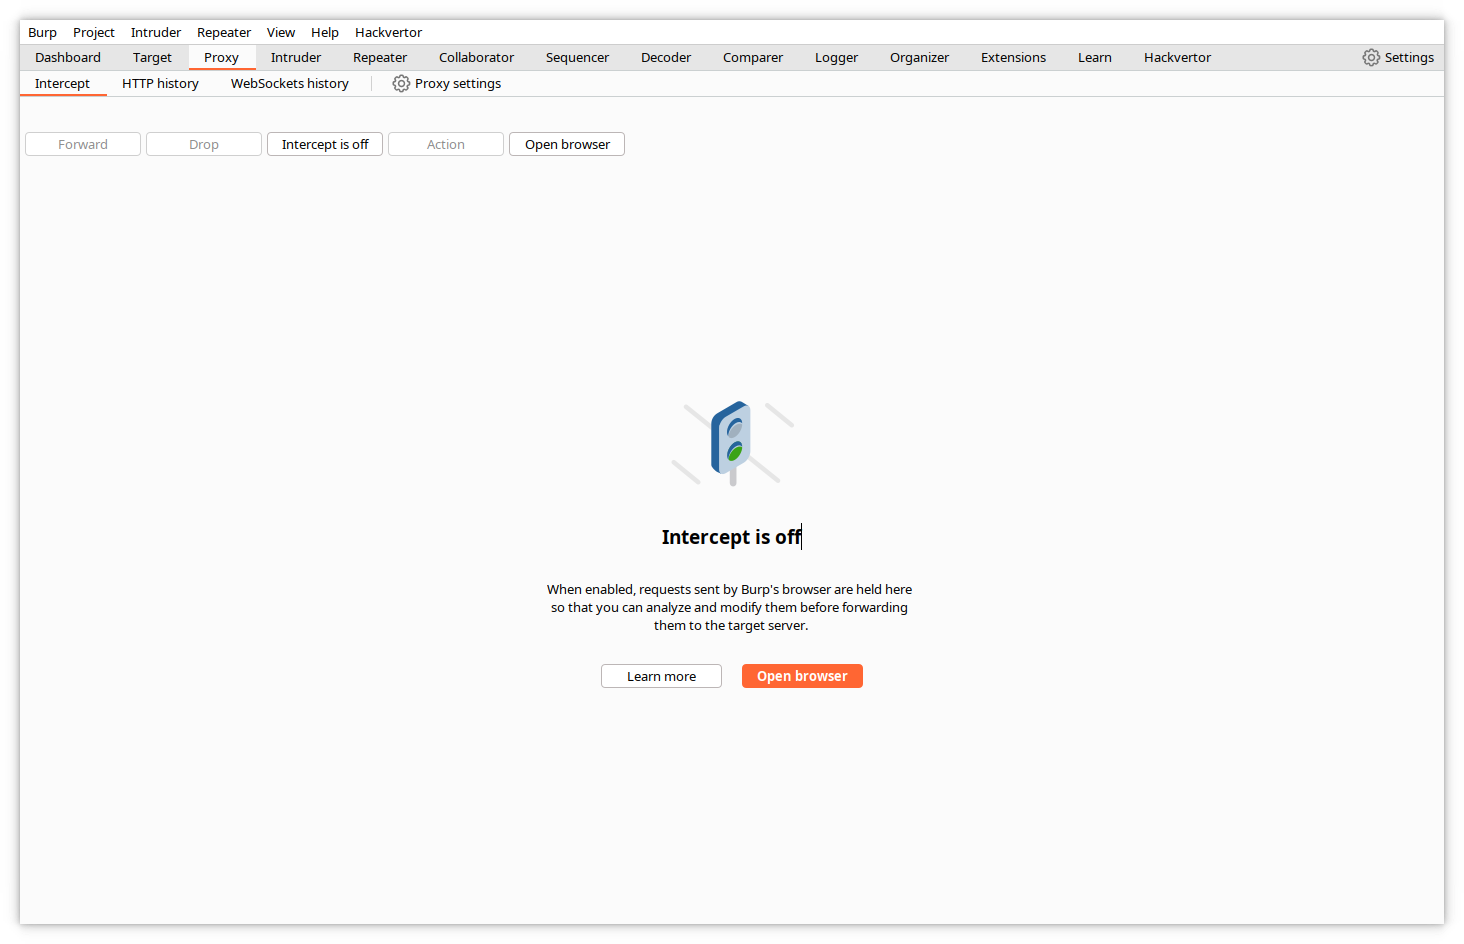
This screen informs you that the Intercept function is currently off, i.e. Burp would let the web traffic flow transparently without interacting with it. Click on Open browser. Burp Suite includes a Chrome/Chromium browser, preconfigured to use Burp as a proxy. This avoids the need to modify the settings of your regular browser. The browser opens in a separate window, with a preconfigured Portswigger page.
| Burp window | Browser window |
|---|---|
 |
 |
Capturing traffic
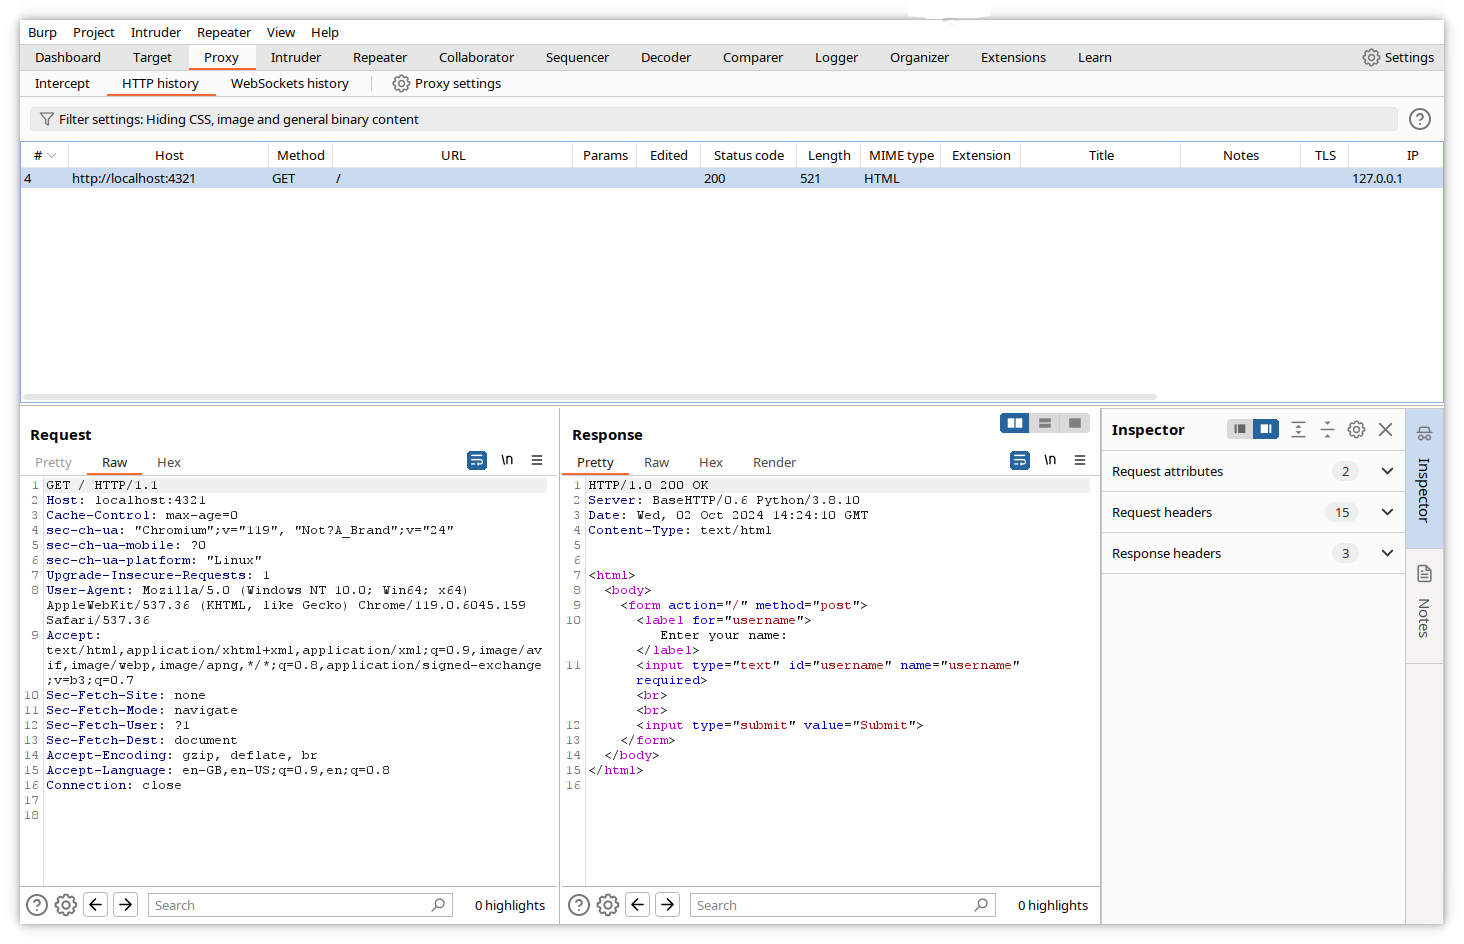
Click on HTTP history. If you enter an URL in the address bar of the browser, Burp will now display all traffic between the just opened browser and the requested URLs in this window.
The top pane will display a summary of all exchanges, and the bottom pane will display the details of the HTTP requests and responses pertaining to the highlighted exchange.
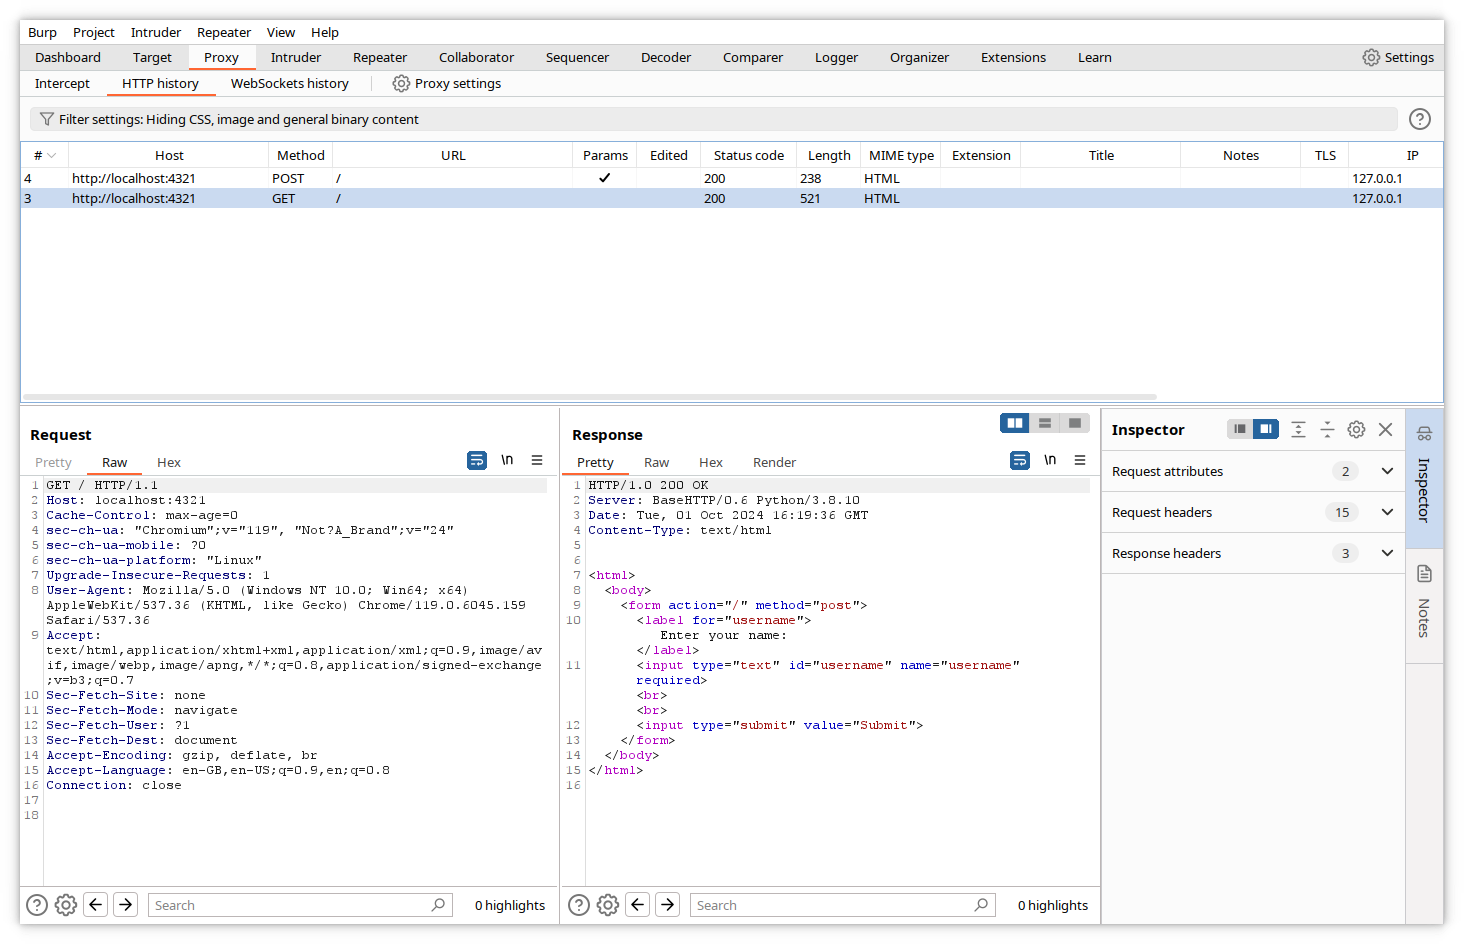
The captured data for the request contain the HTTP request type (GET), the requested path (/) and the complete headers (Host, Cache-Control, User-Agent, accepted document types…), the cookies and the variable values (for POST requests).
The data for the response contain the HTTP answer code (200), the headers, the cookies and the complete page code.
Logging traffic
By default, BURP logs traffic into memory. You can modify the project settings to have it write to a logfile.
Click on the gear icon - Settings in the top right of the Burp window, then in the left column, click on Project -> Logging.
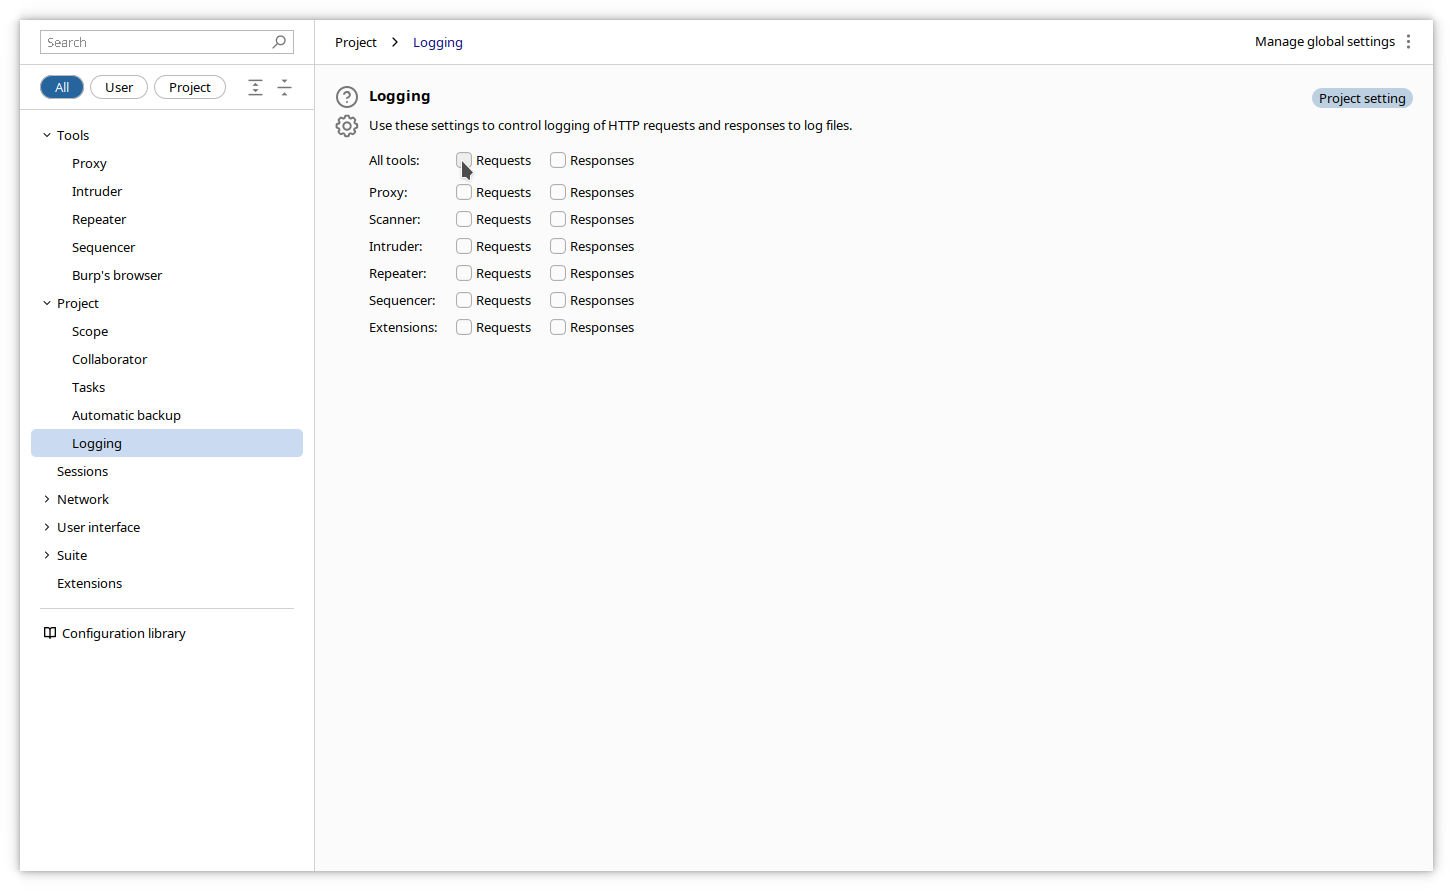
Click on the checkbox corresponding to your desired logging source (usually All tools), and you will be prompted to enter the logfile directory and name (after your first click). Click again on the other options to be included in the logging.
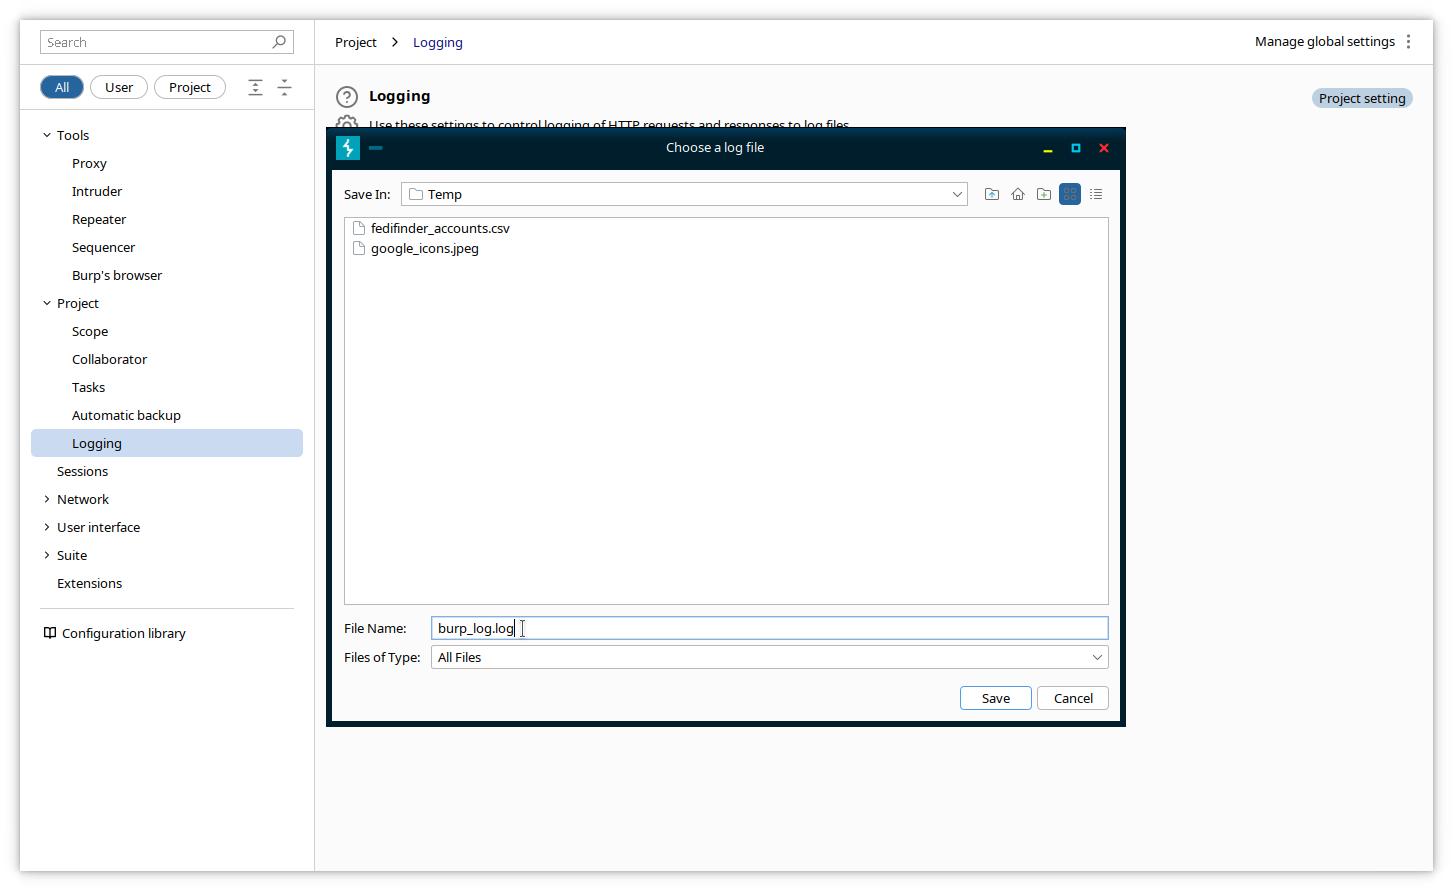
Close the Settings window. Subsequent traffic will be logged to the logfile until you close Burp or you revert the settings by deselecting the Requests and Responses checkboxes in the Settings->Project->Logging page.
Here is an excerpt of a logfile:
======================================================
7:03:15/PM  http://localhost:4321  [127.0.0.1]
======================================================
GET / HTTP/1.1
Host: localhost:4321
sec-ch-ua: "Chromium";v="119", "Not?A_Brand";v="24"
sec-ch-ua-mobile: ?0
sec-ch-ua-platform: "Linux"
Upgrade-Insecure-Requests: 1
User-Agent: Mozilla/5.0 (Windows NT 10.0; Win64; x64) AppleWebKit/537.36 (KHTML, like Gecko) Chrome/119.0.6045.159 Safari/537.36
Accept: text/html,application/xhtml+xml,application/xml;q=0.9,image/avif,image/webp,image/apng,*/*;q=0.8,application/signed-exchange;v=b3;q=0.7
Sec-Fetch-Site: none
Sec-Fetch-Mode: navigate
Sec-Fetch-User: ?1
Sec-Fetch-Dest: document
Accept-Encoding: gzip, deflate, br
Accept-Language: en-GB,en-US;q=0.9,en;q=0.8
Connection: close


======================================================
HTTP/1.0 200 OK
Server: BaseHTTP/0.6 Python/3.8.10
Date: Tue, 01 Oct 2024 17:03:15 GMT
Content-Type: text/html


            <html>
                <body>
                    <form action="/" method="post">
                        <label for="username"> Enter your name: </label>
                        <input type="text" id="username" name="username" required><br><br>
                        <input type="submit" value="Submit">
                    </form>
                </body>
            </html>

======================================================
Intercepting traffic
The main interest of Burp is that it can intercept traffic from the browser, and allows you to modify it before delivering it to its target.
Let’s first execute a transaction on a basic website that simply asks for your name and greets you by your name.
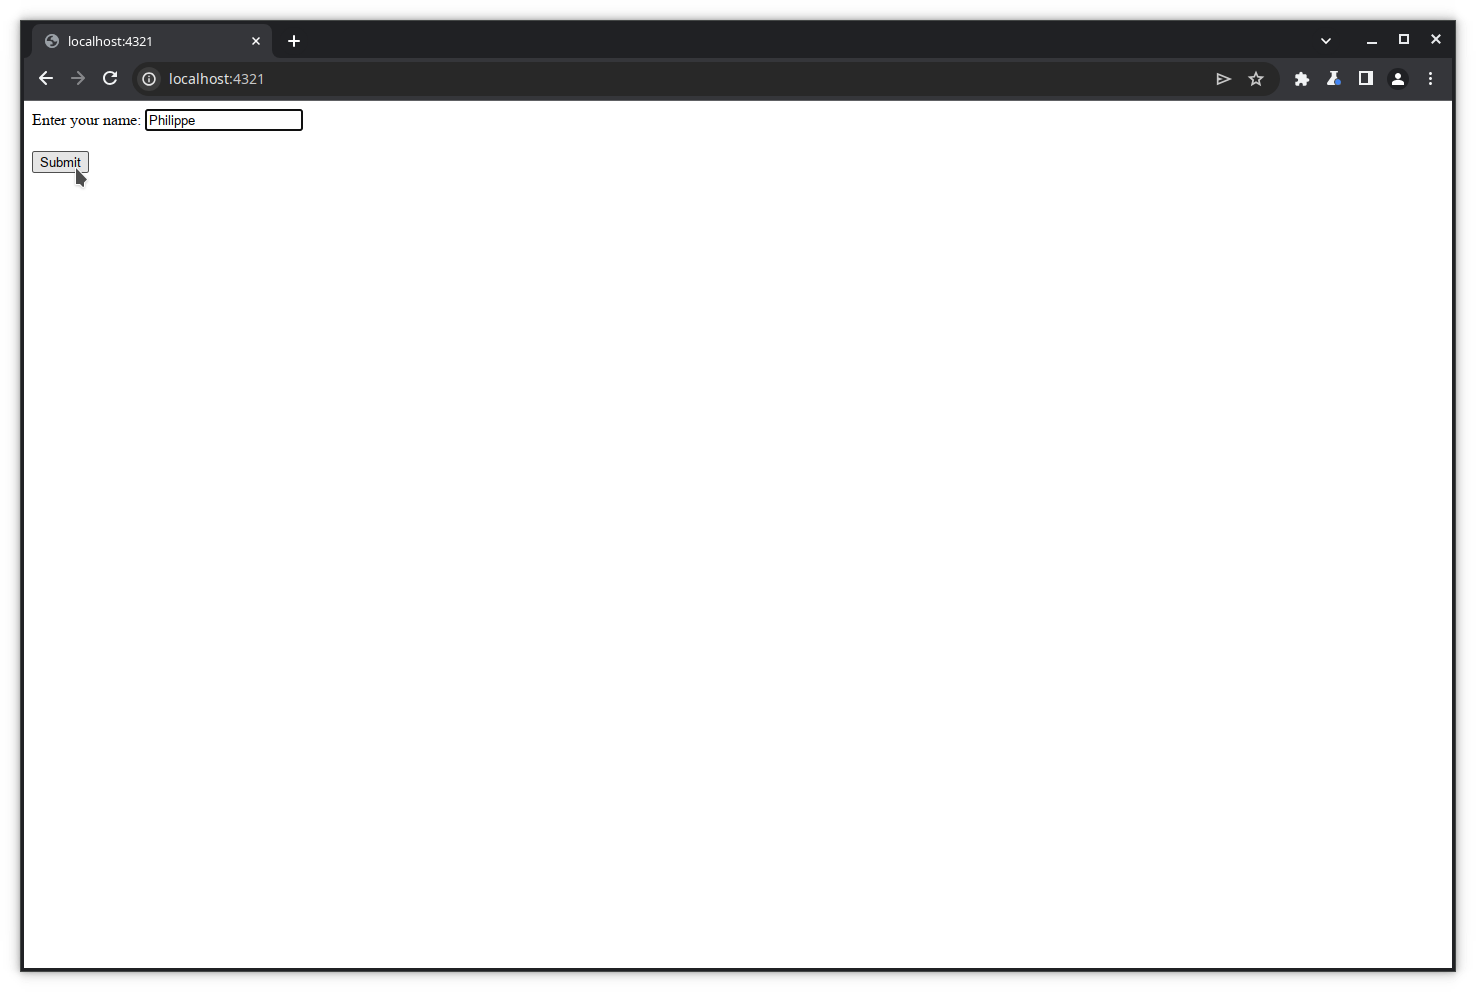
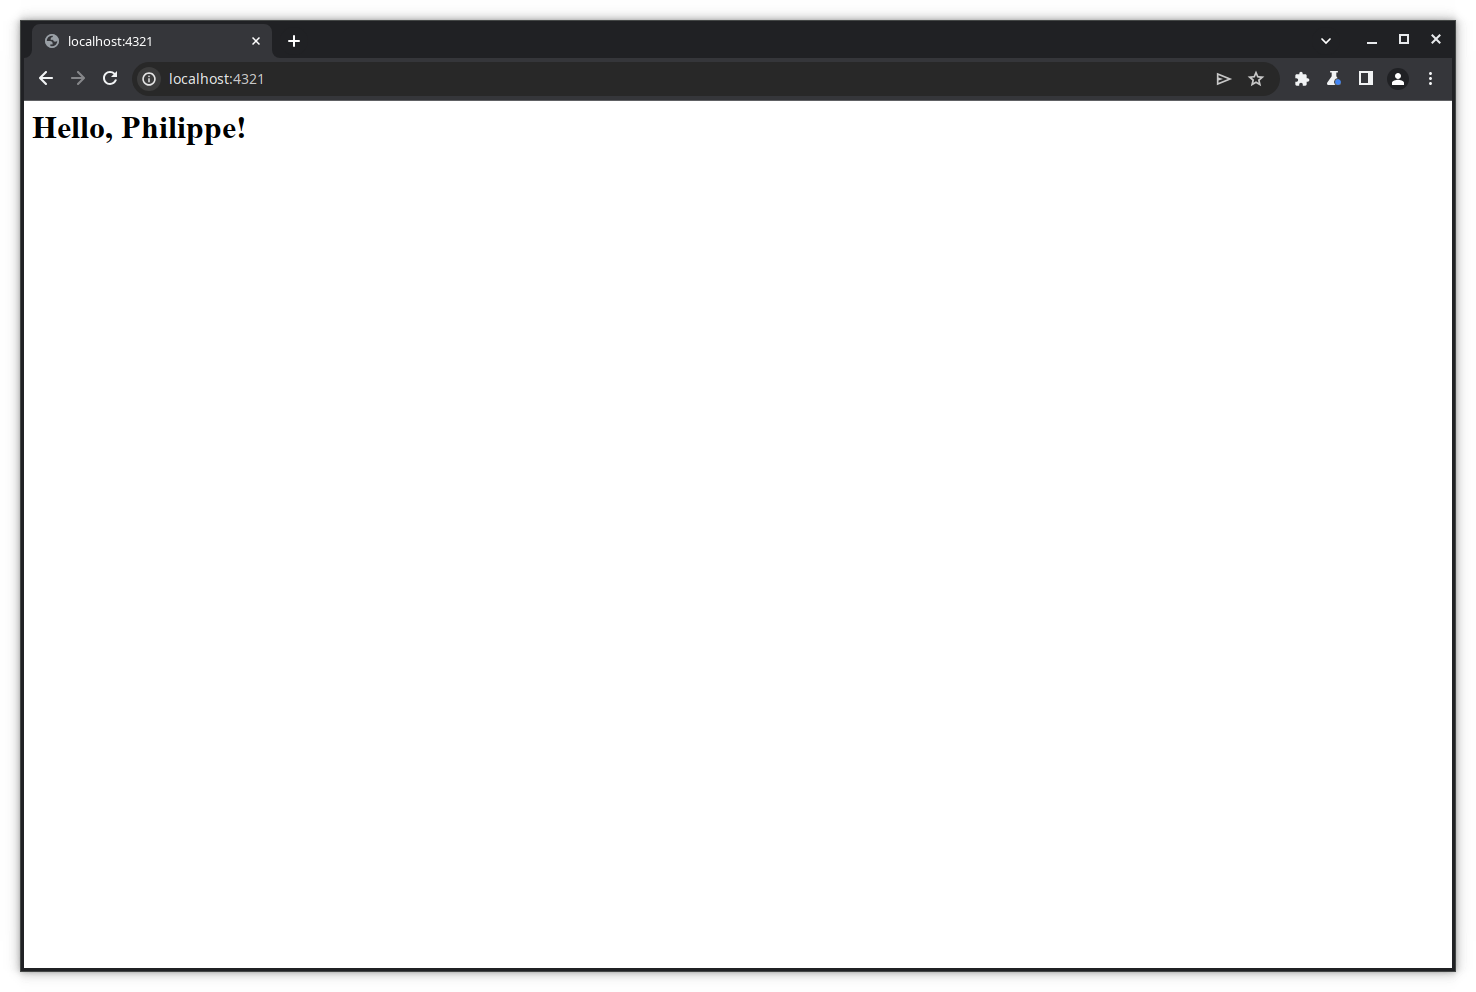
We will now modify the data sent by the POST request.
To enable interception, click on Proxy->Intercept, and click on the Intercept is off toggle.
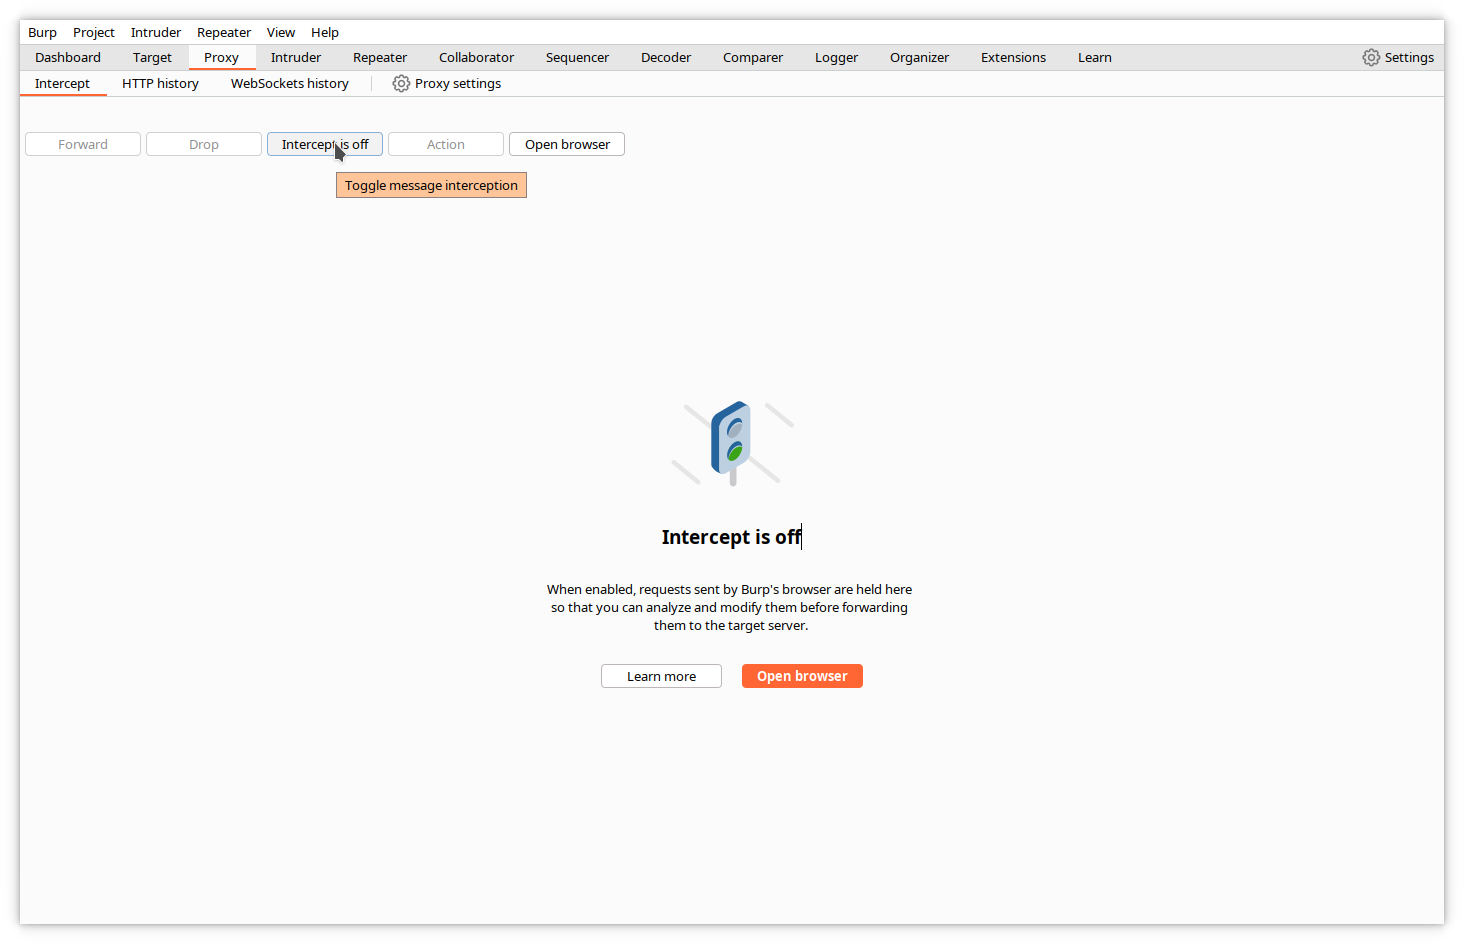
Burp will signal you that intercept is on.
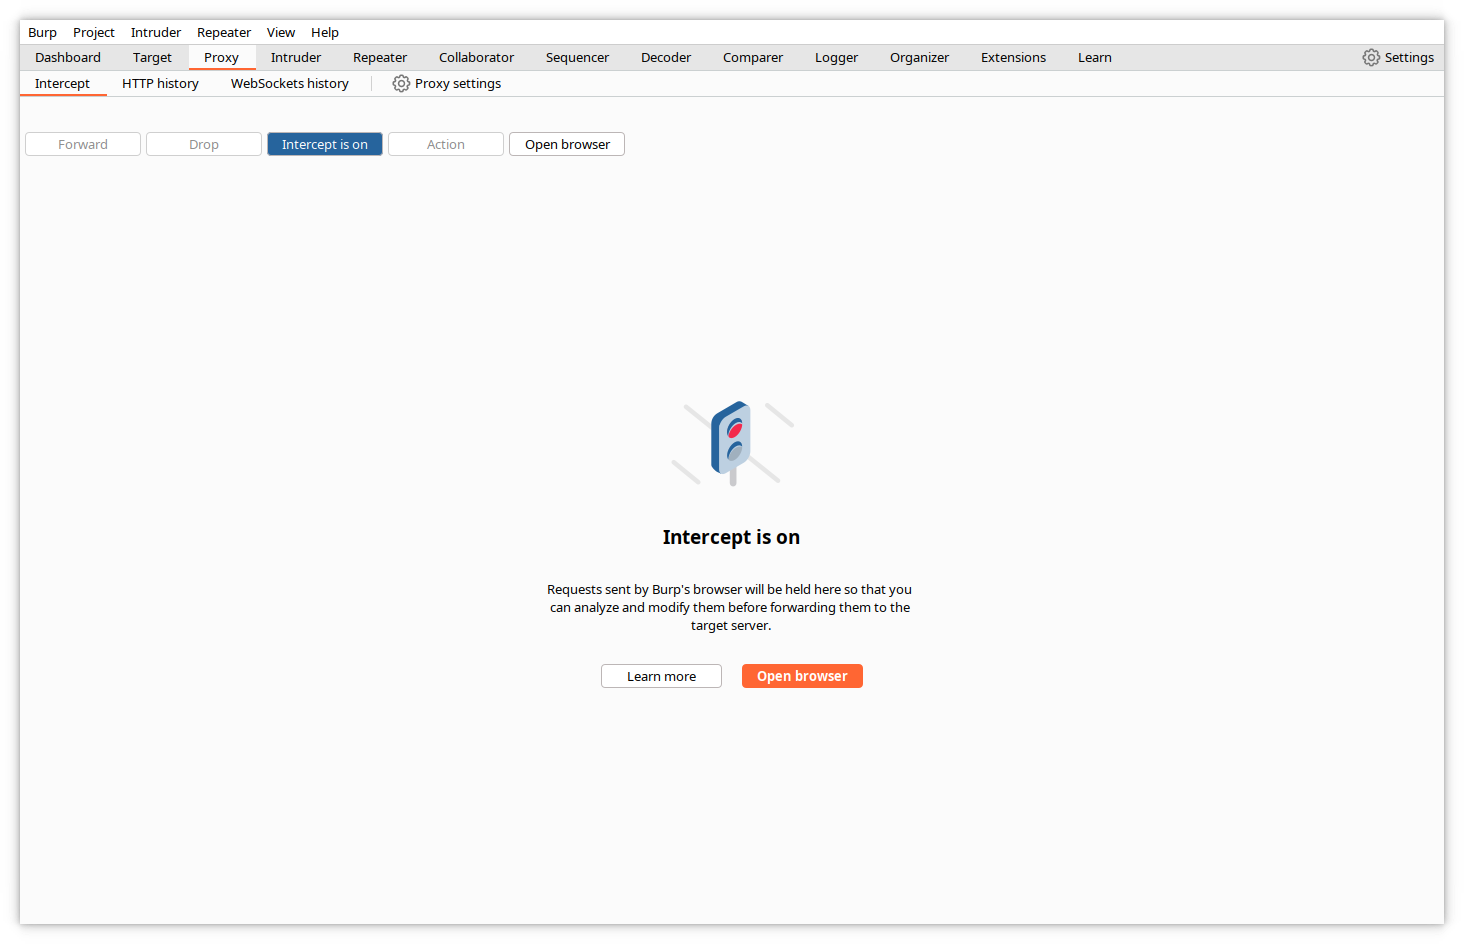
Starting from now, Burp will first buffer every request sent by the browser, will allow you to examine and modify the content, and will wait for you to press the forward button to deliver it.
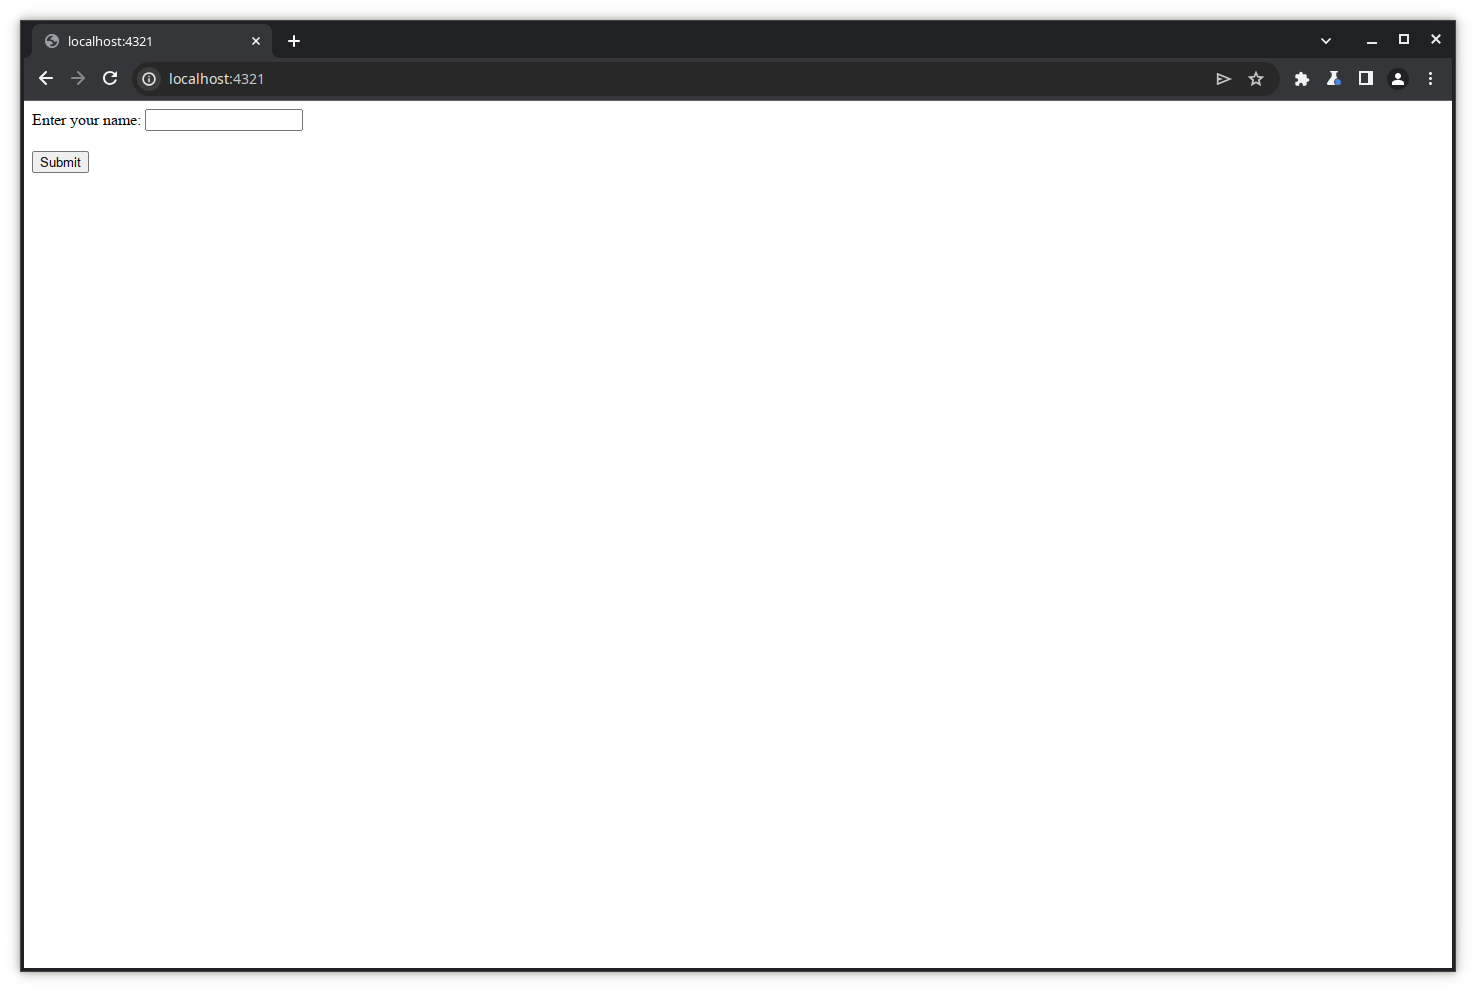
Let’s start with a fresh browser. Type your target URL in the address bar and press

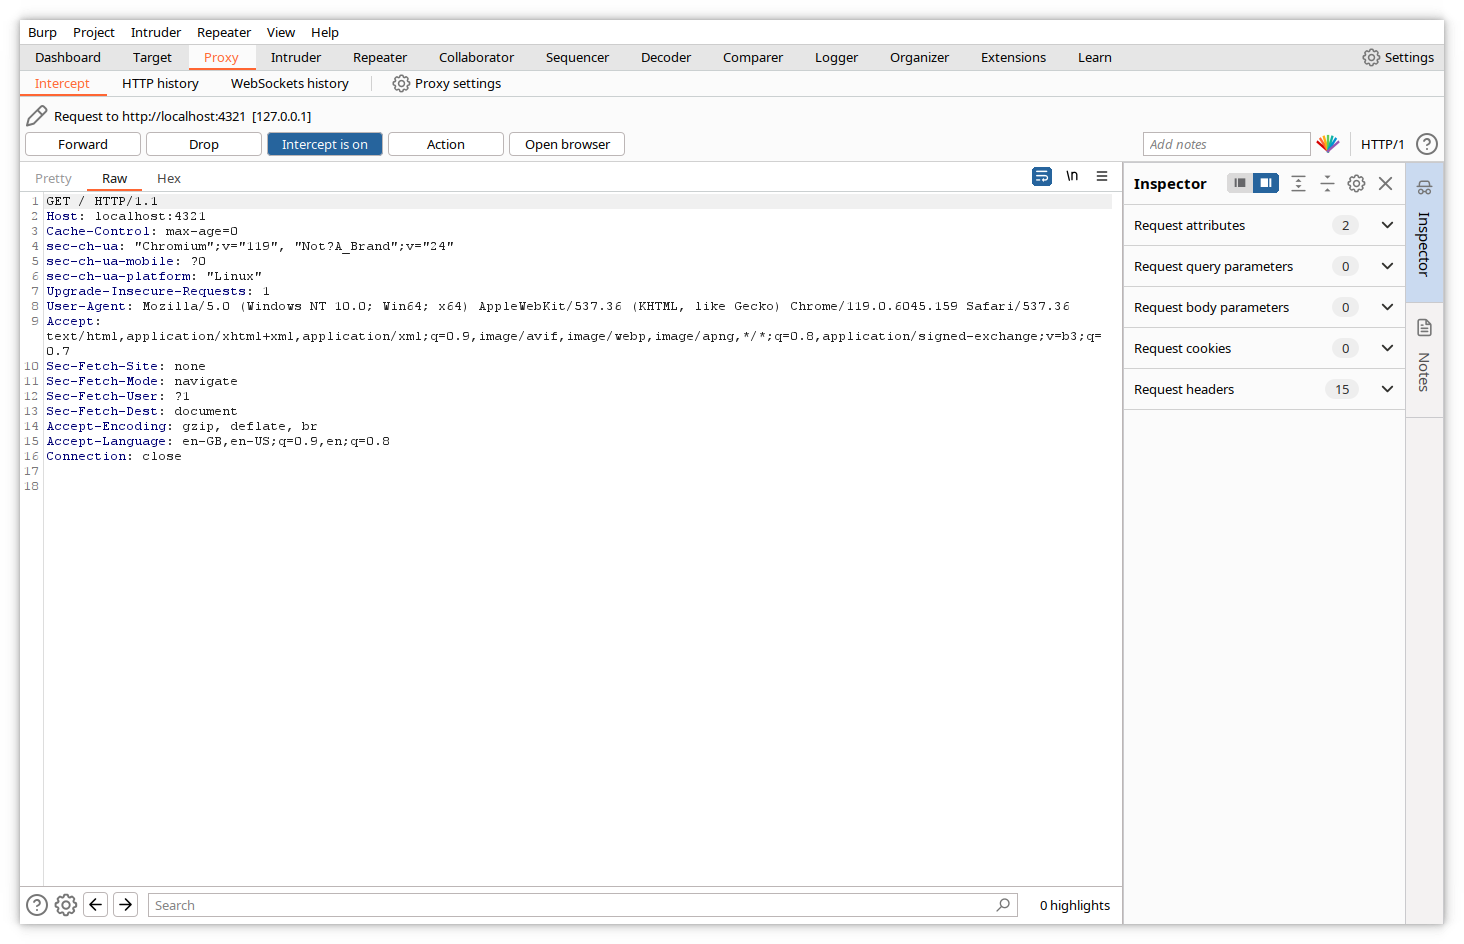
Click Forward in the Burp window to forward the request to the website.
The request is sent to the website, and the response is received by the browser.
Click on the HTTP History tab to visualize the traffic.
Let’s enter some name in the form’s text box and click Submit.
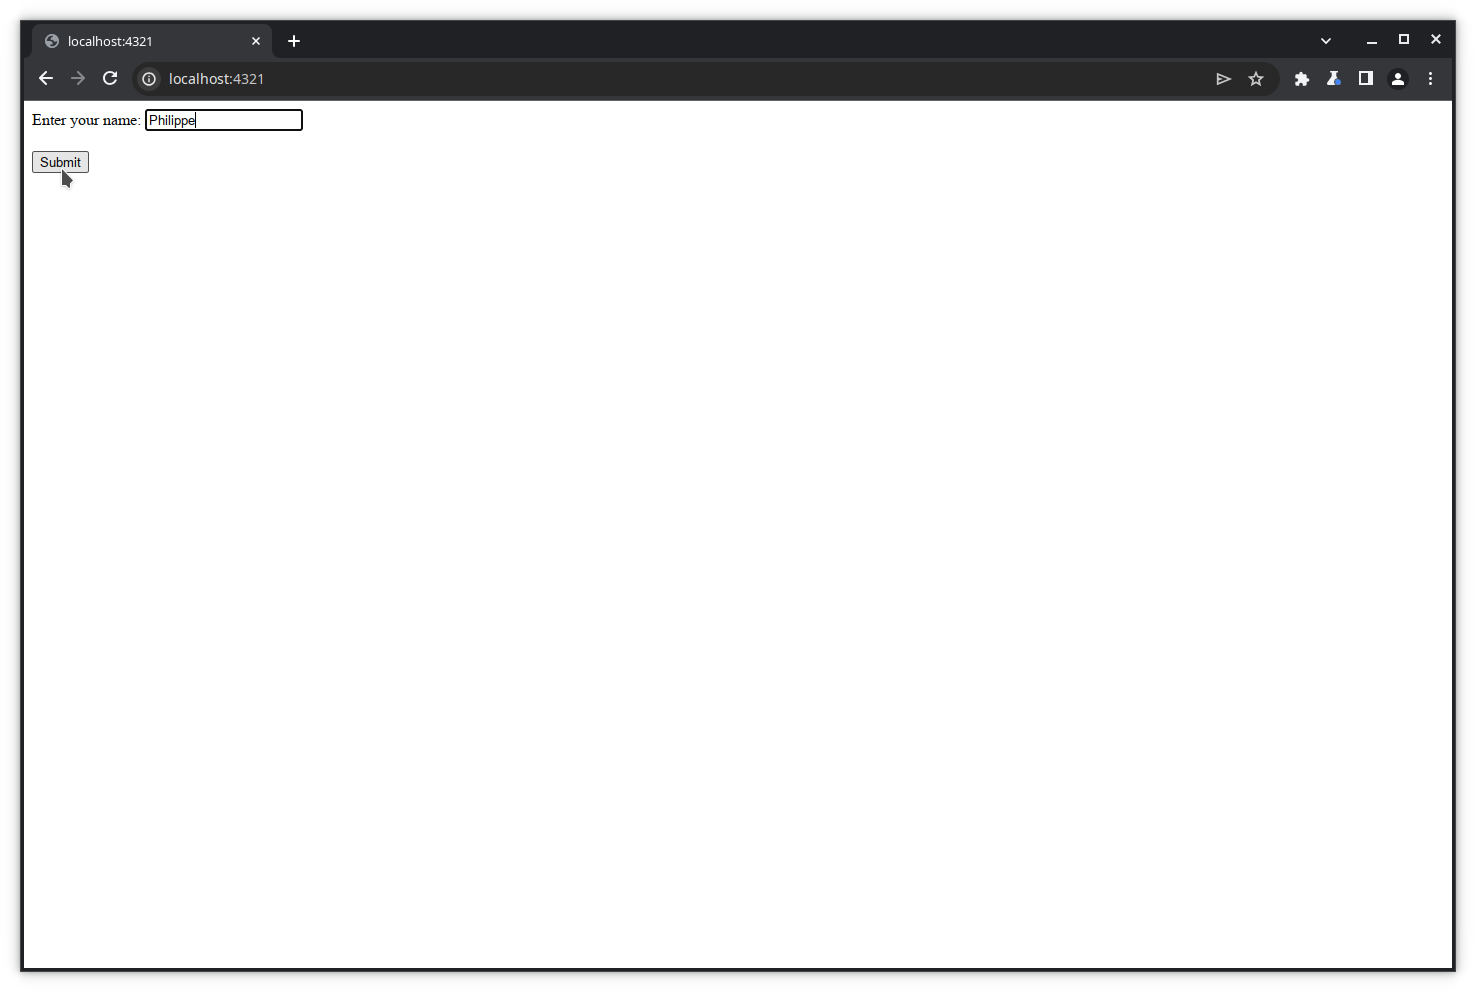
The request is sent to Burp.
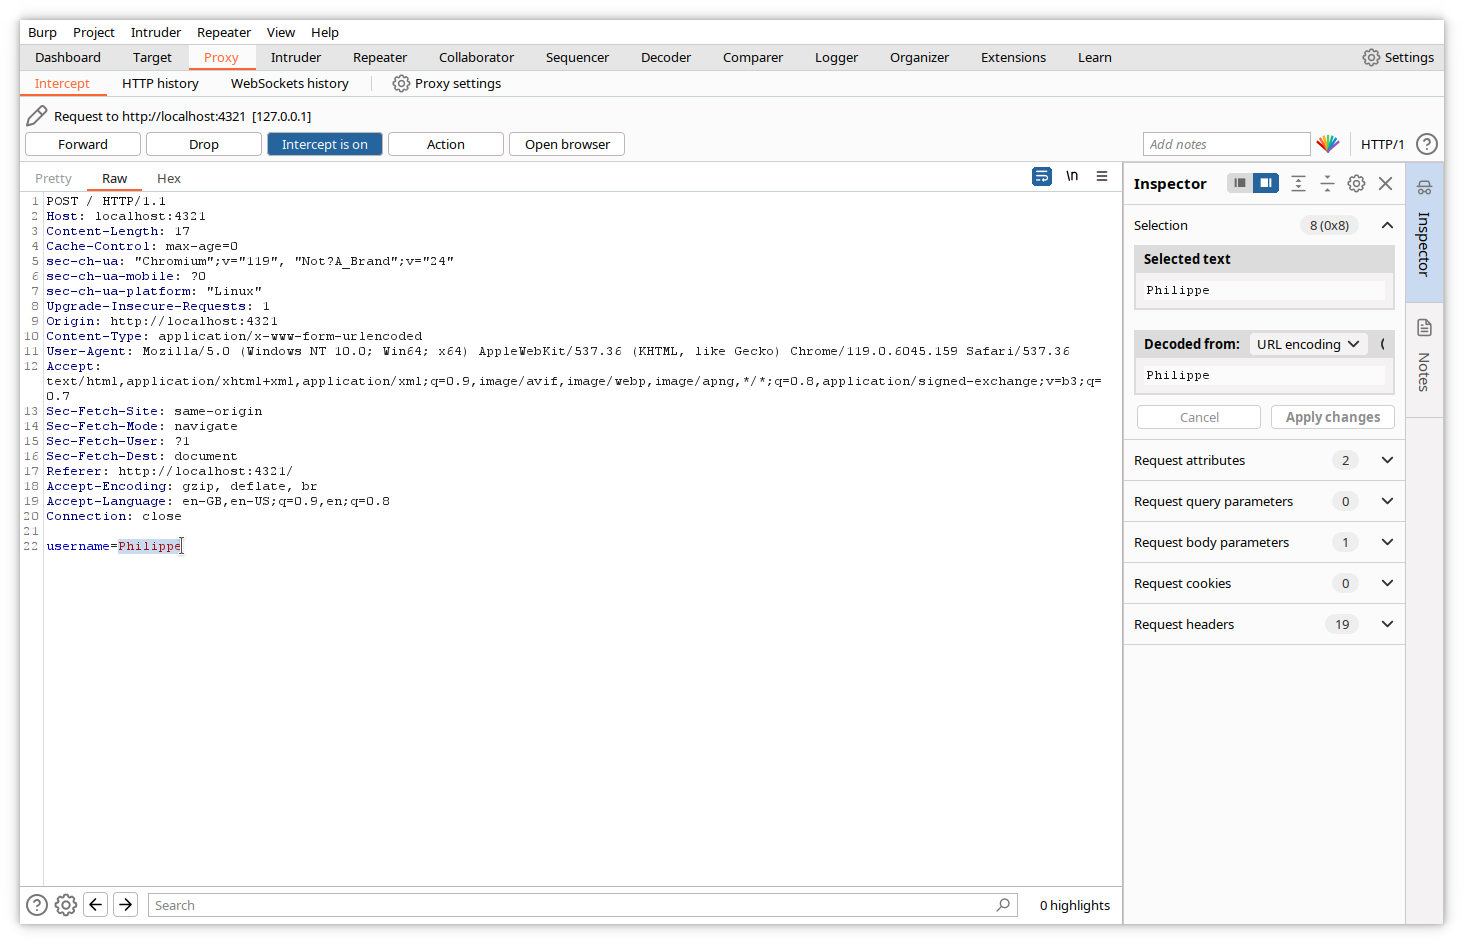
Let’s now modify the value of the form variable in the Intercept tab.
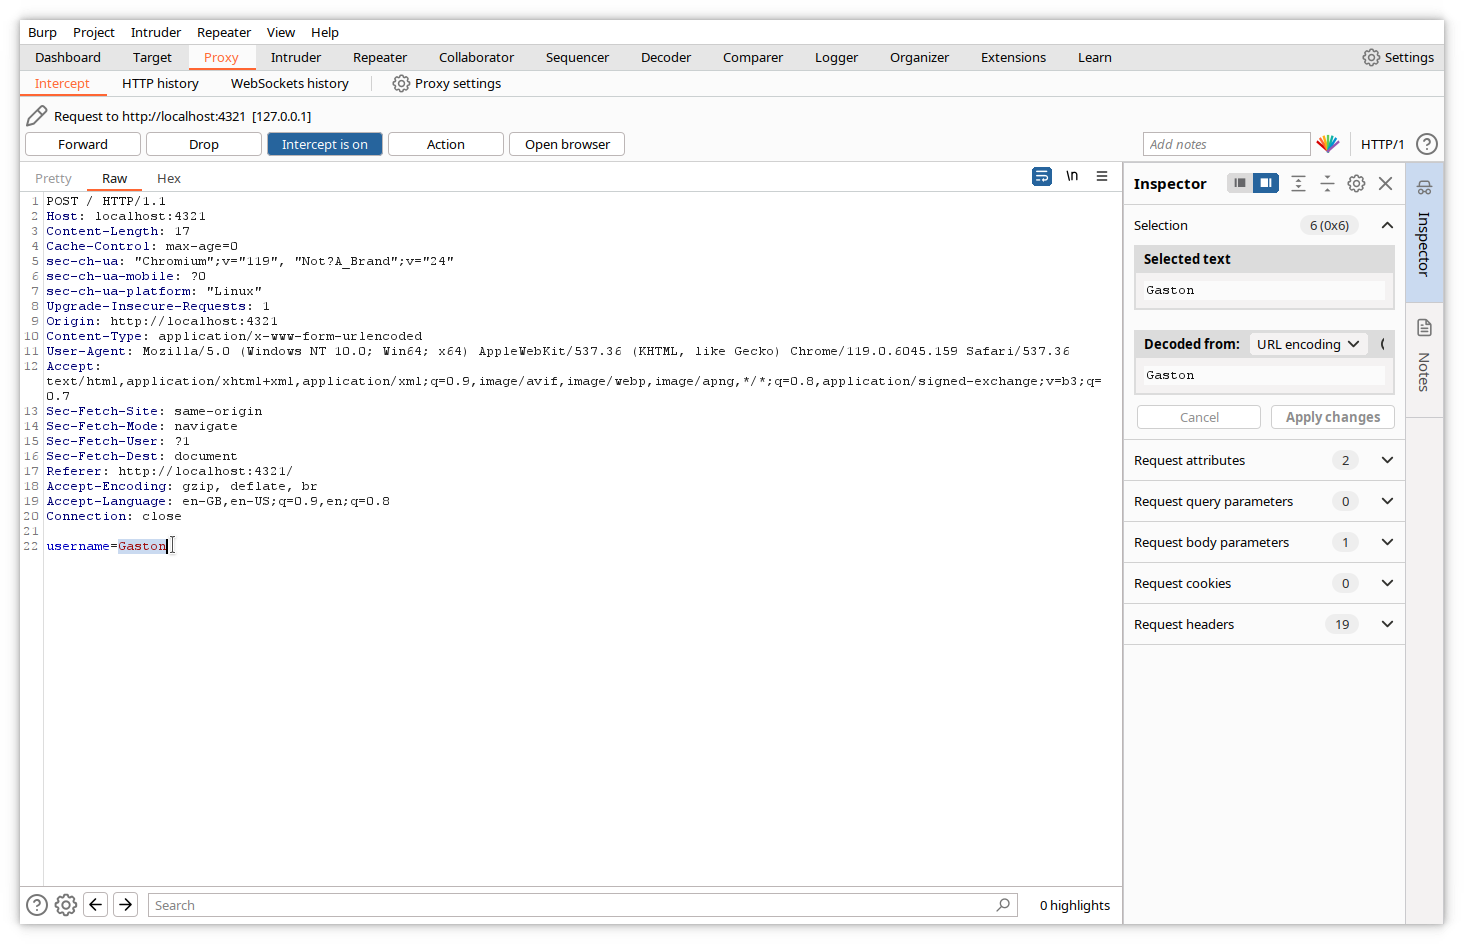
And forward it to the website. Of course, the response will contain our modified value.
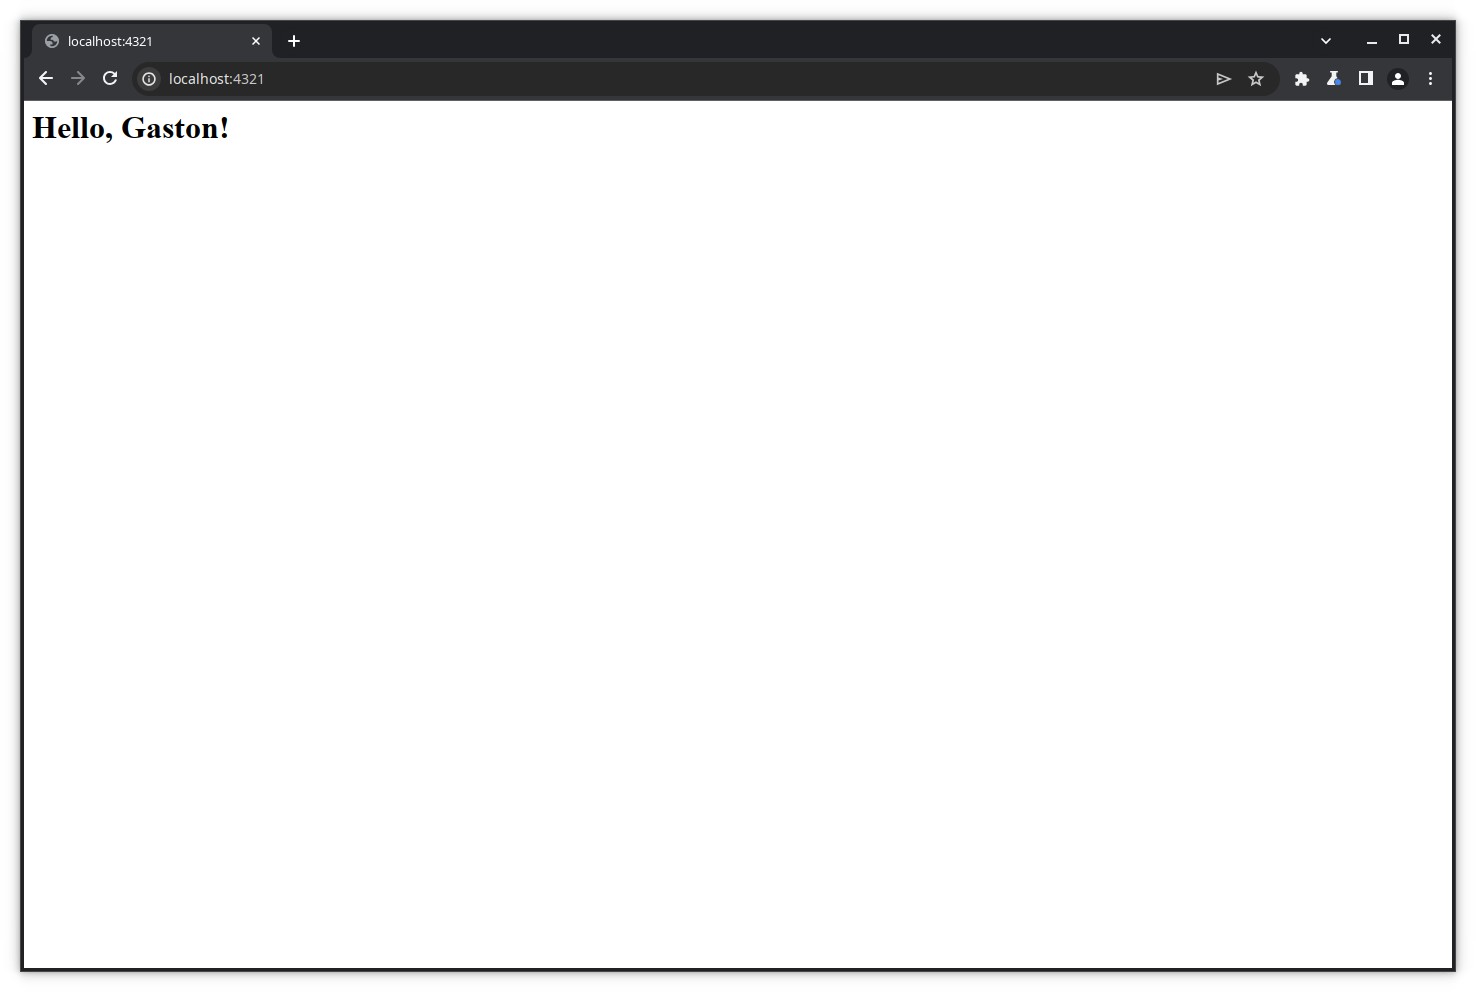
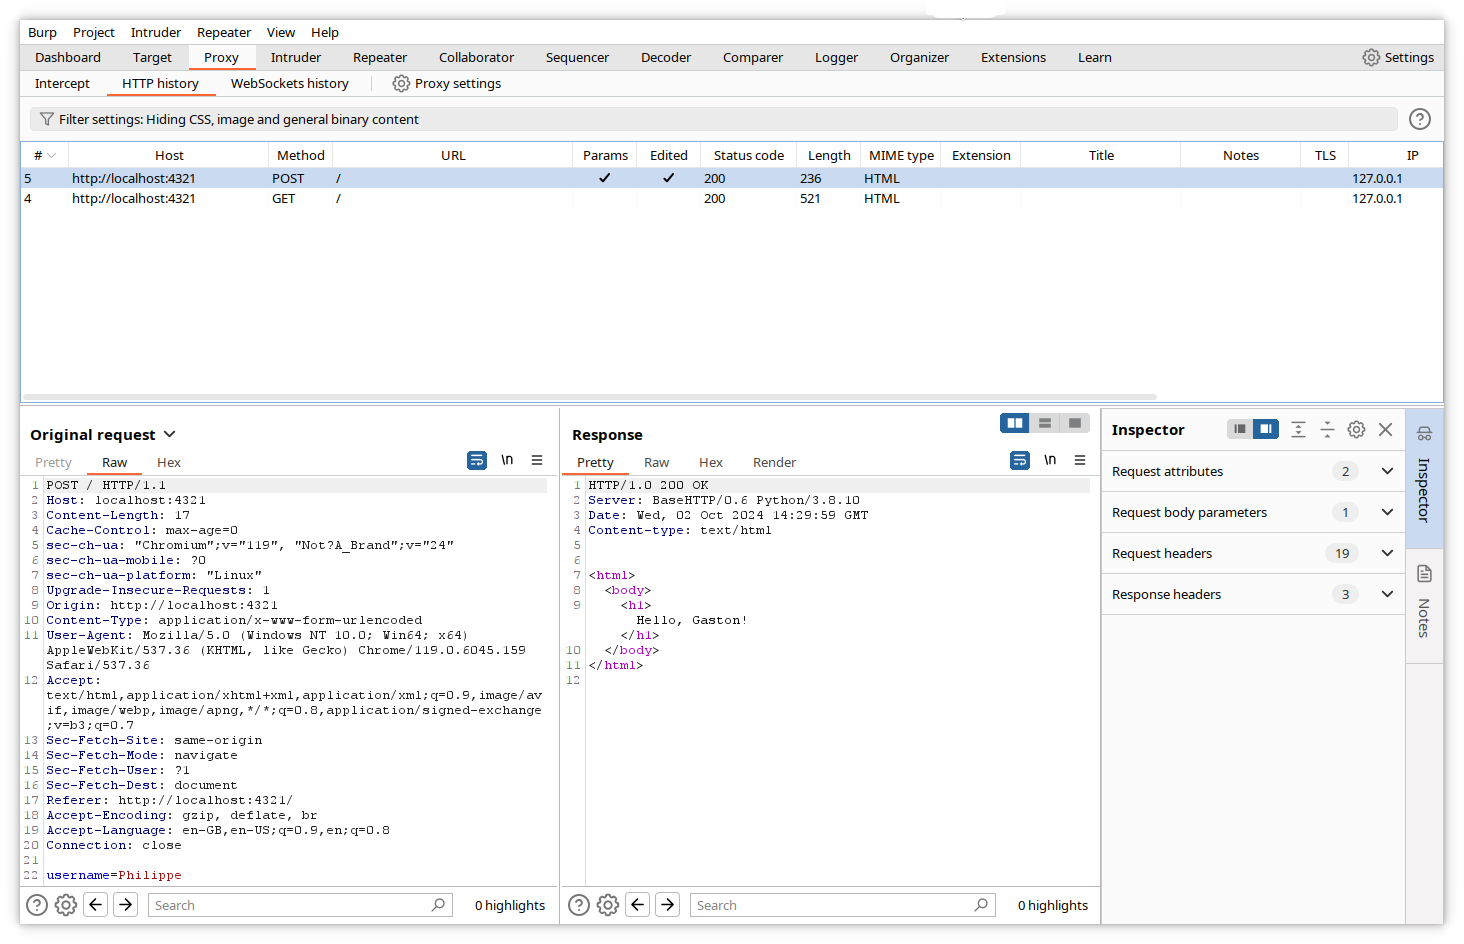
This example is simple and may seem a bit silly, but the power of Burp resides in the fact that you can modify any part of the response, even data that are not directly changeable from the displayed page, like headers, cookies, hidden variables…
Modifying requests with Burp tools
In the following chapters, we will use Burp to modify requests in order to test whether web applications are vulnerable. We will use the free Portswigger Web Academy example applications. These are vulnerable web applications made available to learn application security testing.
You can register for free at the Web Academy site and follow hundreds of lessons and practice labs to learn web application security testing from the Academy tab with Burp.
Danger
Warning! DO NOT TRY THE FOLLOWING ACTIONS ON REAL WEBSITES without getting the owner’s WRITTEN APPROVAL. In most countries, attempting to attack a website is a crime and is actively prosecuted.
Using Repeater
Step 1: Access the application
The following example is available on the Portswigger academy site from the menu entry: Web Security Academy -> Business logic vulnerabilities -> Examples -> Lab, or from the link: https://portswigger.net/web-security/logic-flaws/examples/lab-logic-flaws-excessive-trust-in-client-side-controls.
The application mimics a webshop where you have a credit of $100. We will try to manipulate the transactions to purchase a more expensive item.
Let’s open the lab page.

Step 2: Log in
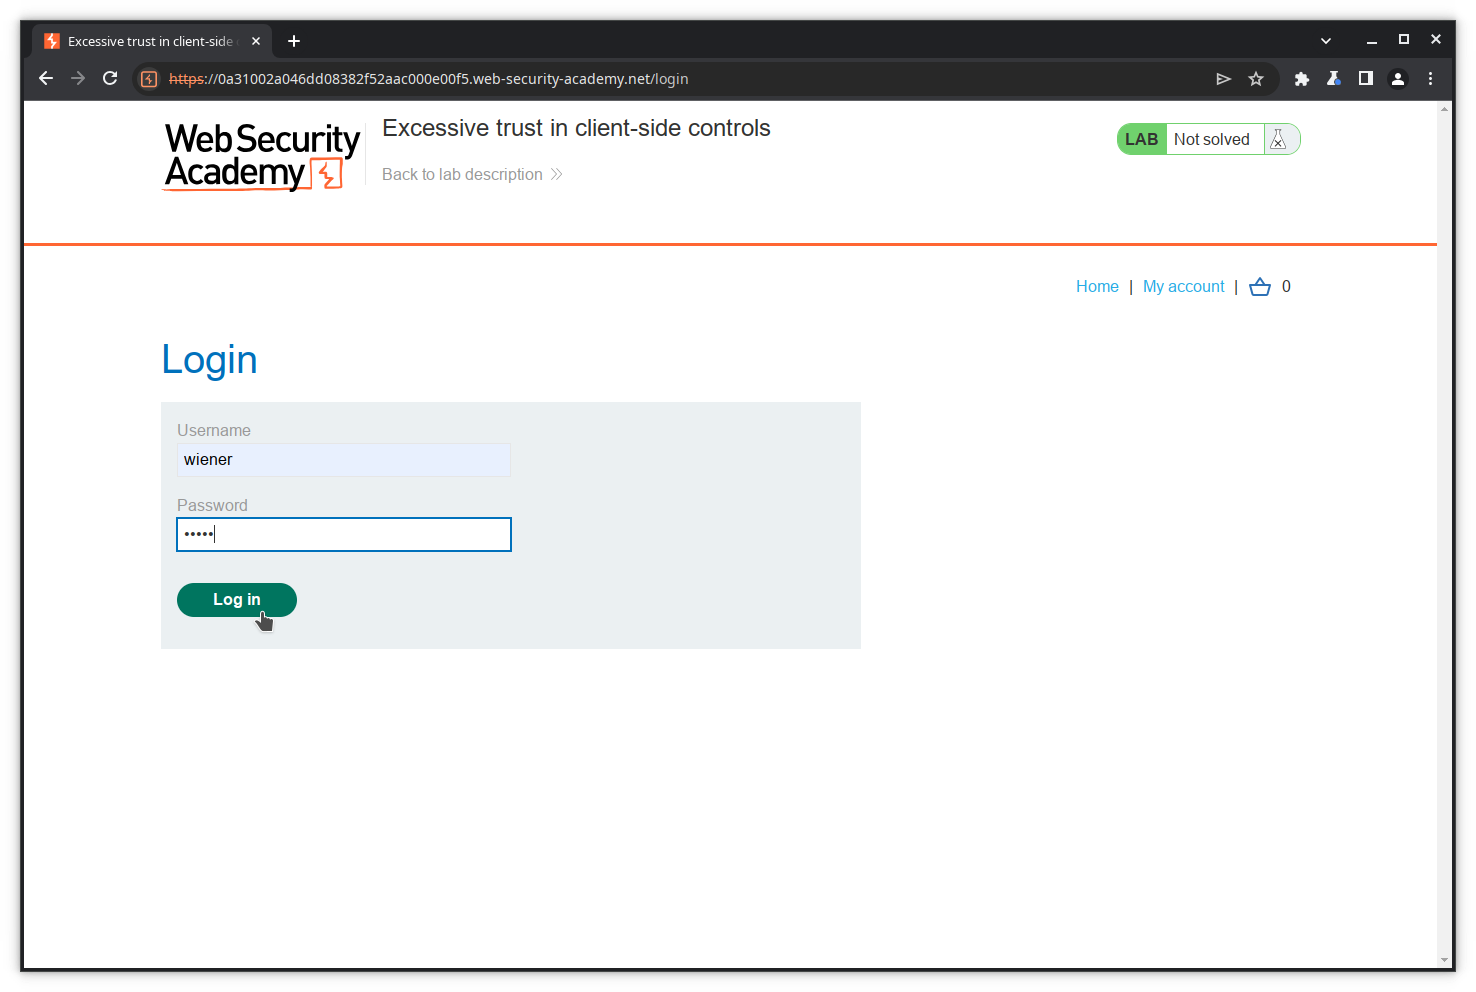
Click on My account to log into the shop with the credentials provided by the labs instructions (wiener:peter).
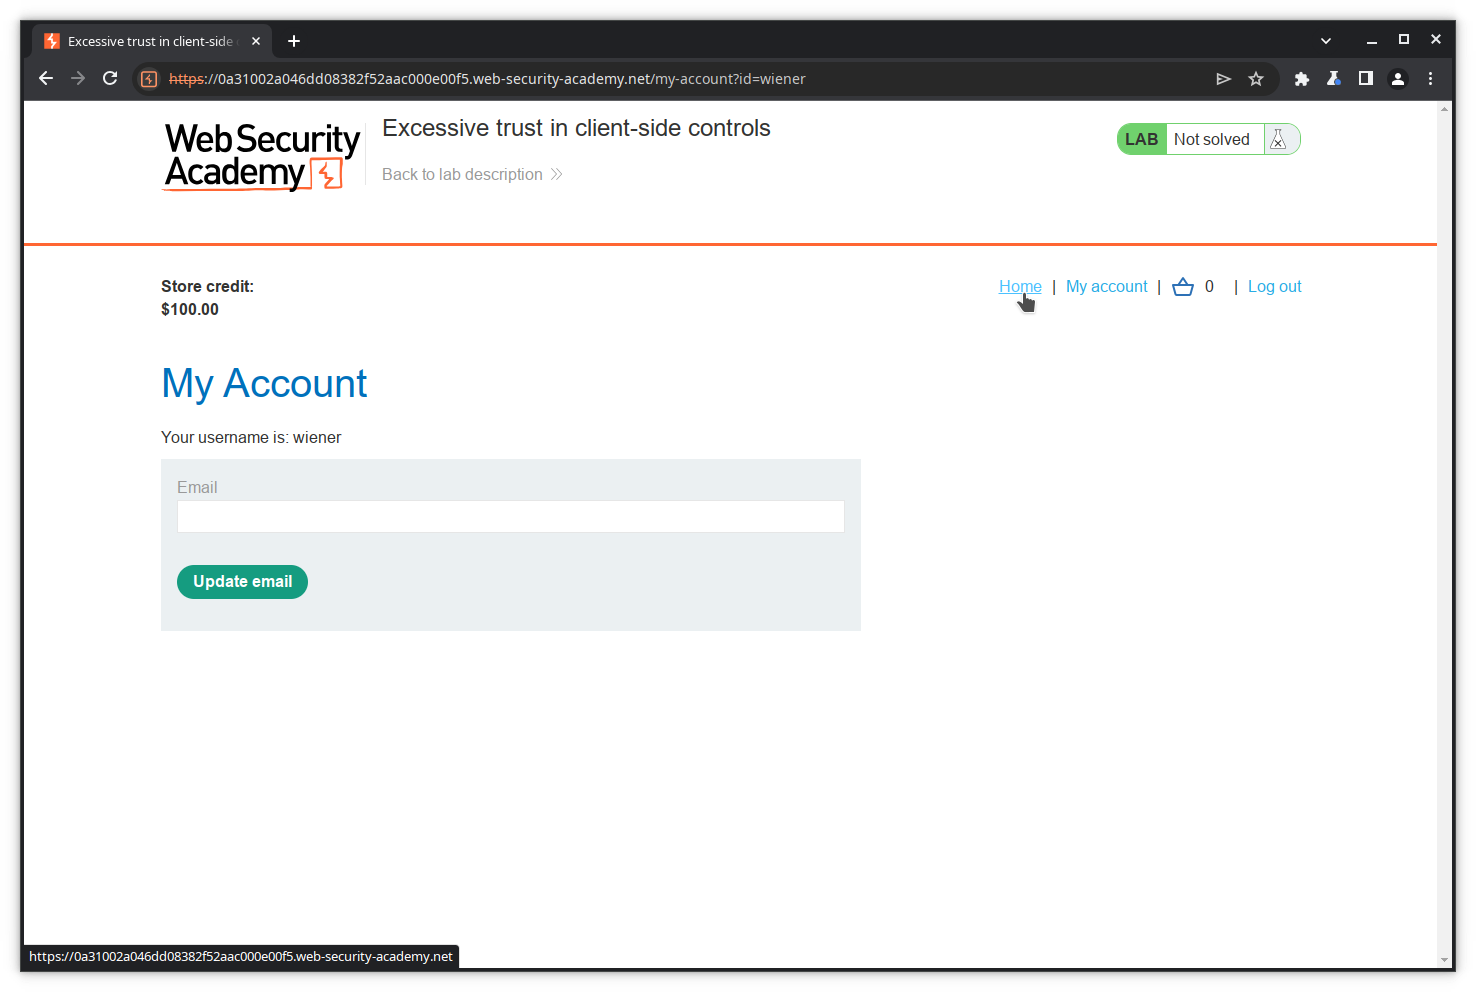
When you are logged in, the site displays your username and credit ($100).
Step 3: Try to purchase an item
Go to the Home page to see the catalog.

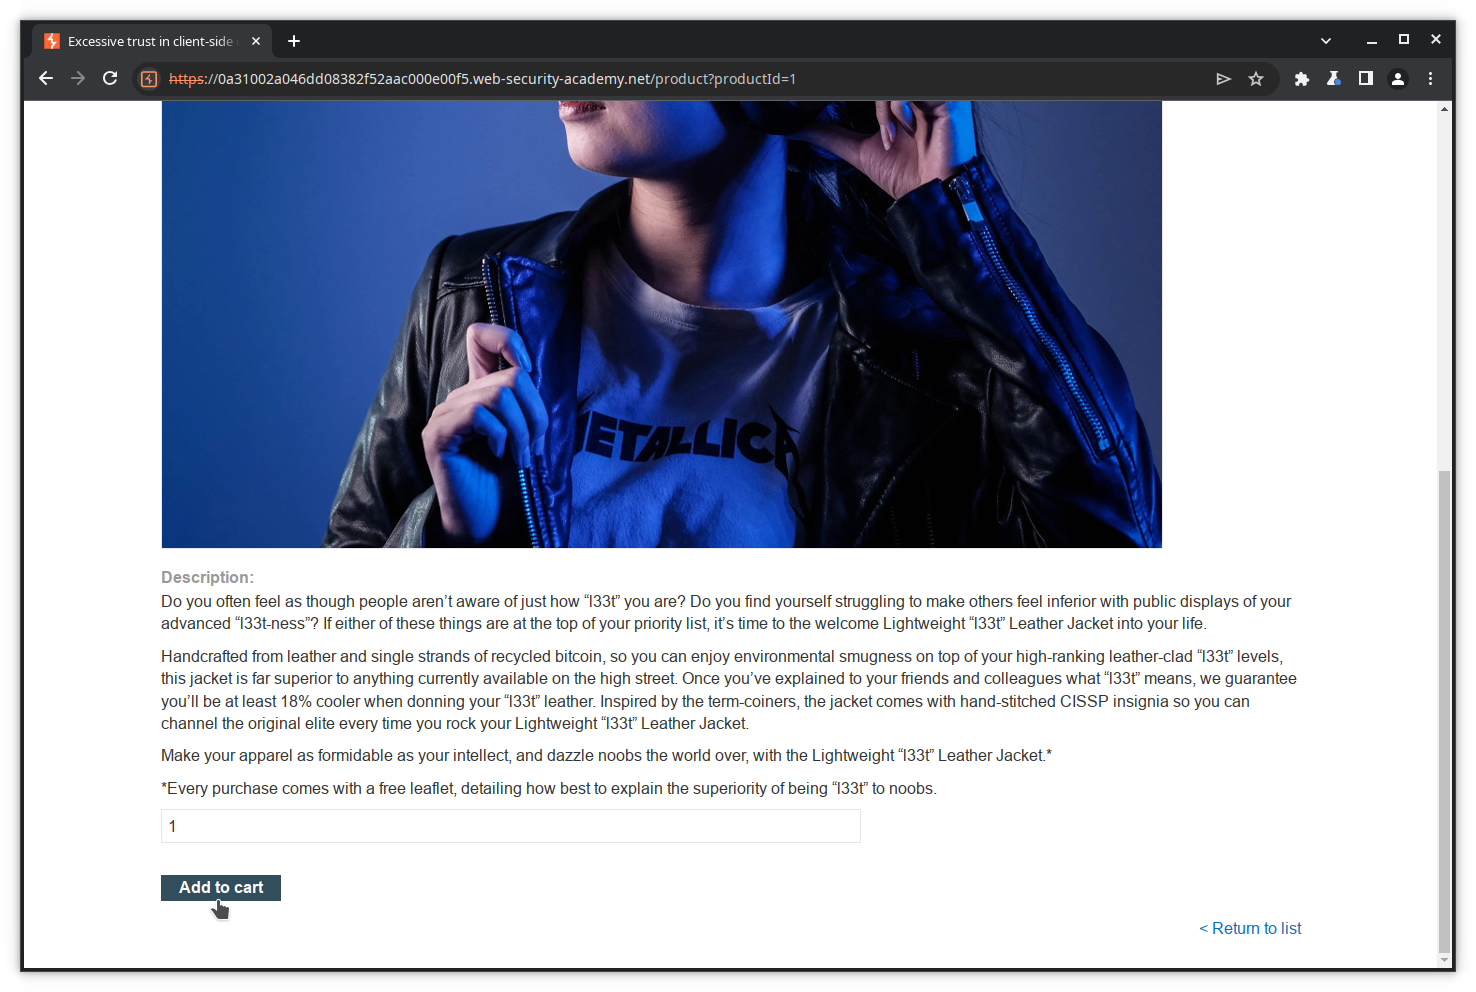
Try now to purchase the too expensive leather jacket. Click on View details.

Scroll down, and click Add to cart.
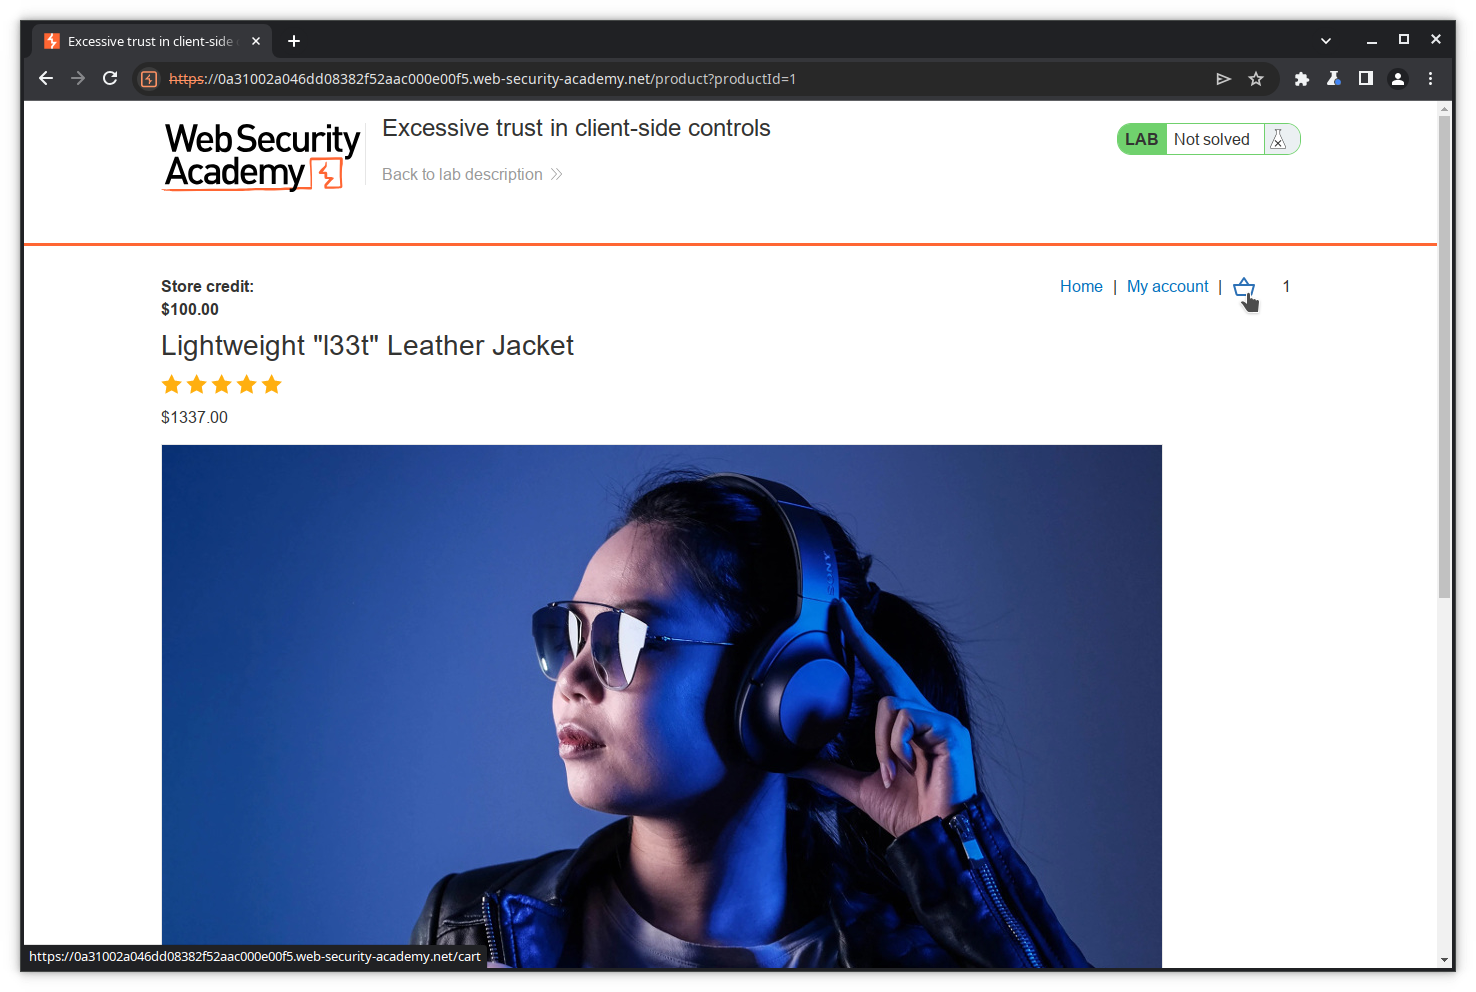
The item is now in your cart. Proceed to payment by clicking on the cart icon.
Place your order now clicking on the Place order button.
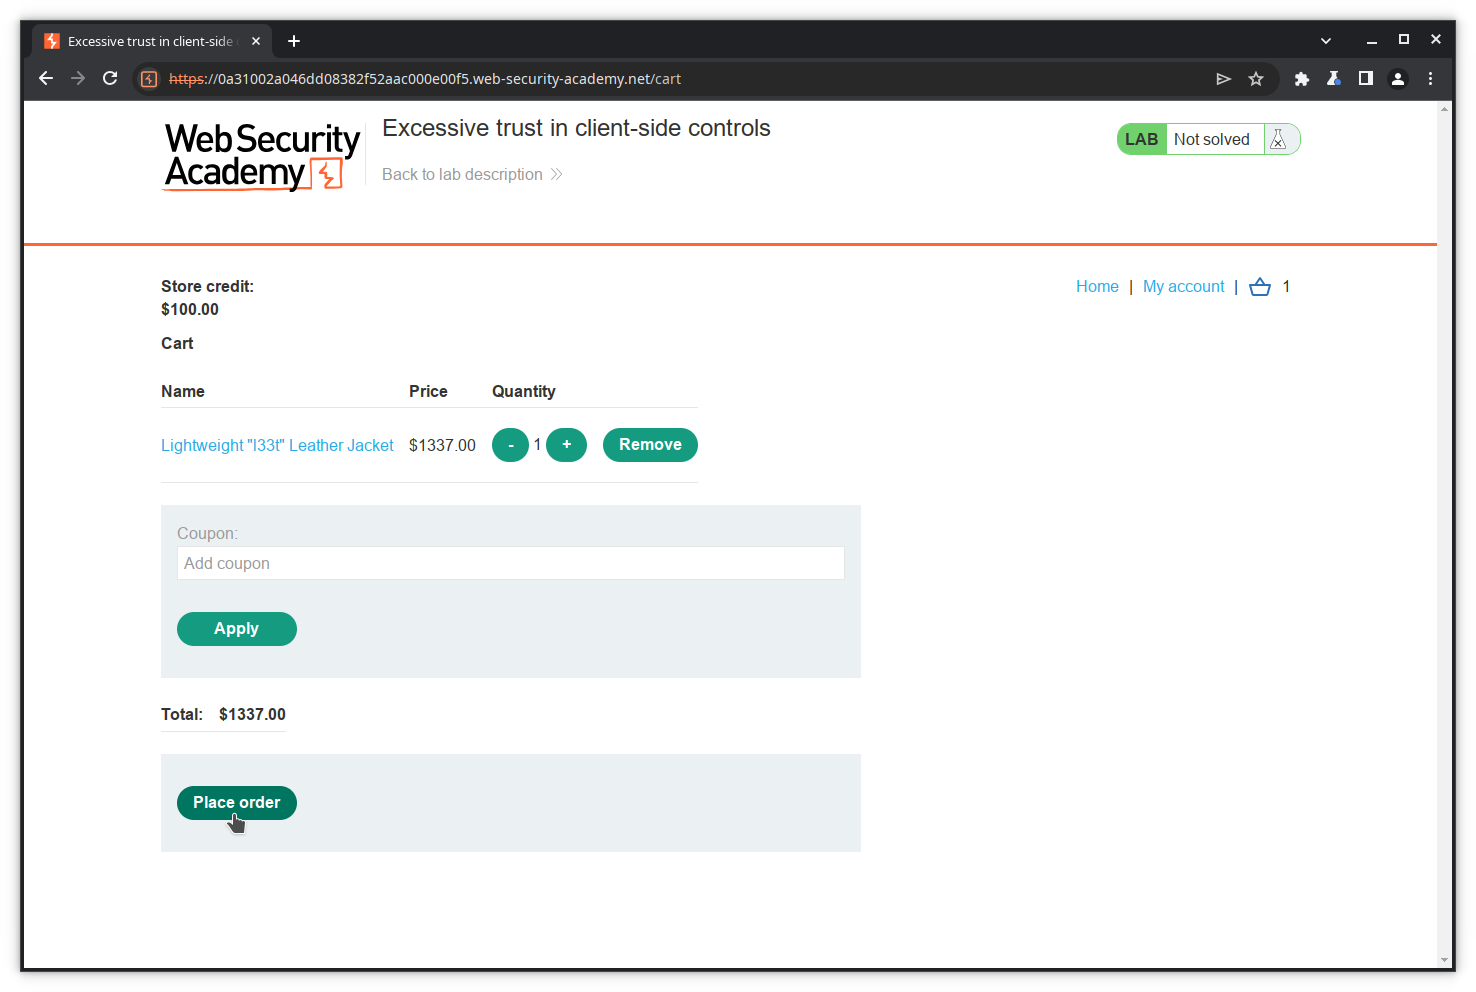
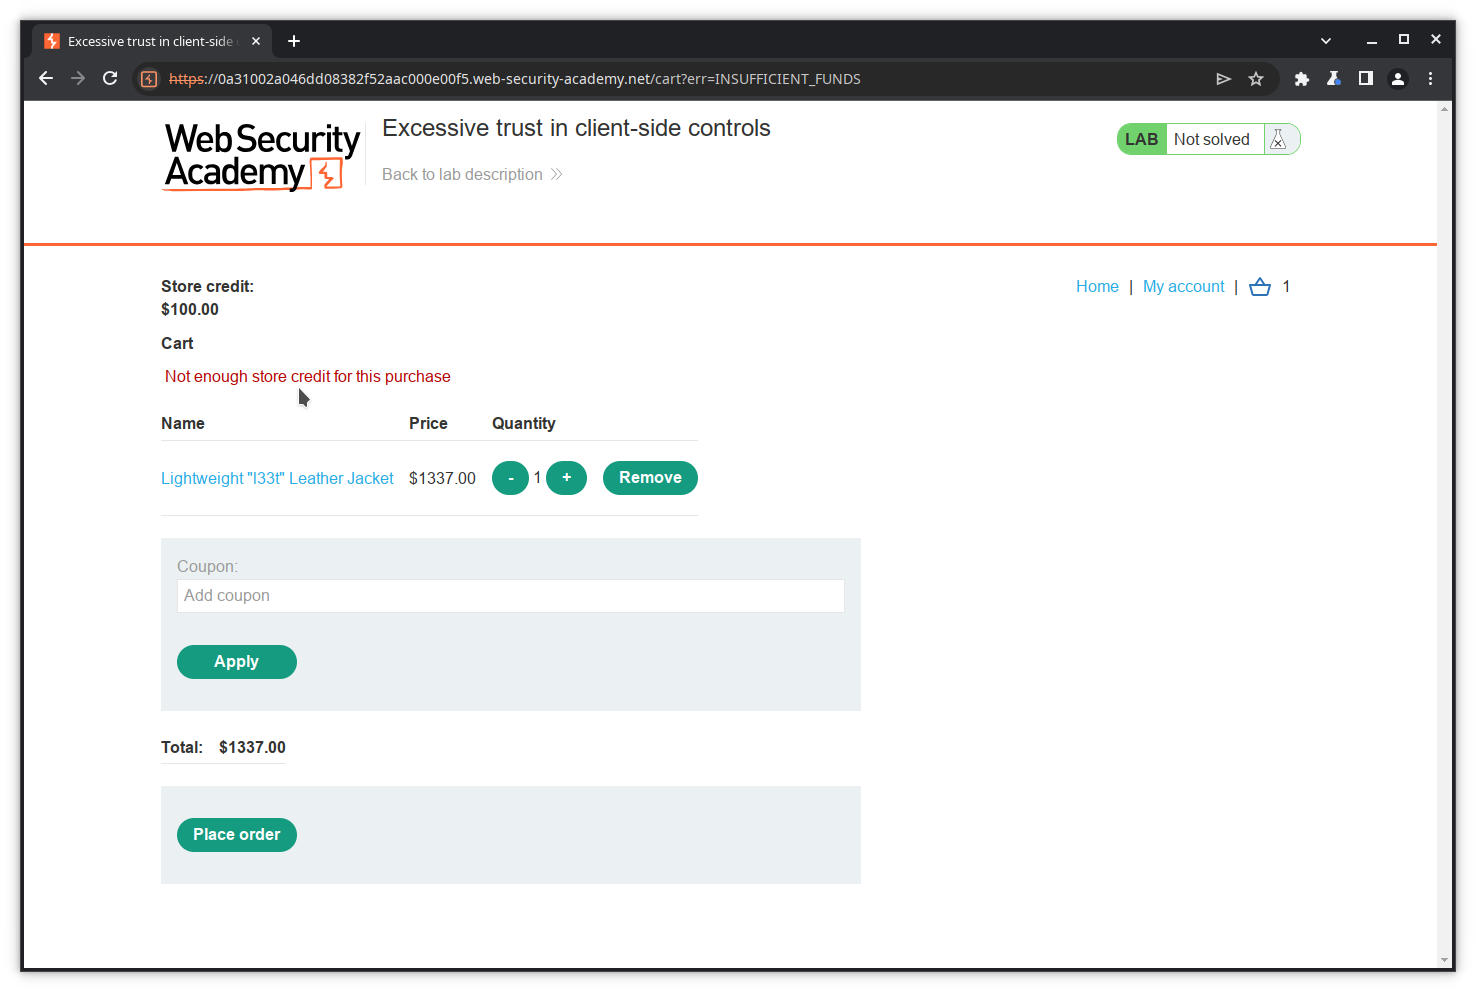
Of course, your purchase is refused because you do not have enough credit.
Step 4: Examine the purchase actions
Let’s now check the HTTP history for the transaction, and especially the GET action for the purchased item.
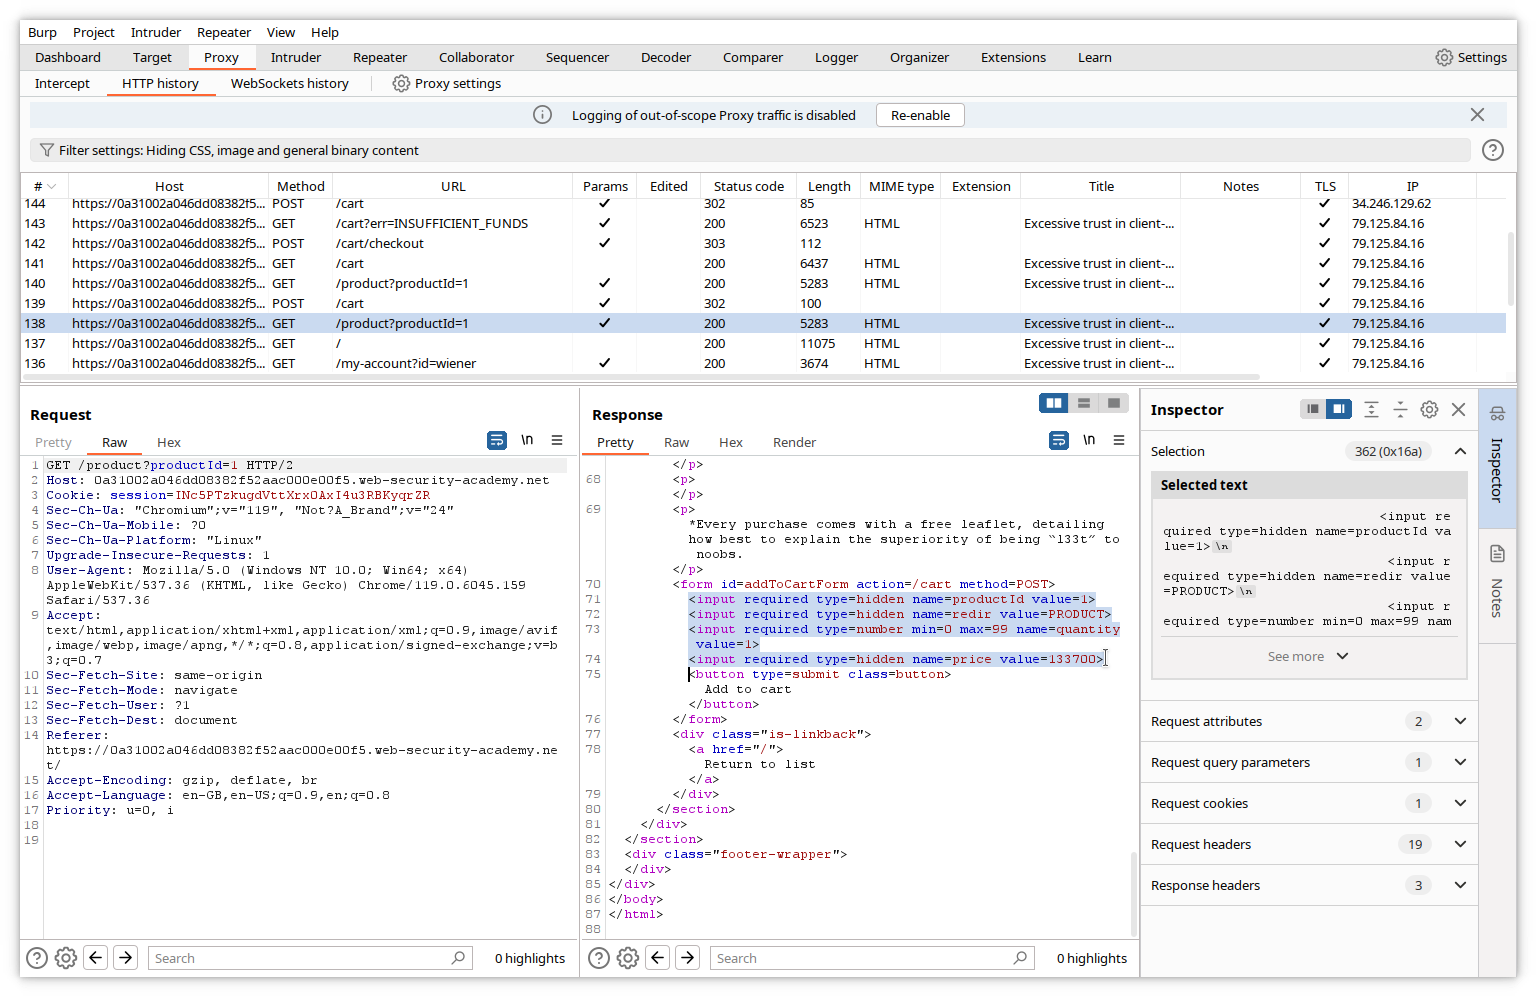
The answer contains hidden variables productID and, interestingly, price (in cents).
Let’s check the POST action.
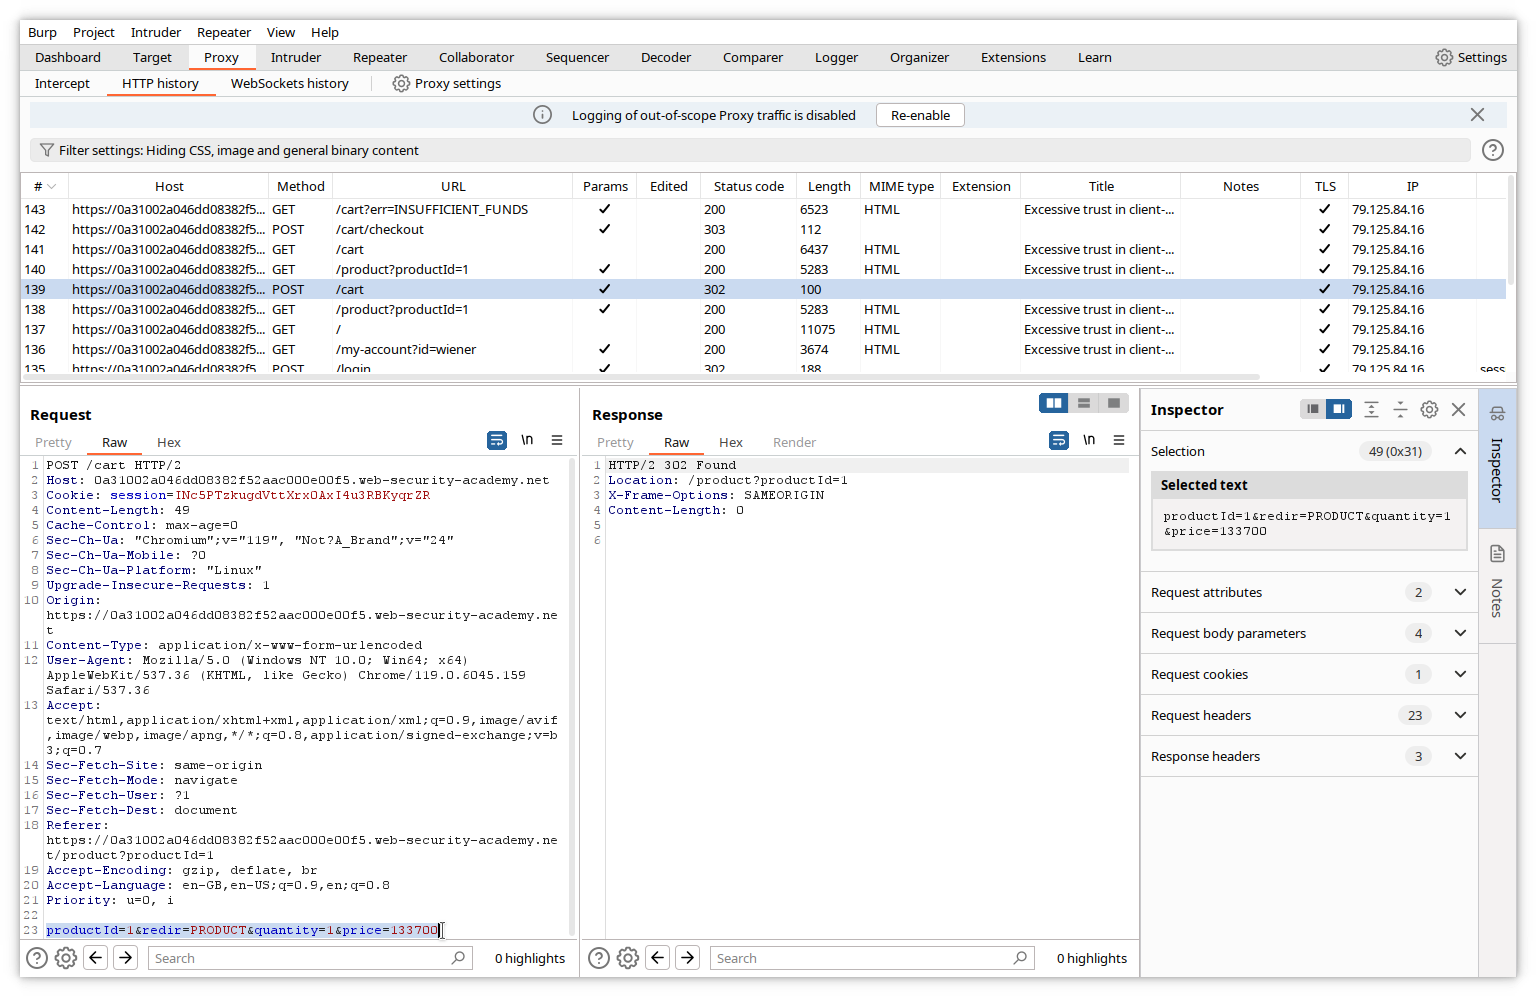
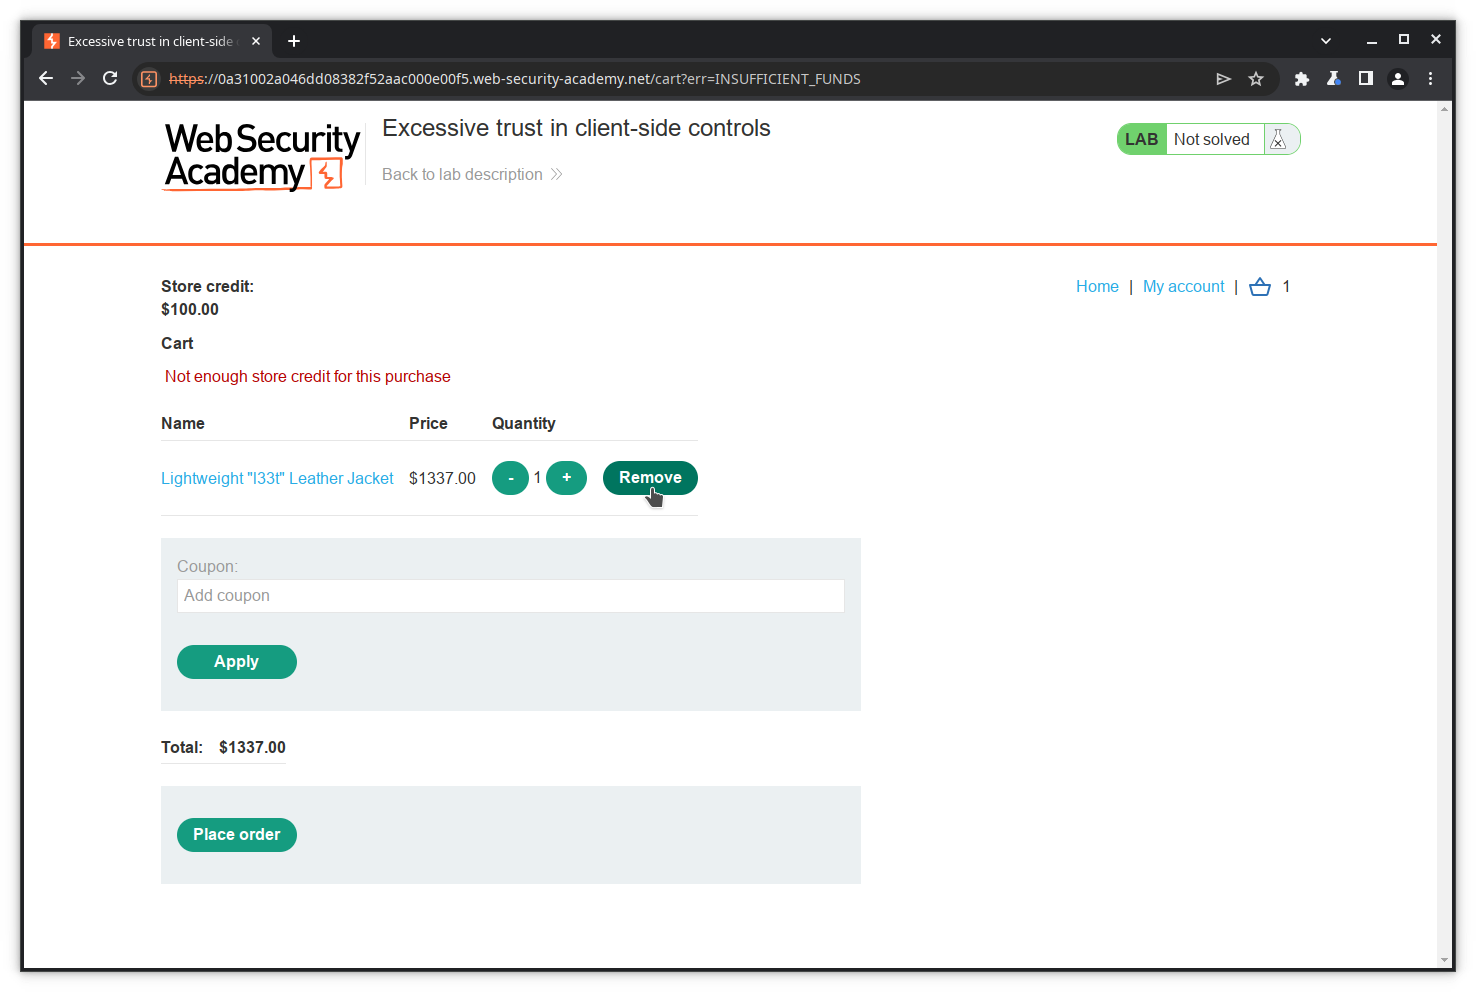
The variables productID, quantity and price are resent to the server. Let’s assume they are used to perform the transaction and, among other actions, check the price against the credit. If this assumption is right, modifying the price before sending the POST should allow us to cheat. We will try this, but first let’s empty our cart by removing the contained item. Click on the Remove button.
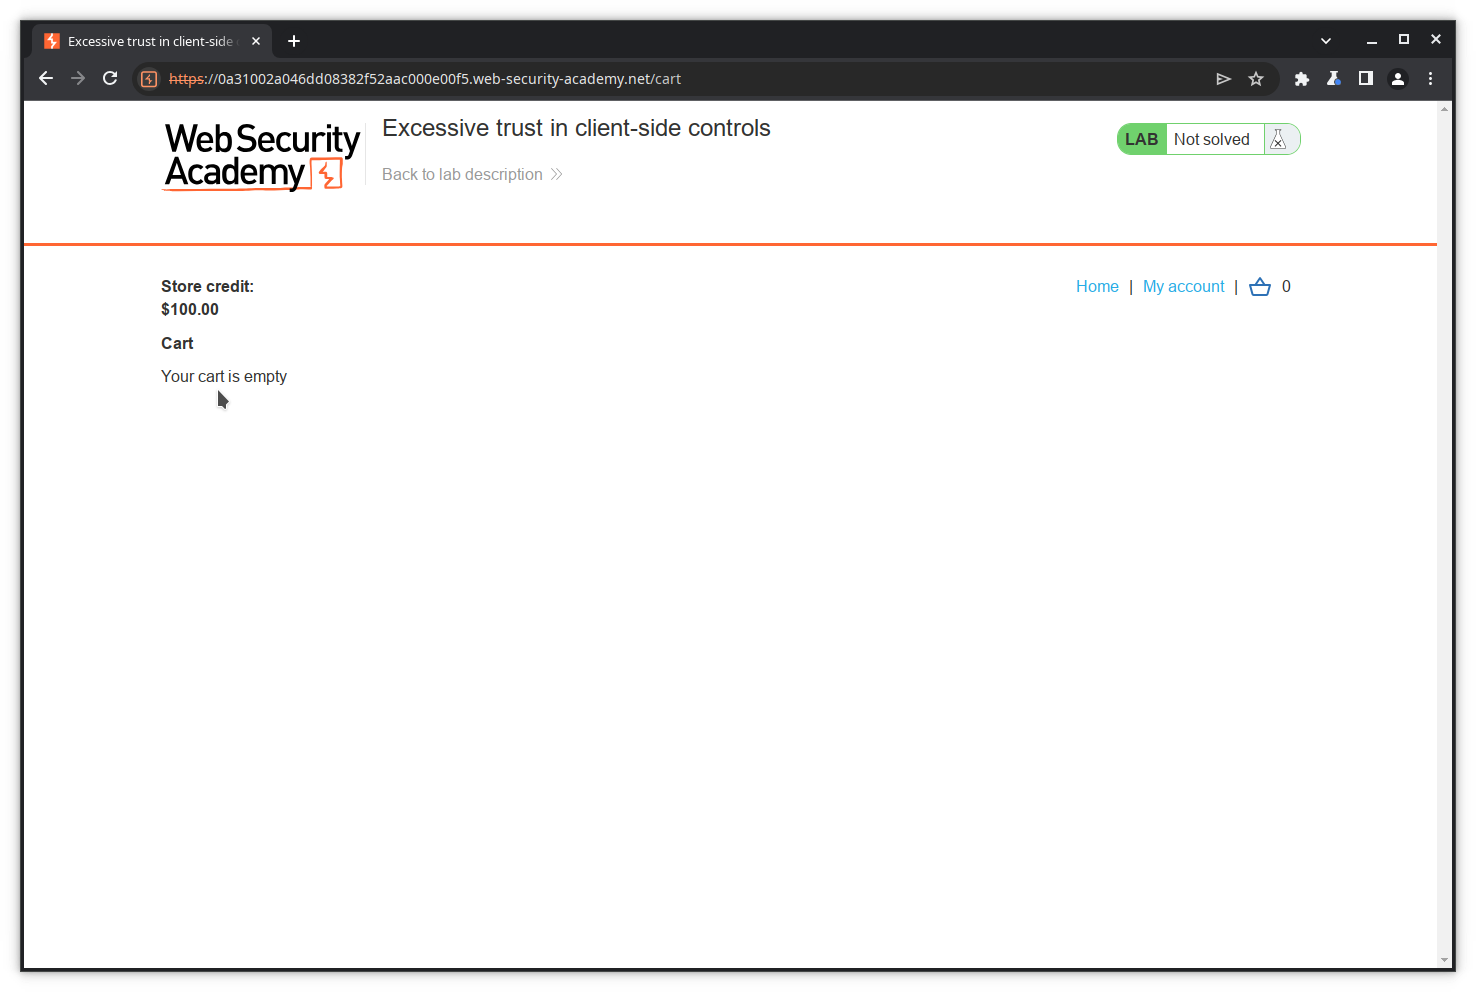
Our cart is now empty.
Step 5: Modify the request
To perform again the purchase and modify the price value in the POST action, we could repeat the whole journey: go to the catalog, select the leather jacket, put it into the cart, then turn on interception, click Place order, modify the price value and forward it to the server.
Instead, we will take a shortcut and use the already recorded POST action to copy and modify it. To do this, we will use the Burp Suite component called Repeater. Burp Repeater is a tool that enables you to modify and send an interesting HTTP (or WebSocket) message.
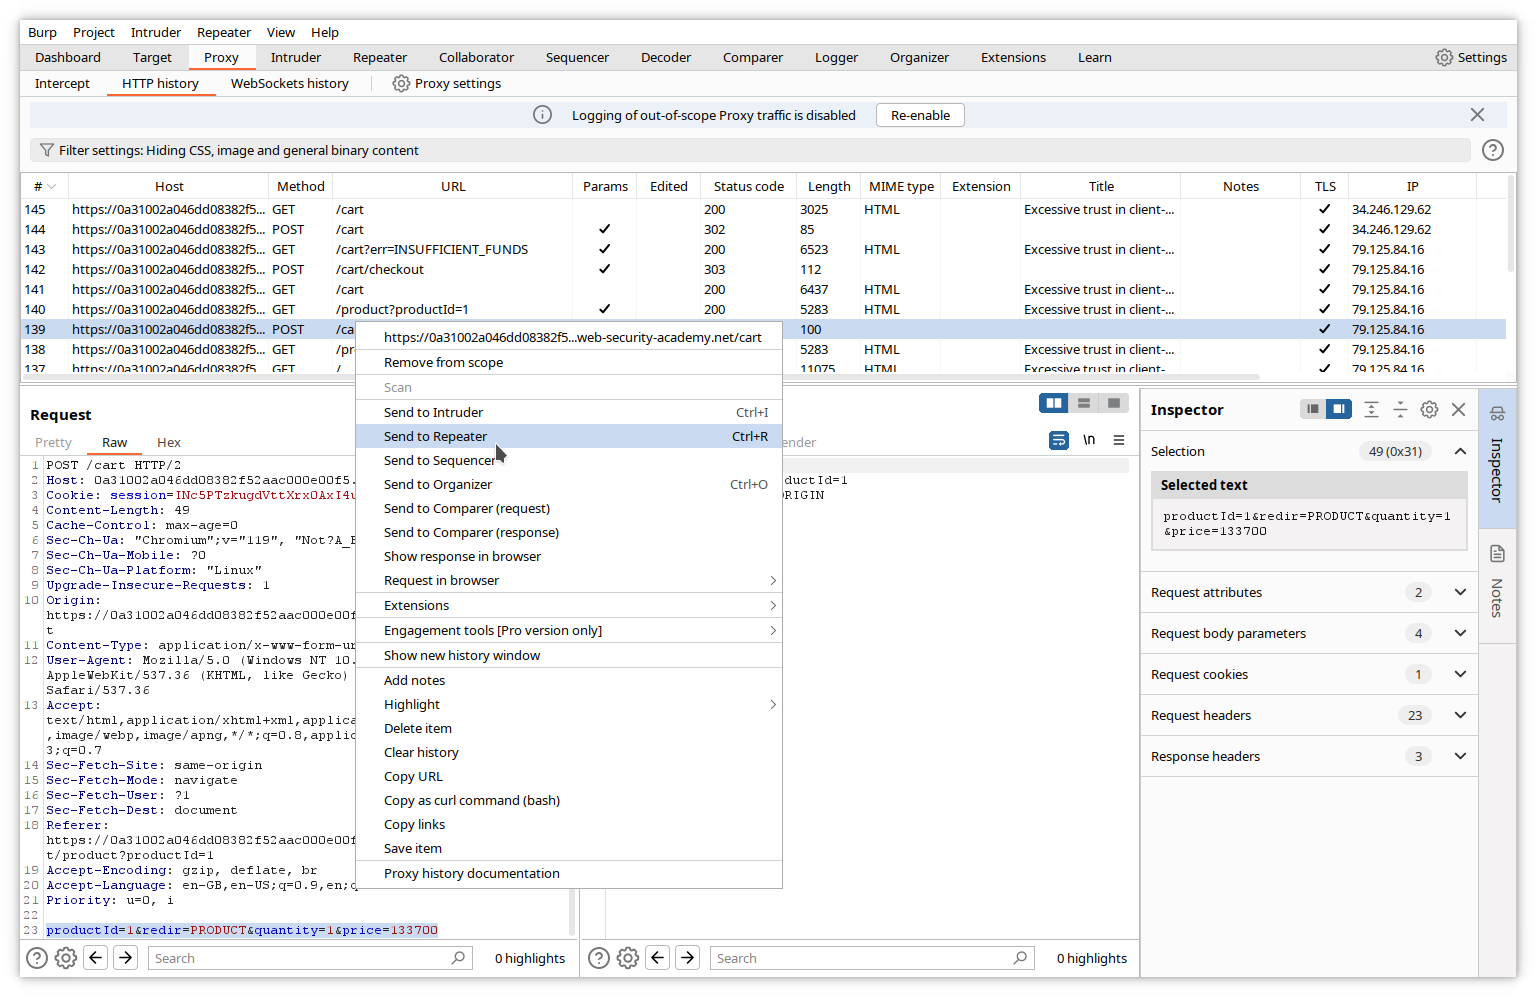
First, copy the message you want to resend in a Repeater tab. In the HTTP history, click on the POST message, then right click and select Send to Repeater.
Now click on the Repeater tab in the upper menu. The Repeater window appears, with the copied message in the left pane.
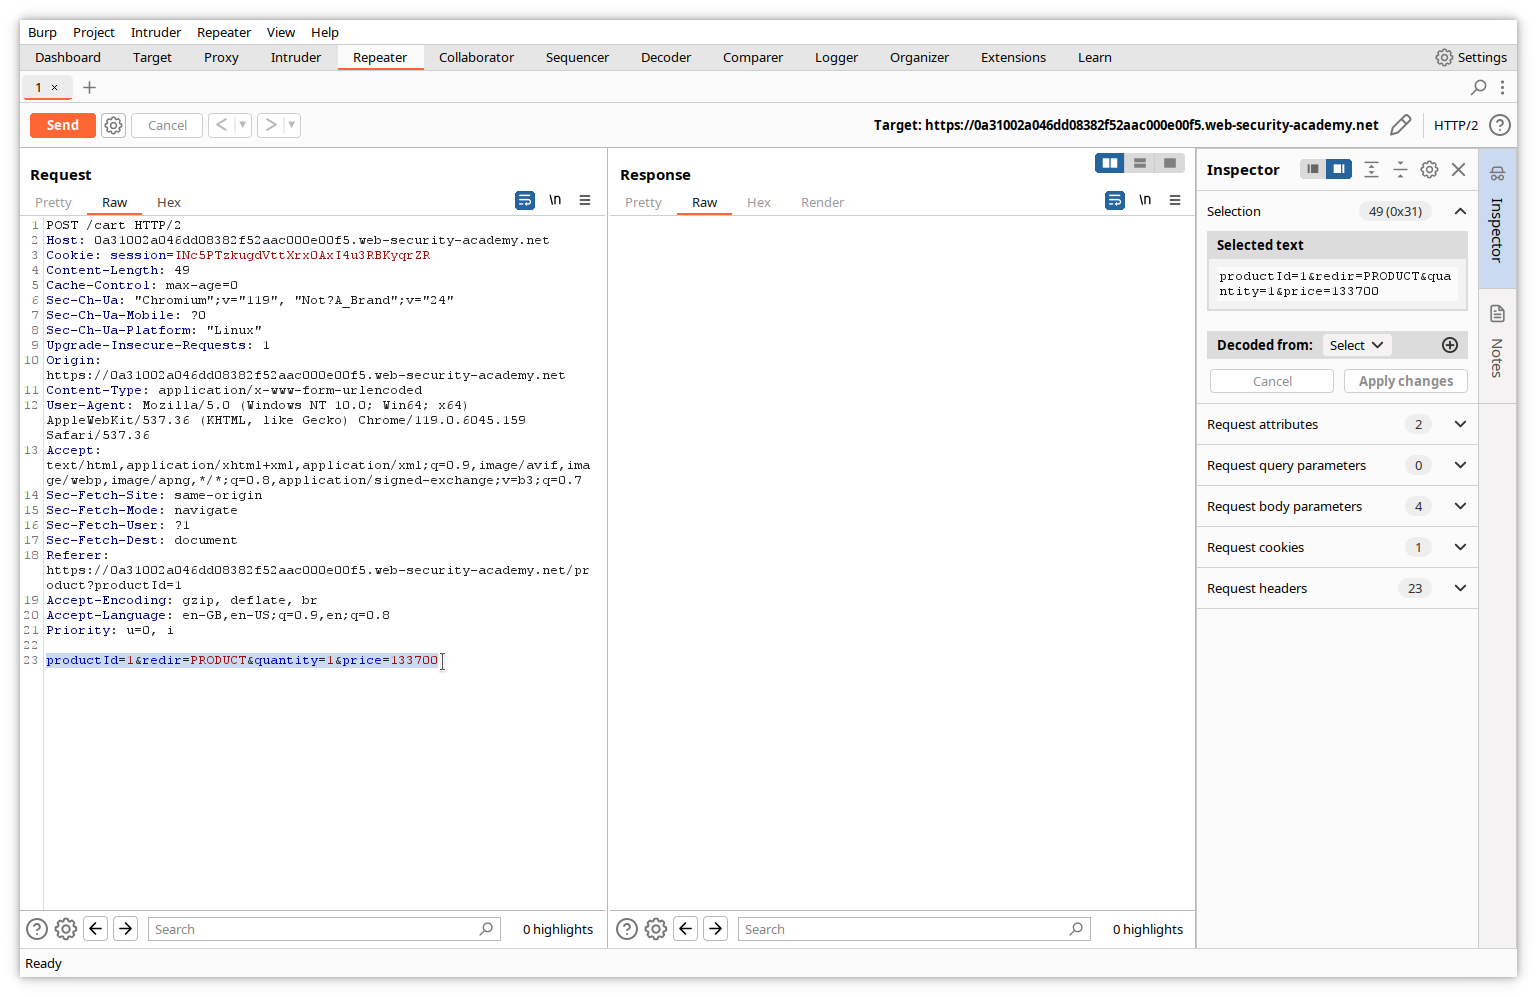
Let’s modify the price variable value to 1, and send it to the server by clicking the Send button.
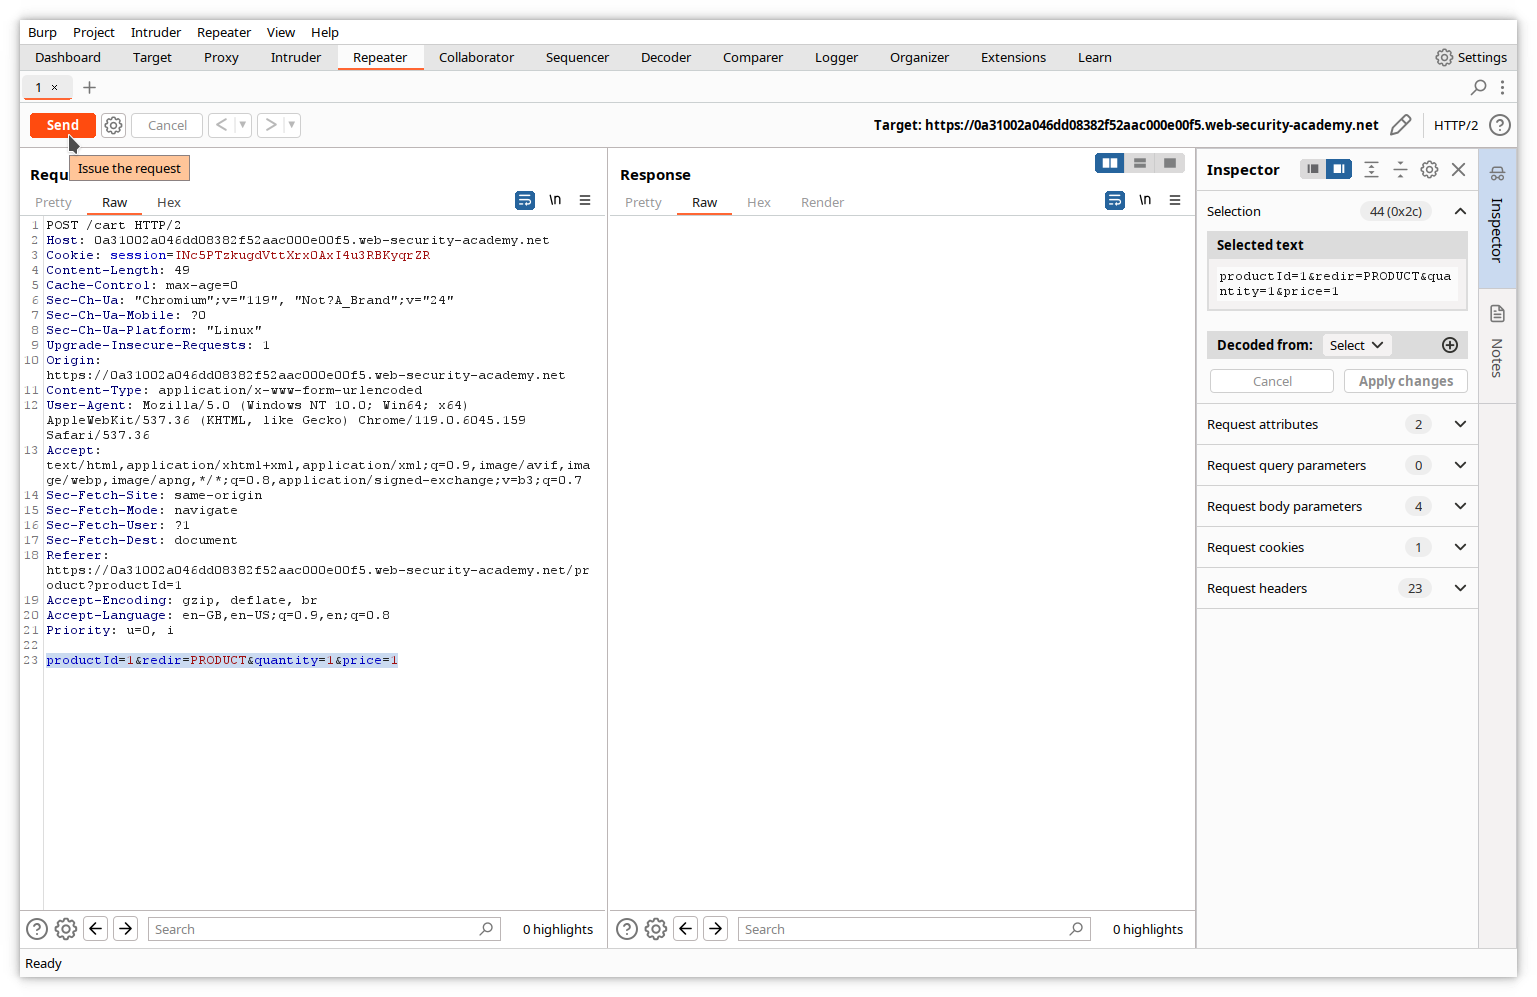
In the right pane of Repeater, we can see the server’s response.
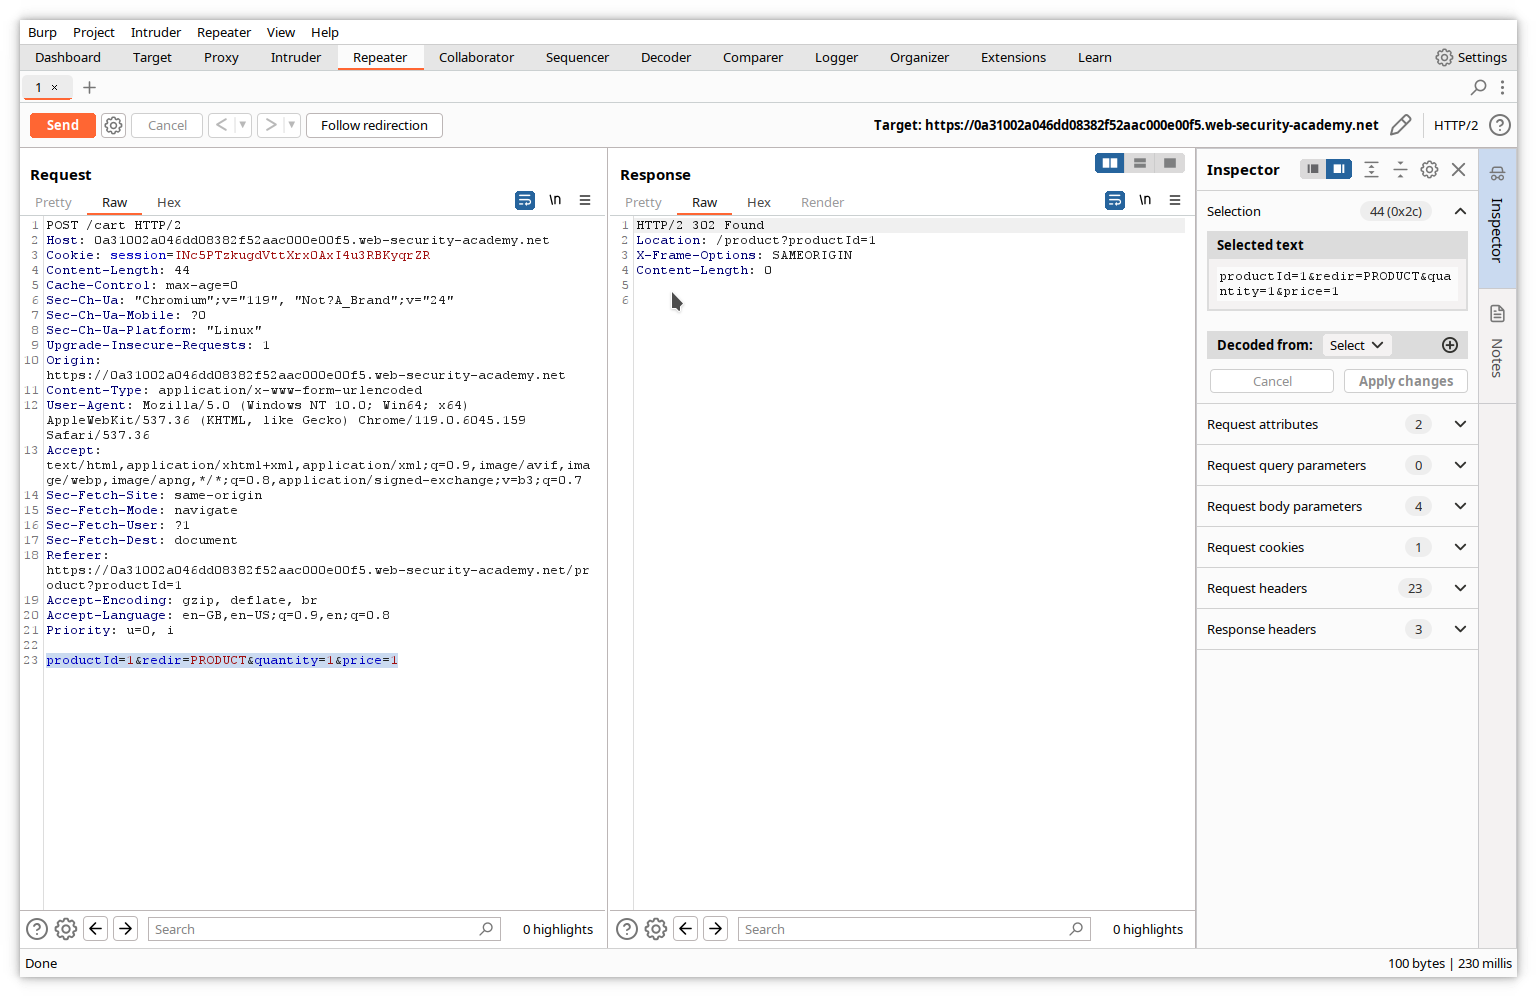
Our message did not cause any error.
Let’s now check the browser window. Of course, it has not changed, since the response did not contain any displayable data.
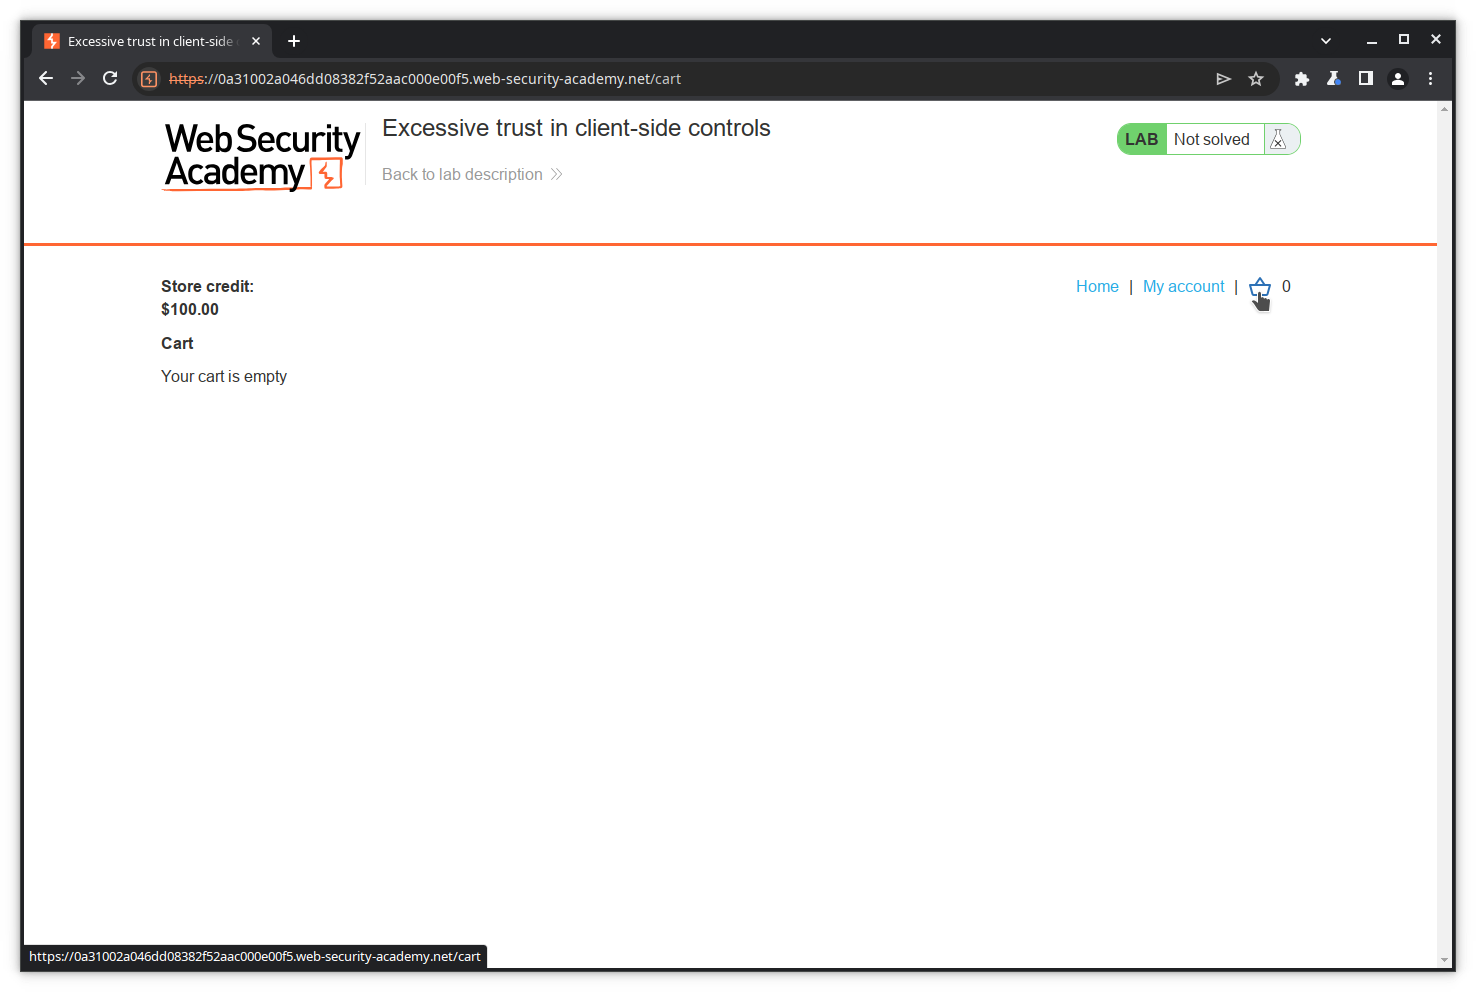
Let’s check our cart.
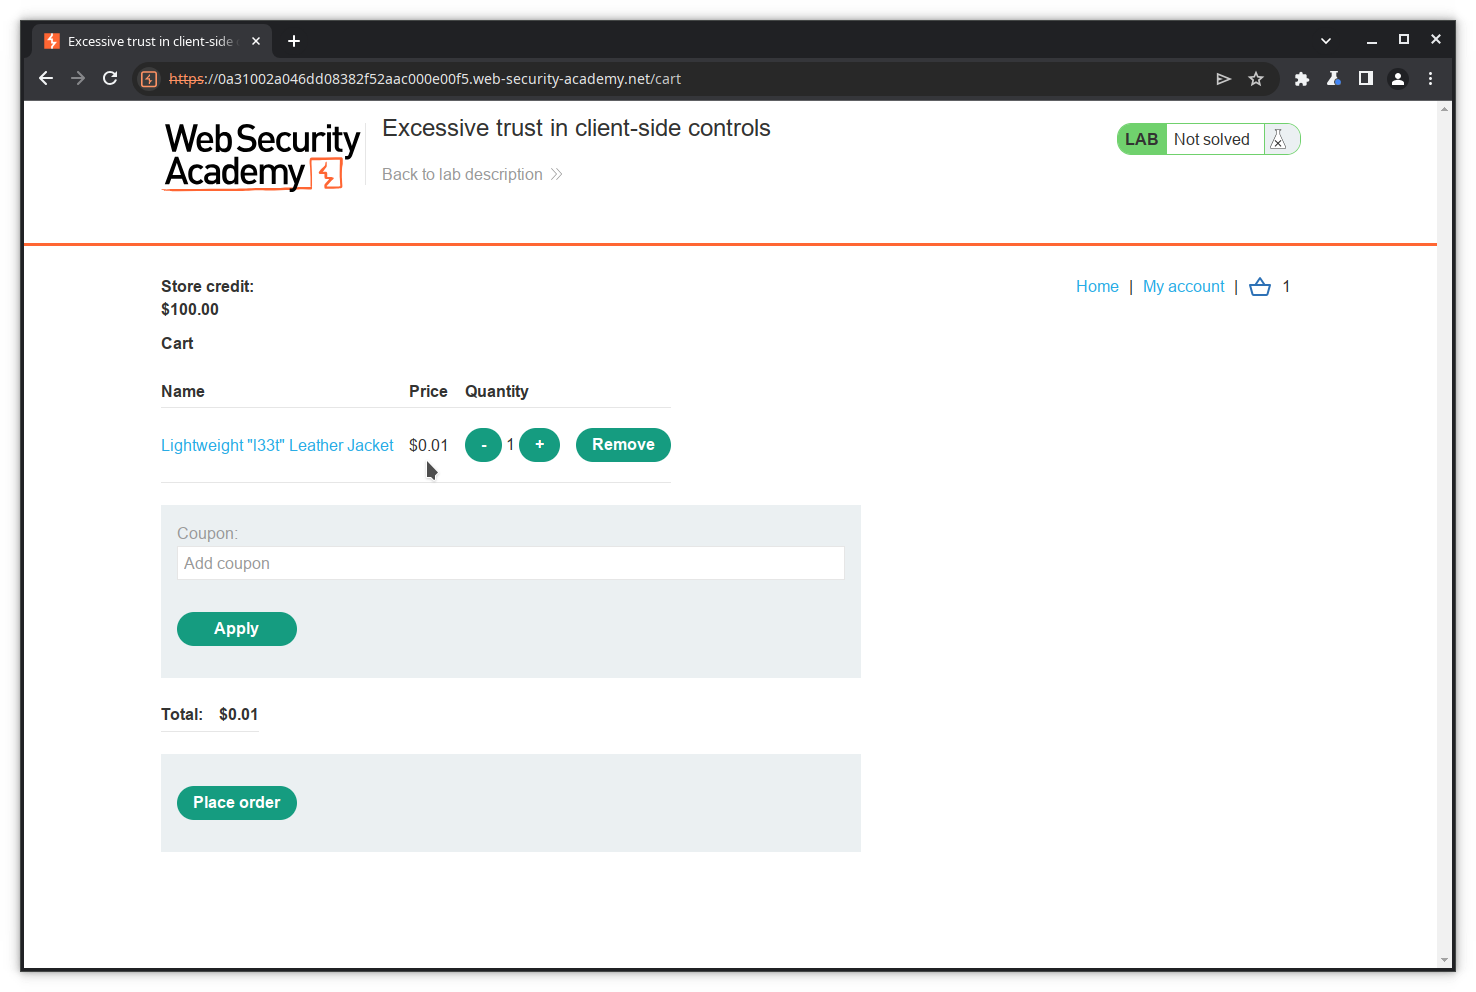
Success! The jacket has been put into our cart with a price of 1 cent thanks to our modified POST.
To be sure, let’s complete our transaction.
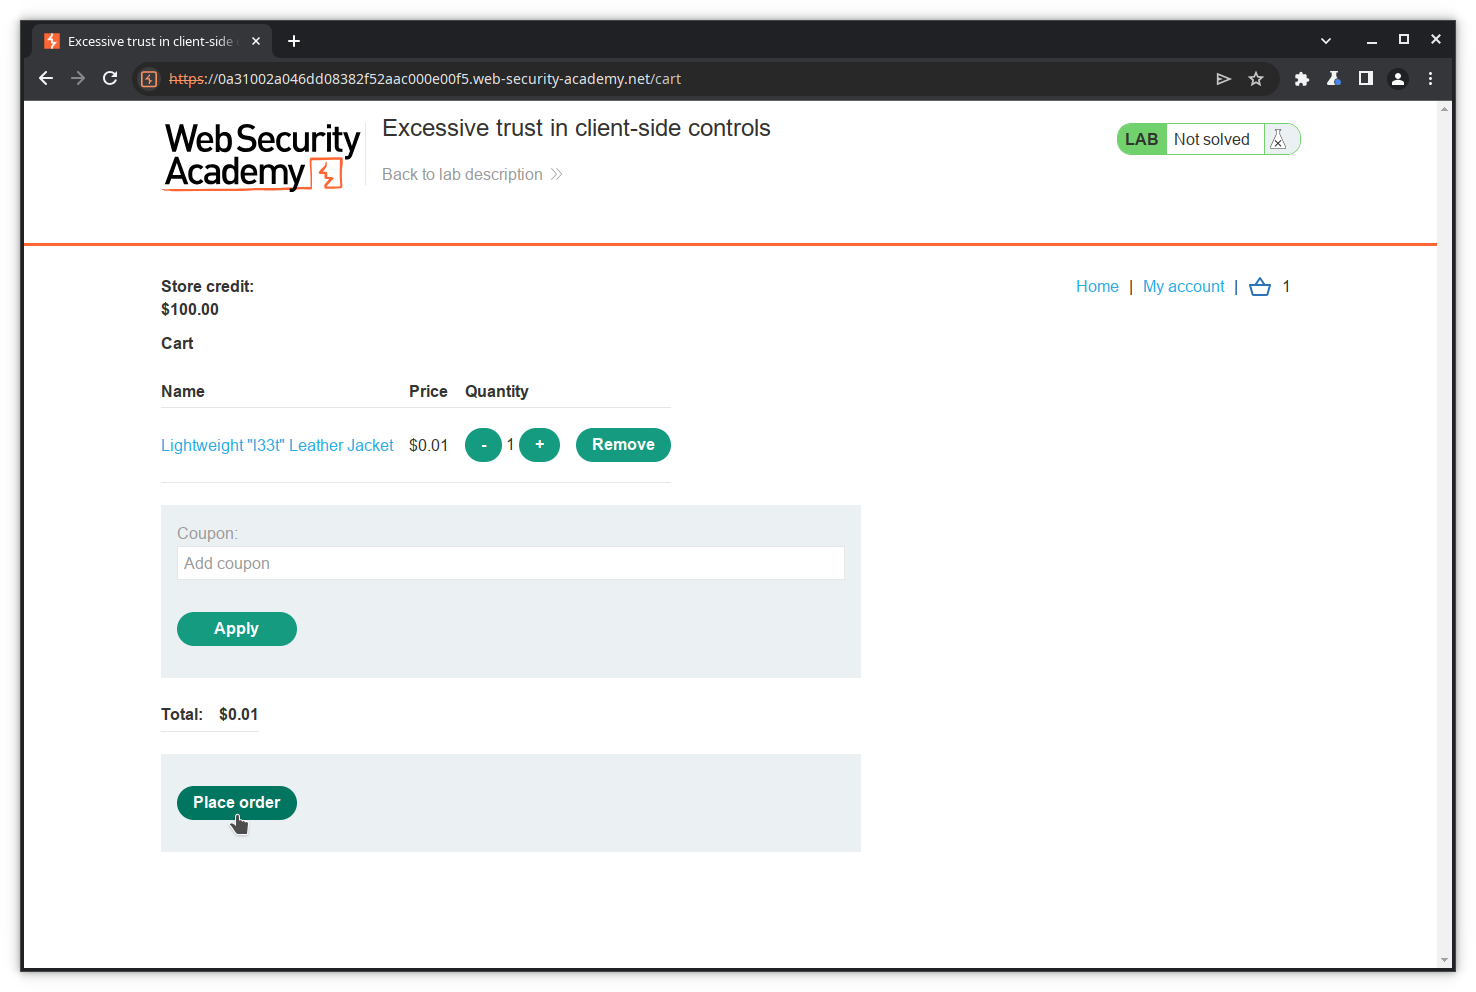
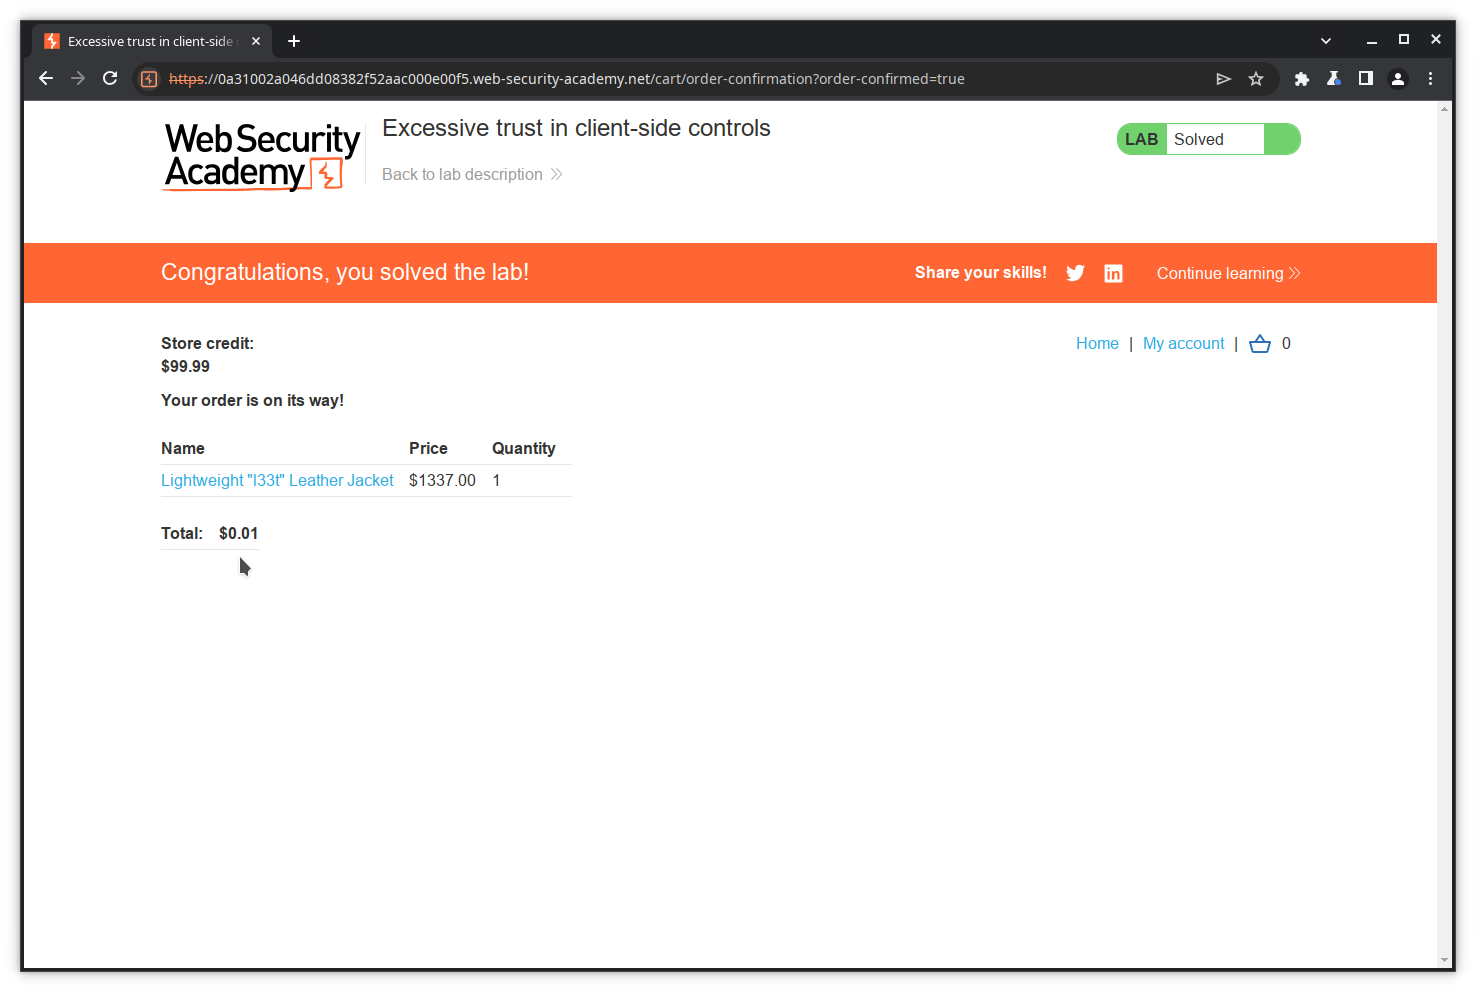
This illustrates the use of the Repeater tool to modify and resend a message.
Note
This exercise shows that a web application should never rely on data sent by the client since it can be modified. All validations must be performed on the server side.
Using Intruder
The following example is available on the Portswigger academy site from the link: https://portswigger.net/web-security/authentication/password-based/lab-username-enumeration-via-different-responses.
Burp Intruder is a tool that allows sending the same HTTP request several times, inserting different payloads into predefined positions each time. In this example, we will use it to brute force the username and password to get access to a web application.
Step 1: Access the application
Click on the link above, and click on Access the lab.
Step 2: Try to log in
The application landing page opens. Click on *My account to try logging in.
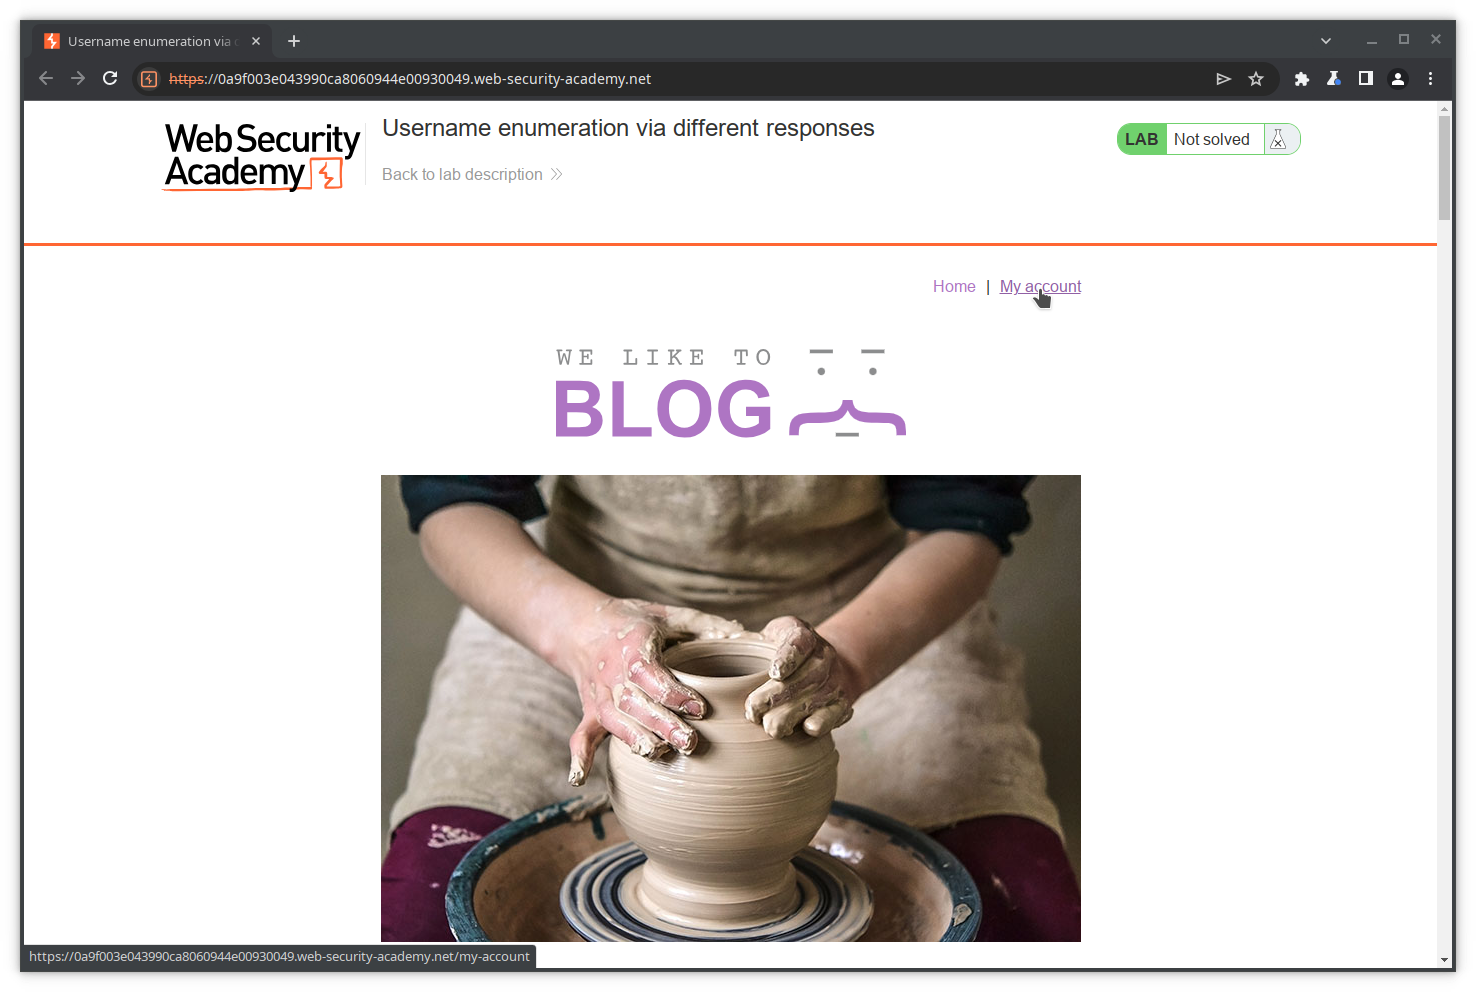
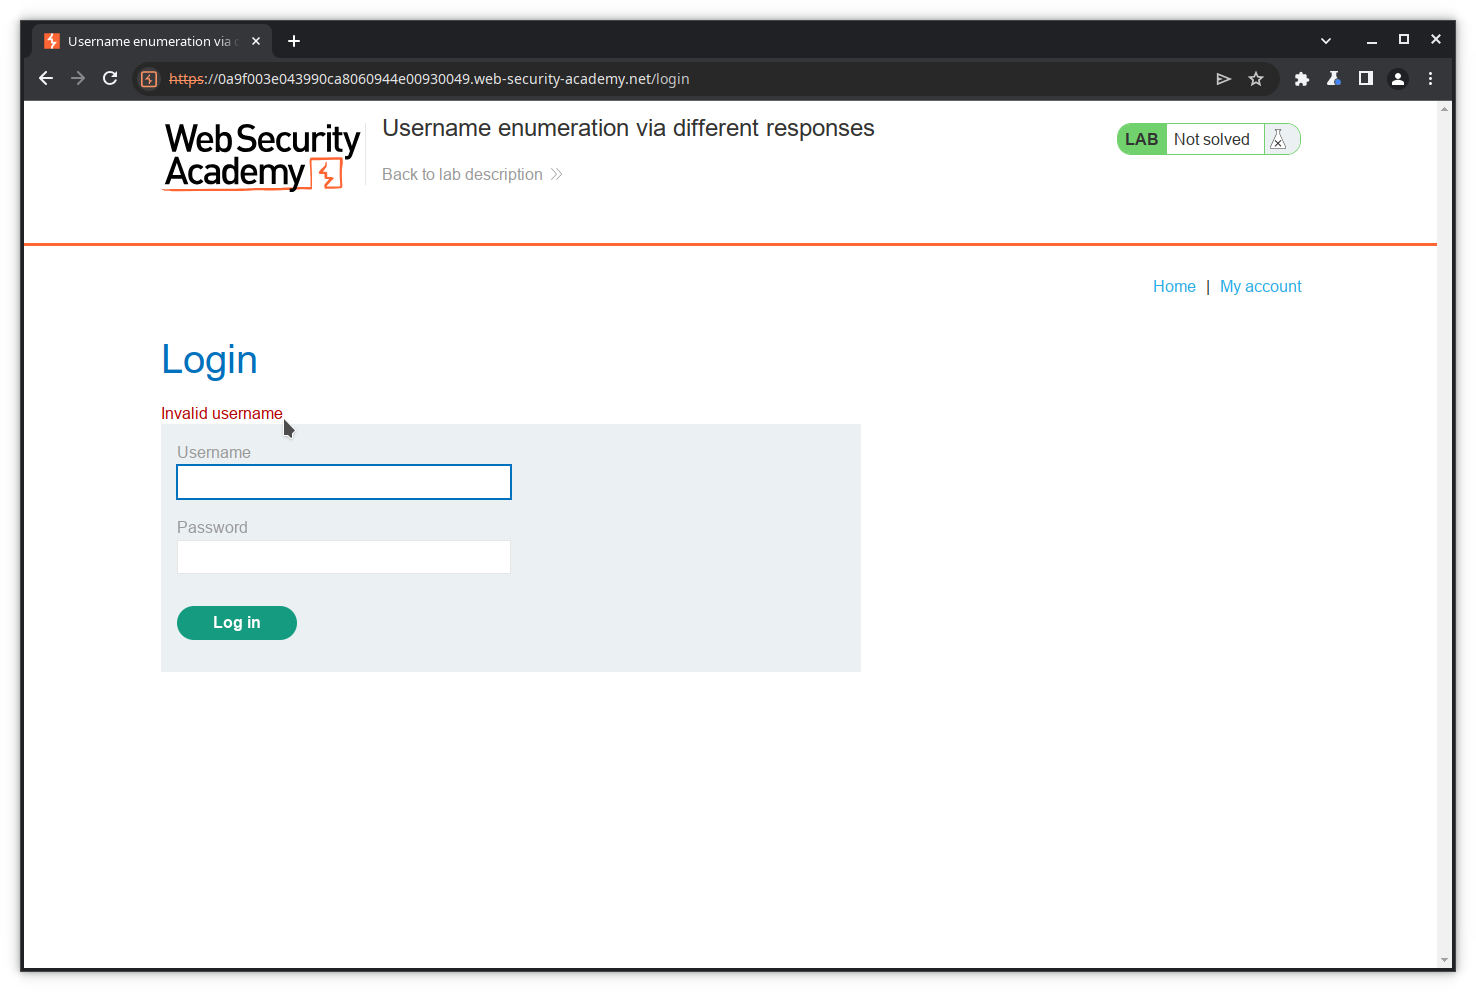
The login page opens. As we don’t have valid credentials, we will try with a random username and password and observe the content of the POST request and the response.
Fill in the Username and Password fields, and press Log in.
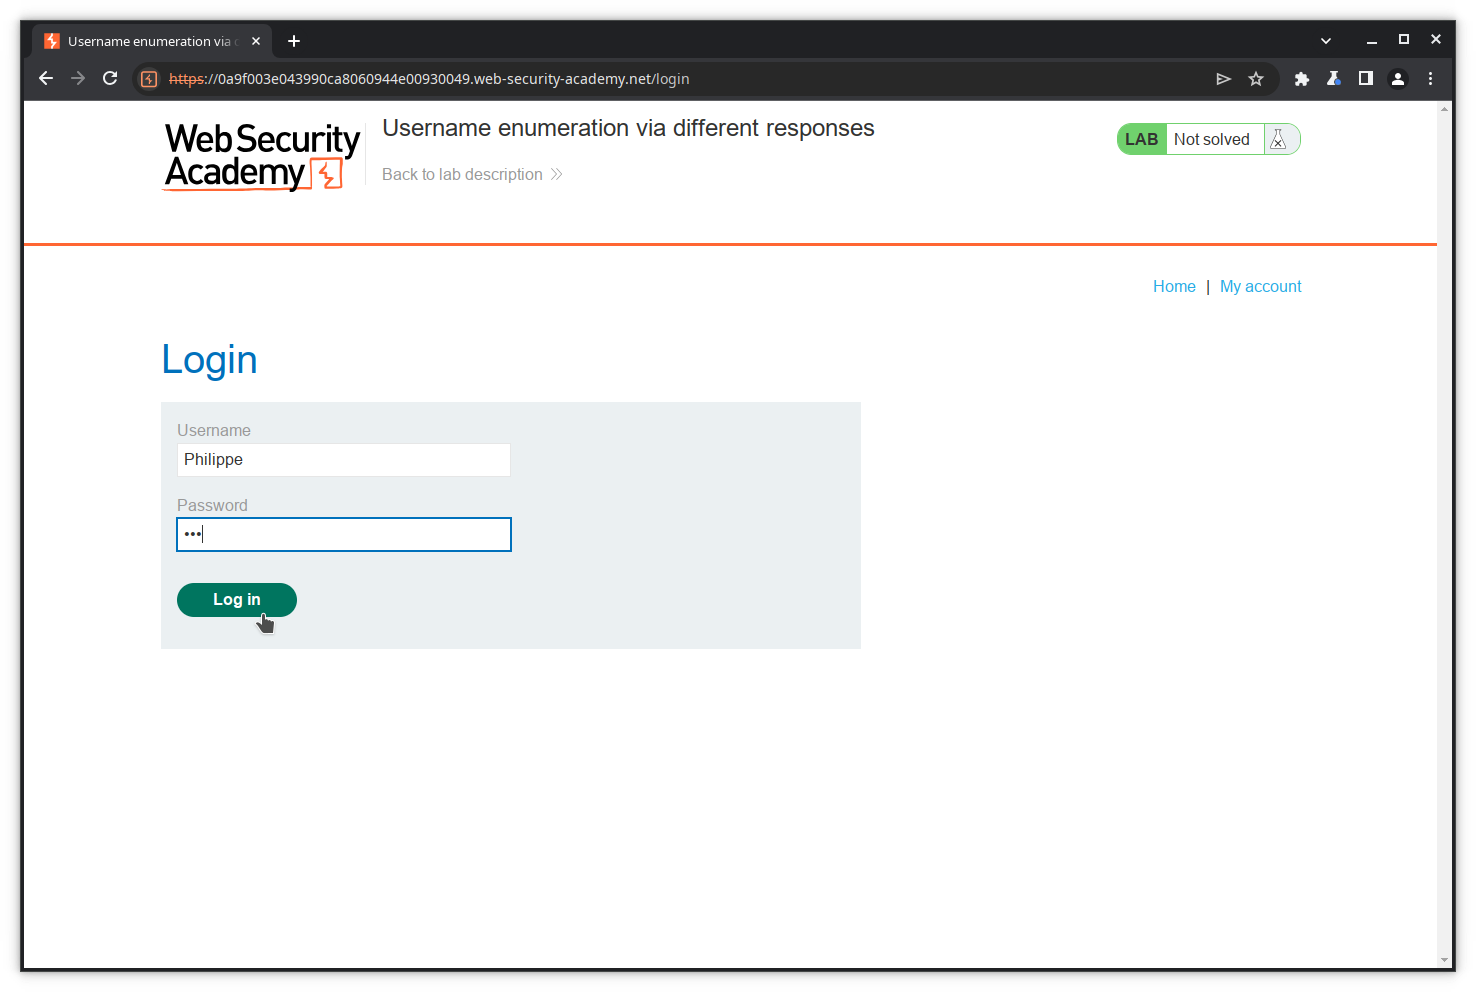
As expected, the application returns an error, but it returns a precious information: the username is wrong. We can therefore expect that, if we ever find the username, the application will return an error like Invalid password.
Step 3: Set the payload position
We will now try to send the login POST request with typical usernames, i.e. brute force the username field, using Intruder.
In the HTTP history of Burp, go to the login POST request, double click on the value of the username variable on the last line, right click on the request and select Send to Intruder.
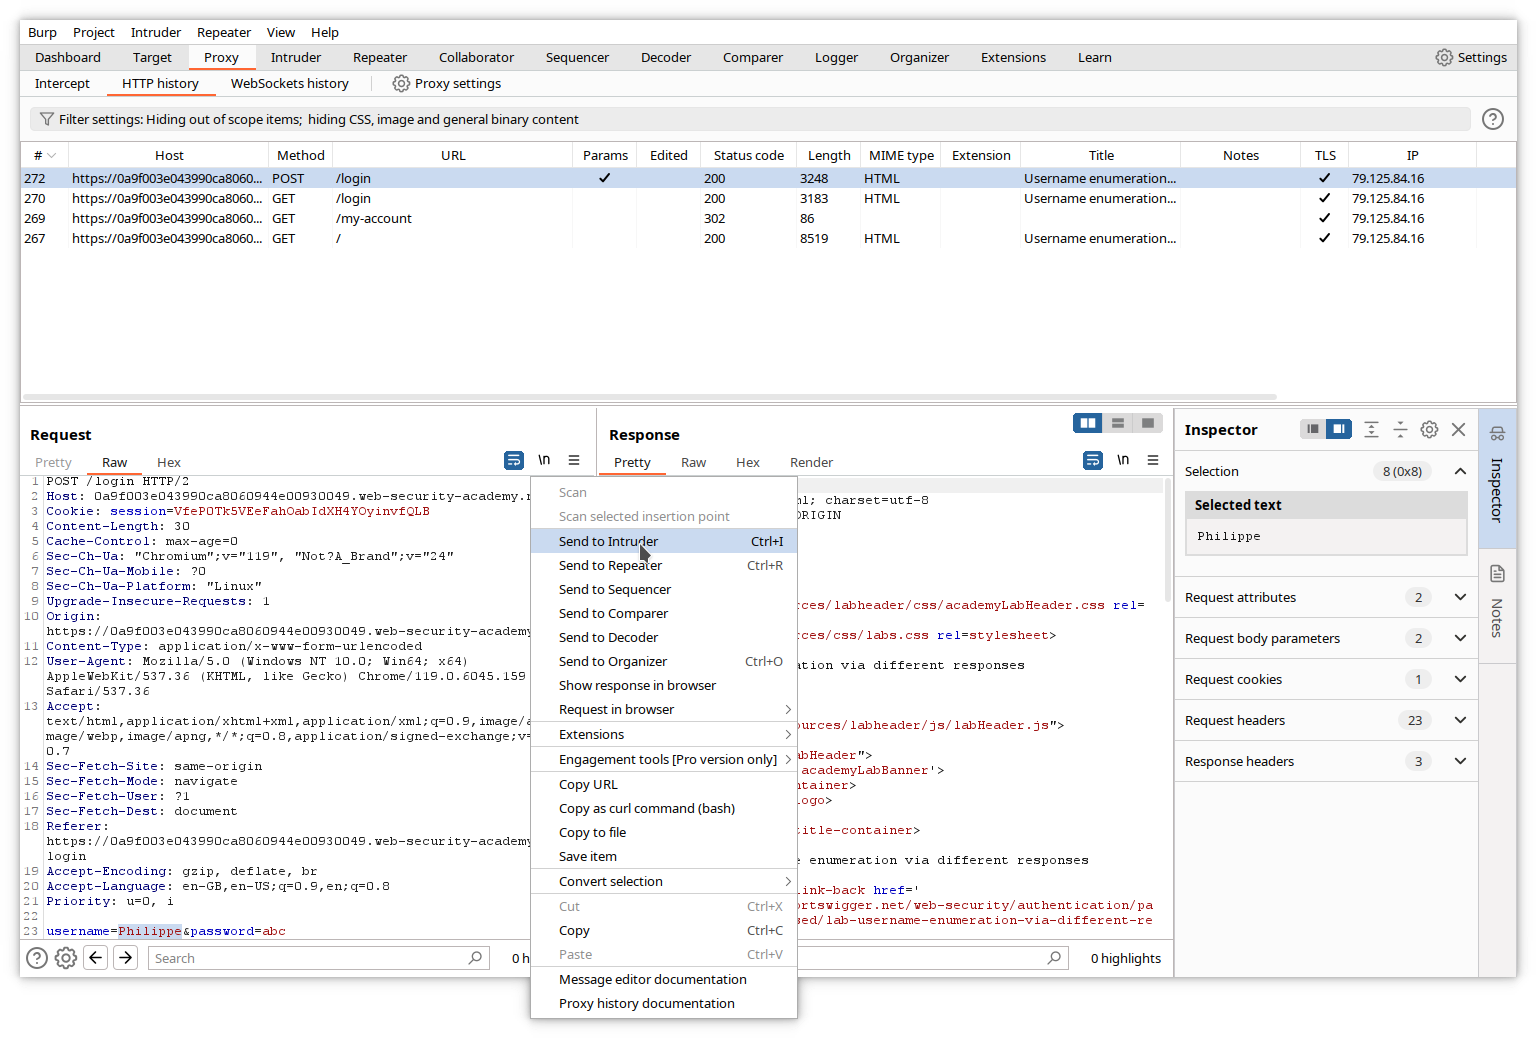
Go to the Intruder tab. The login POST request has been copied, with the selected value surrounded by paragraph (§) characters. This indicates a position where Intruder will insert a specific payload.
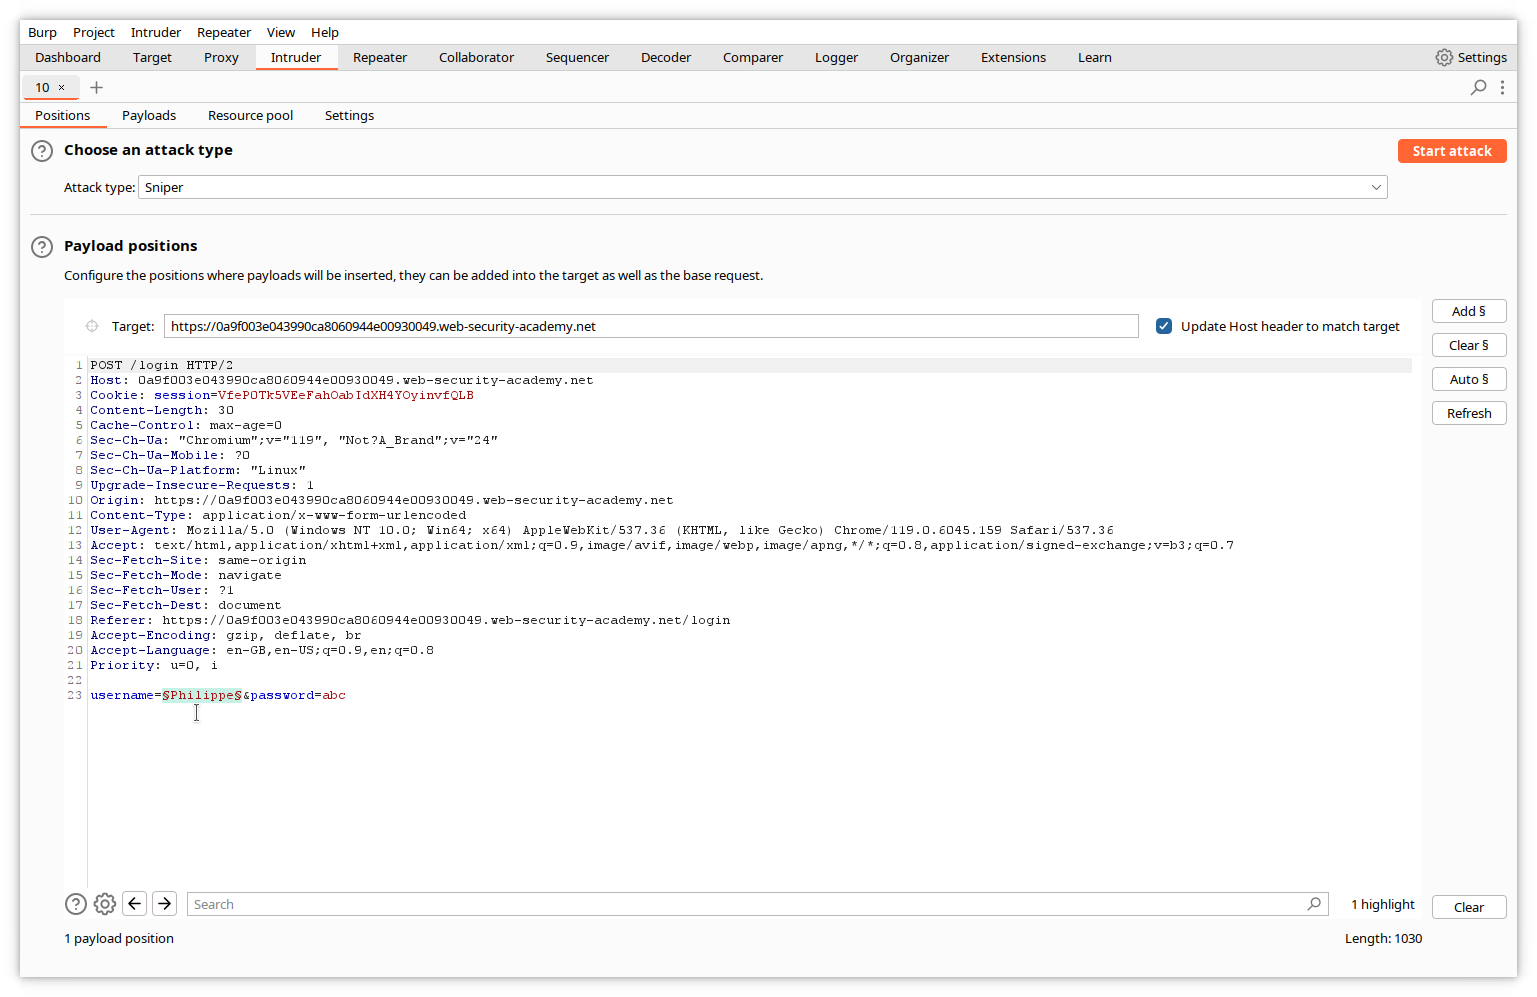
Check the Attack type at the top of the screen is set to Sniper. Sniper attack inserts a single set of payloads, one at a time, into one or more positions in the request.
Step 4: Add the payload
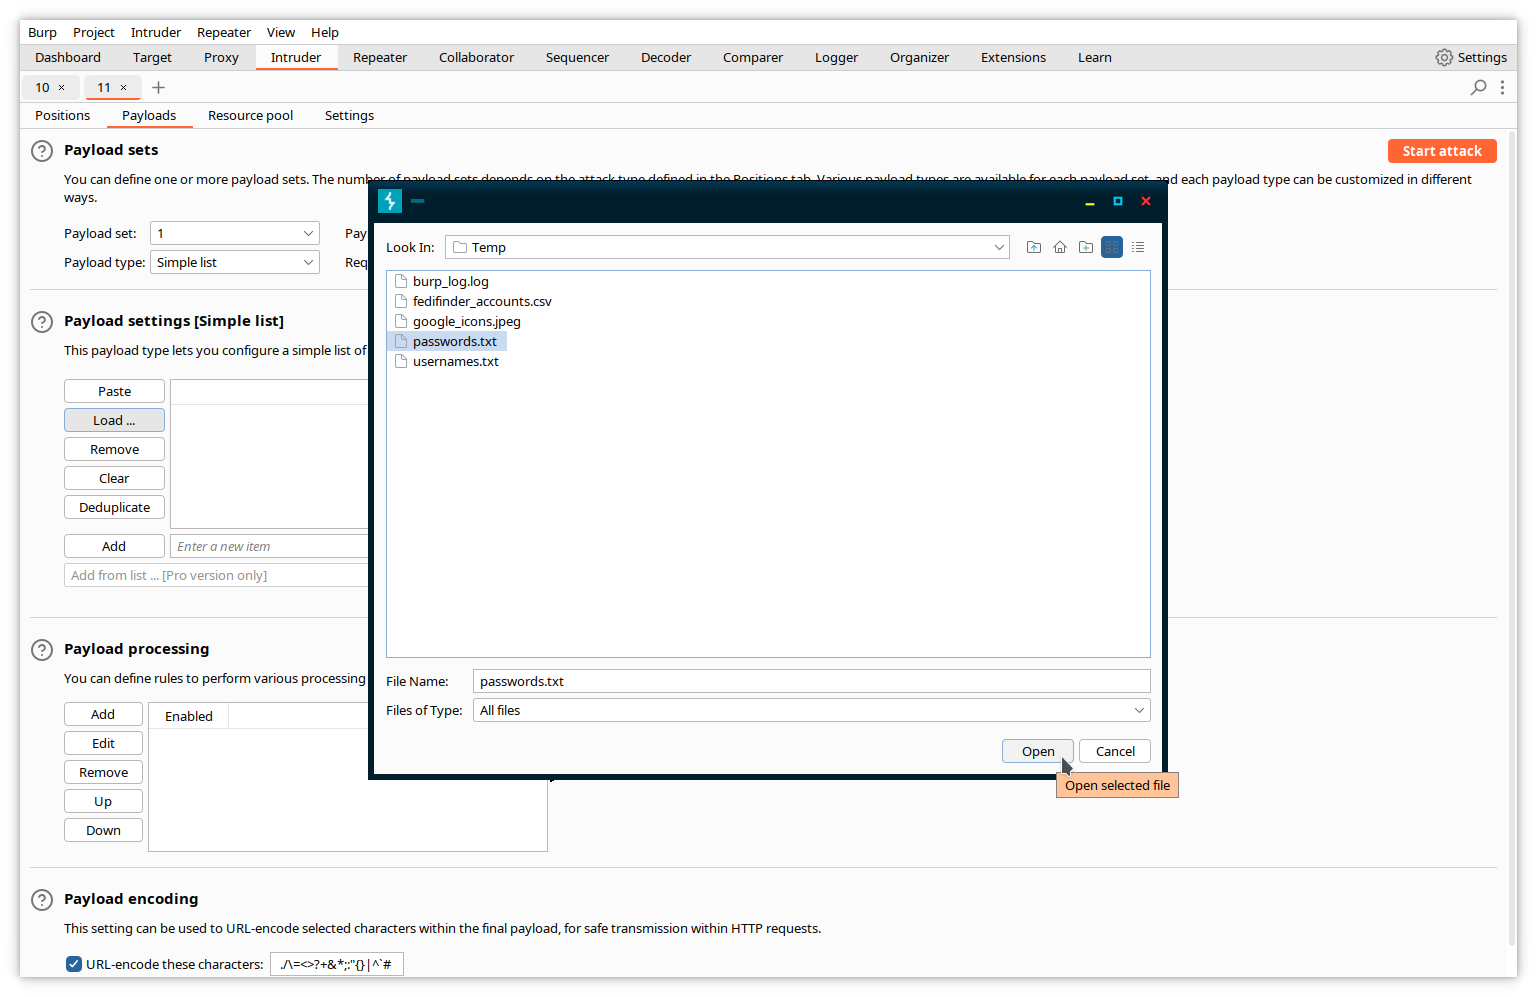
In Intruder, click the Payloads tab. This window allows you to input a list of values for the payload, or to specify a file containing this list.
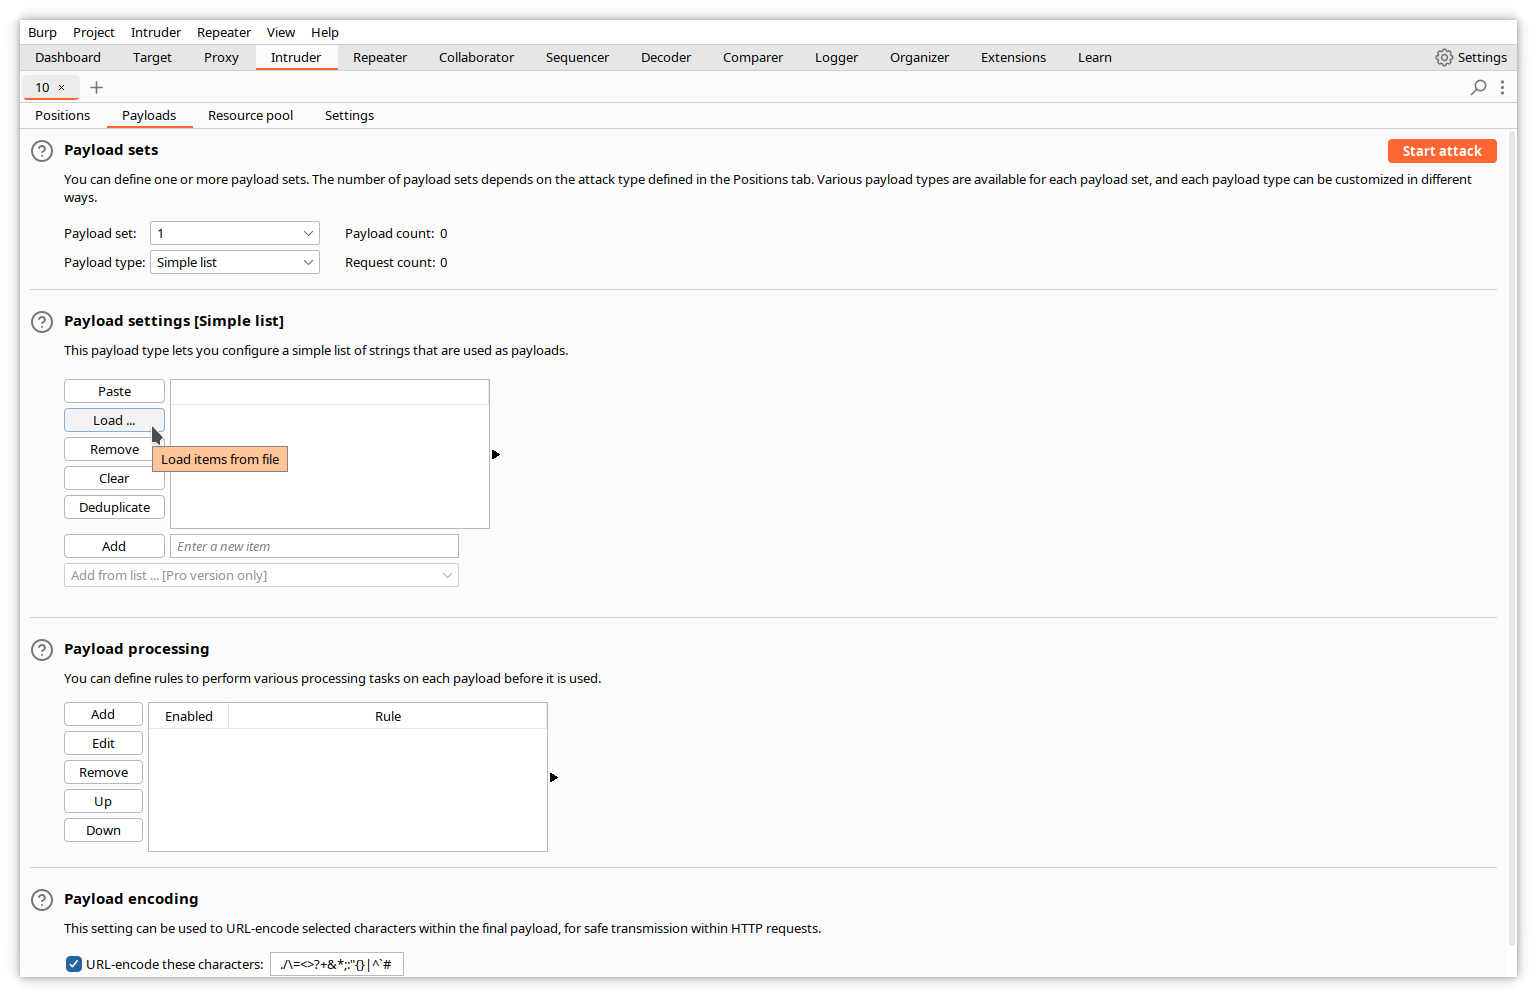
In our case, we will load a file containing a list of usual usernames. Click the Load button, and select the filename in the dialog window.
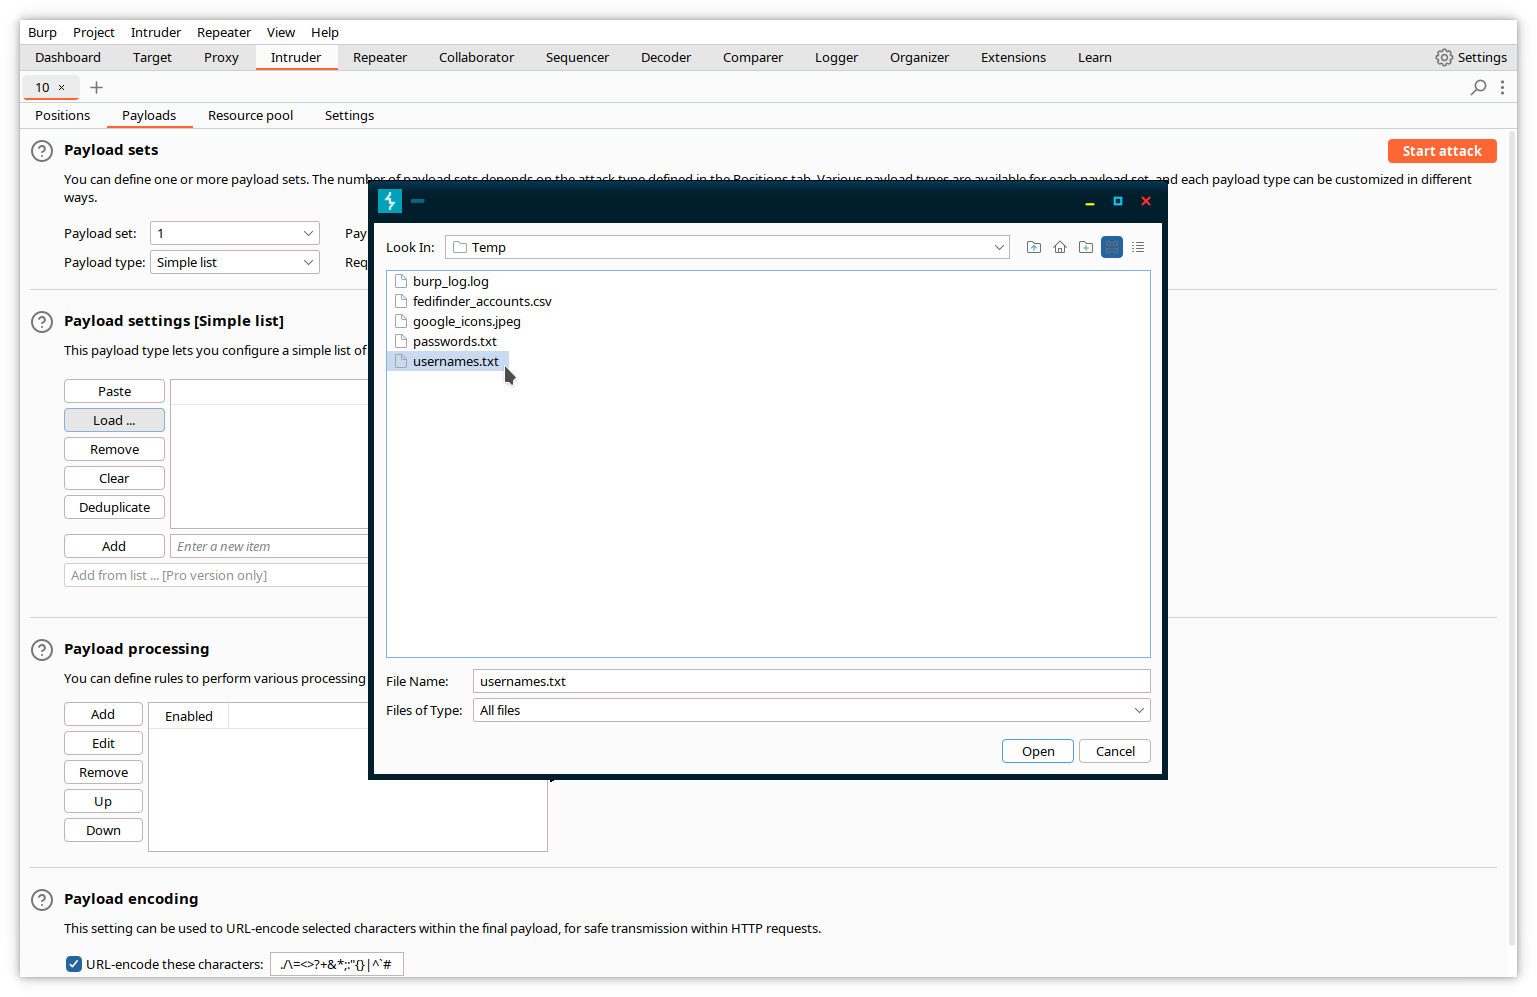
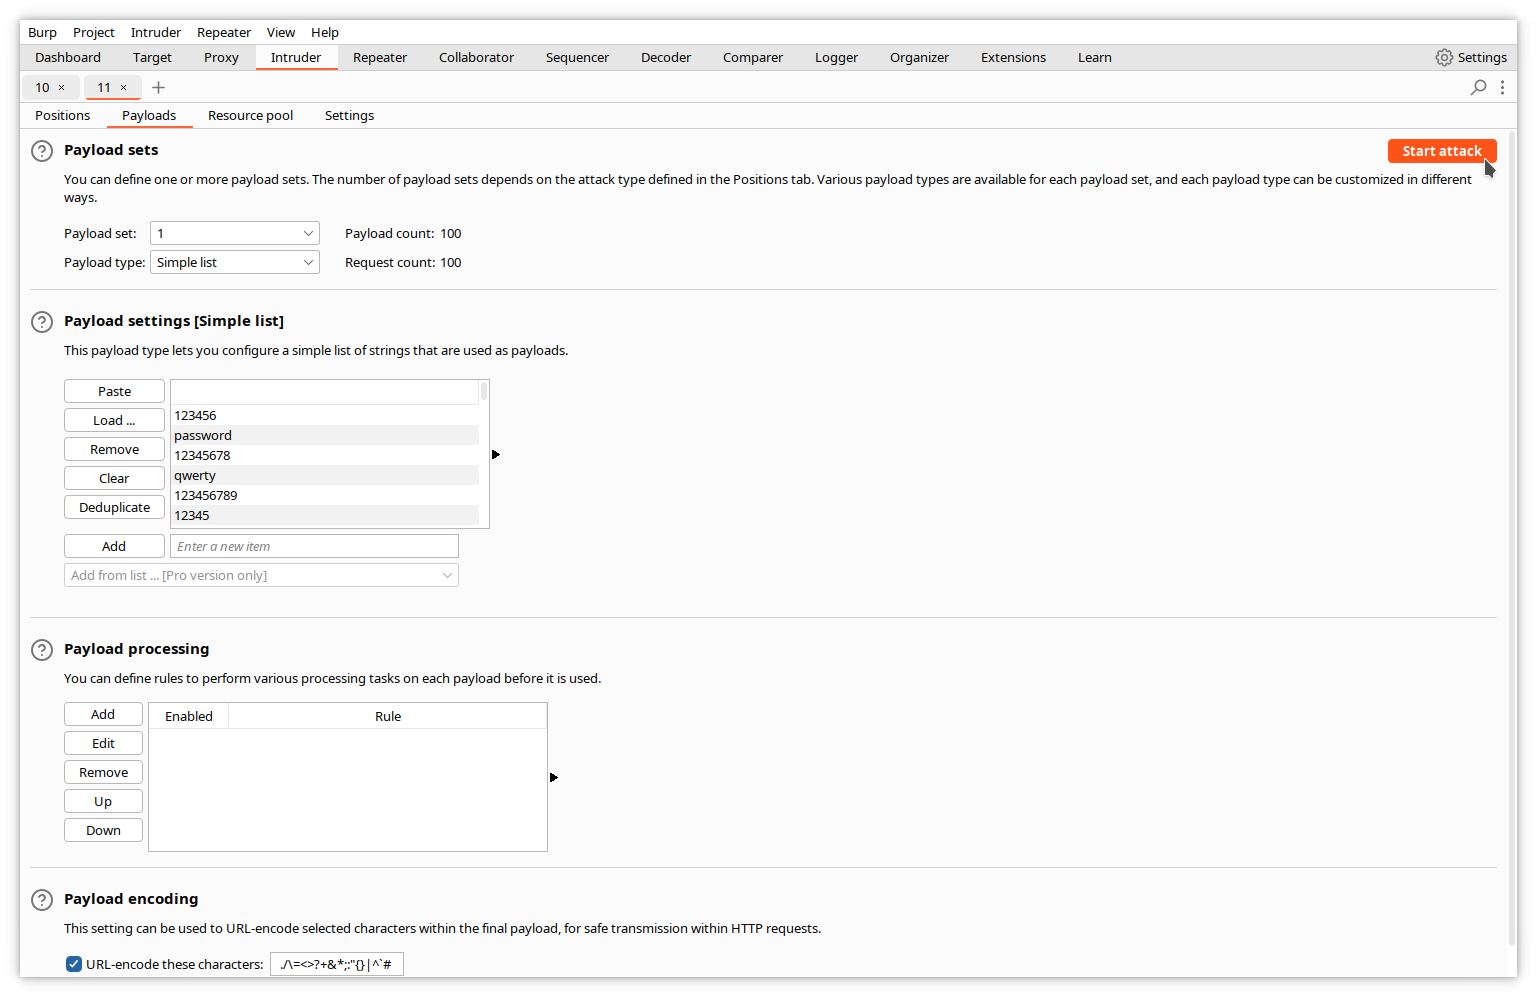
Note that the Payload count and Request count values are updated with the number of entries in the list.
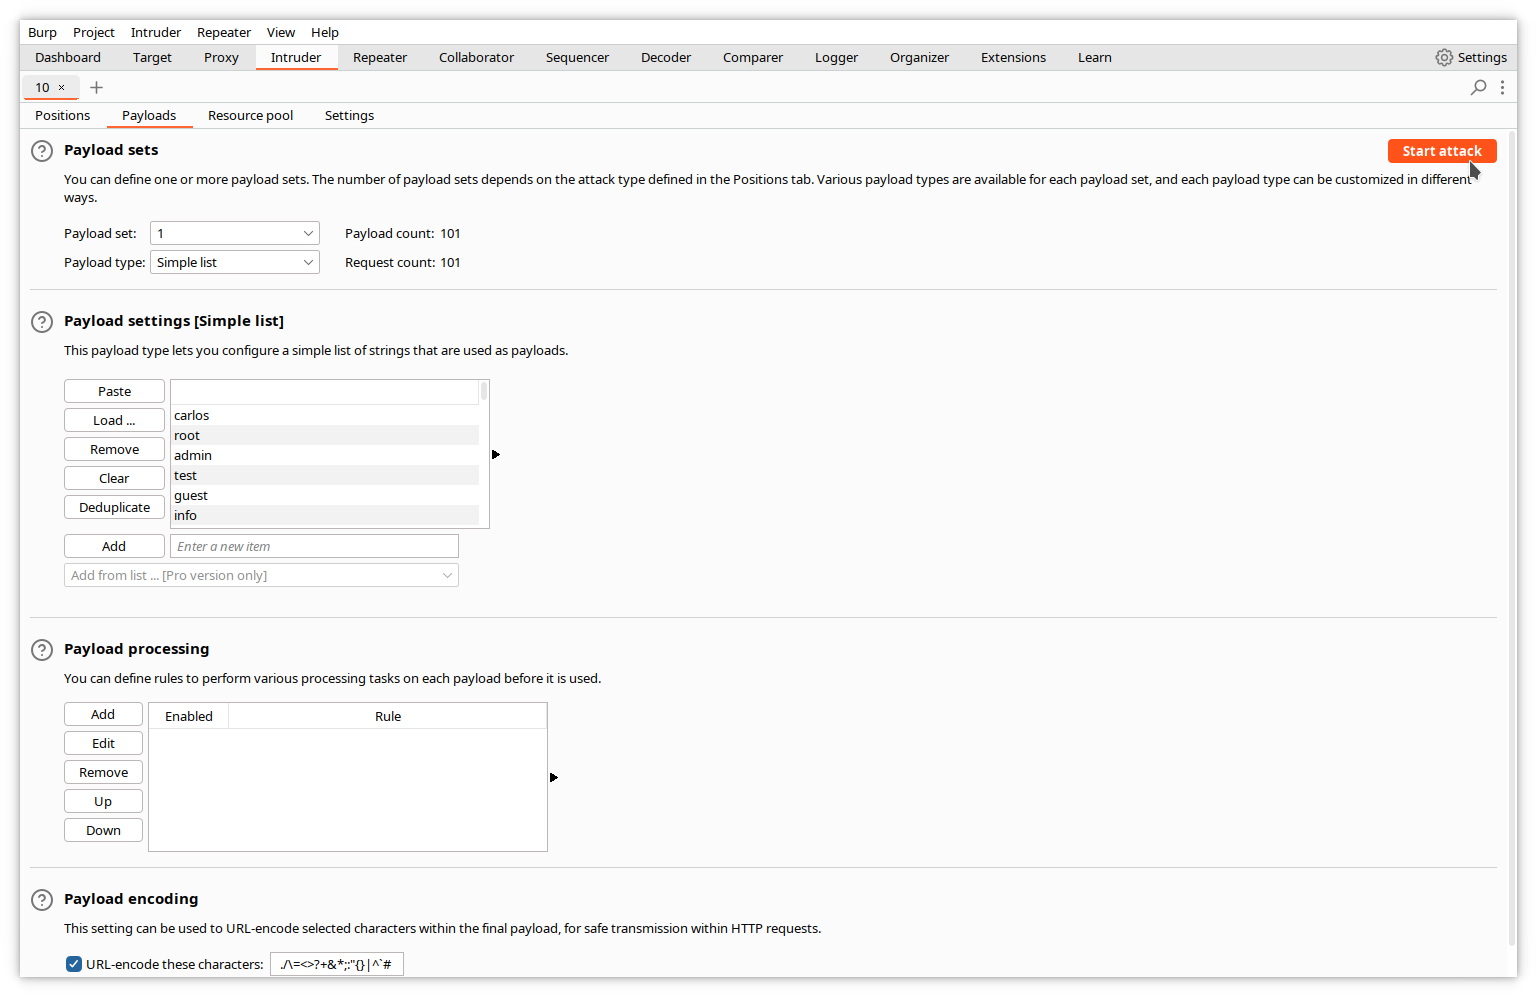
Step 5: Start the attack
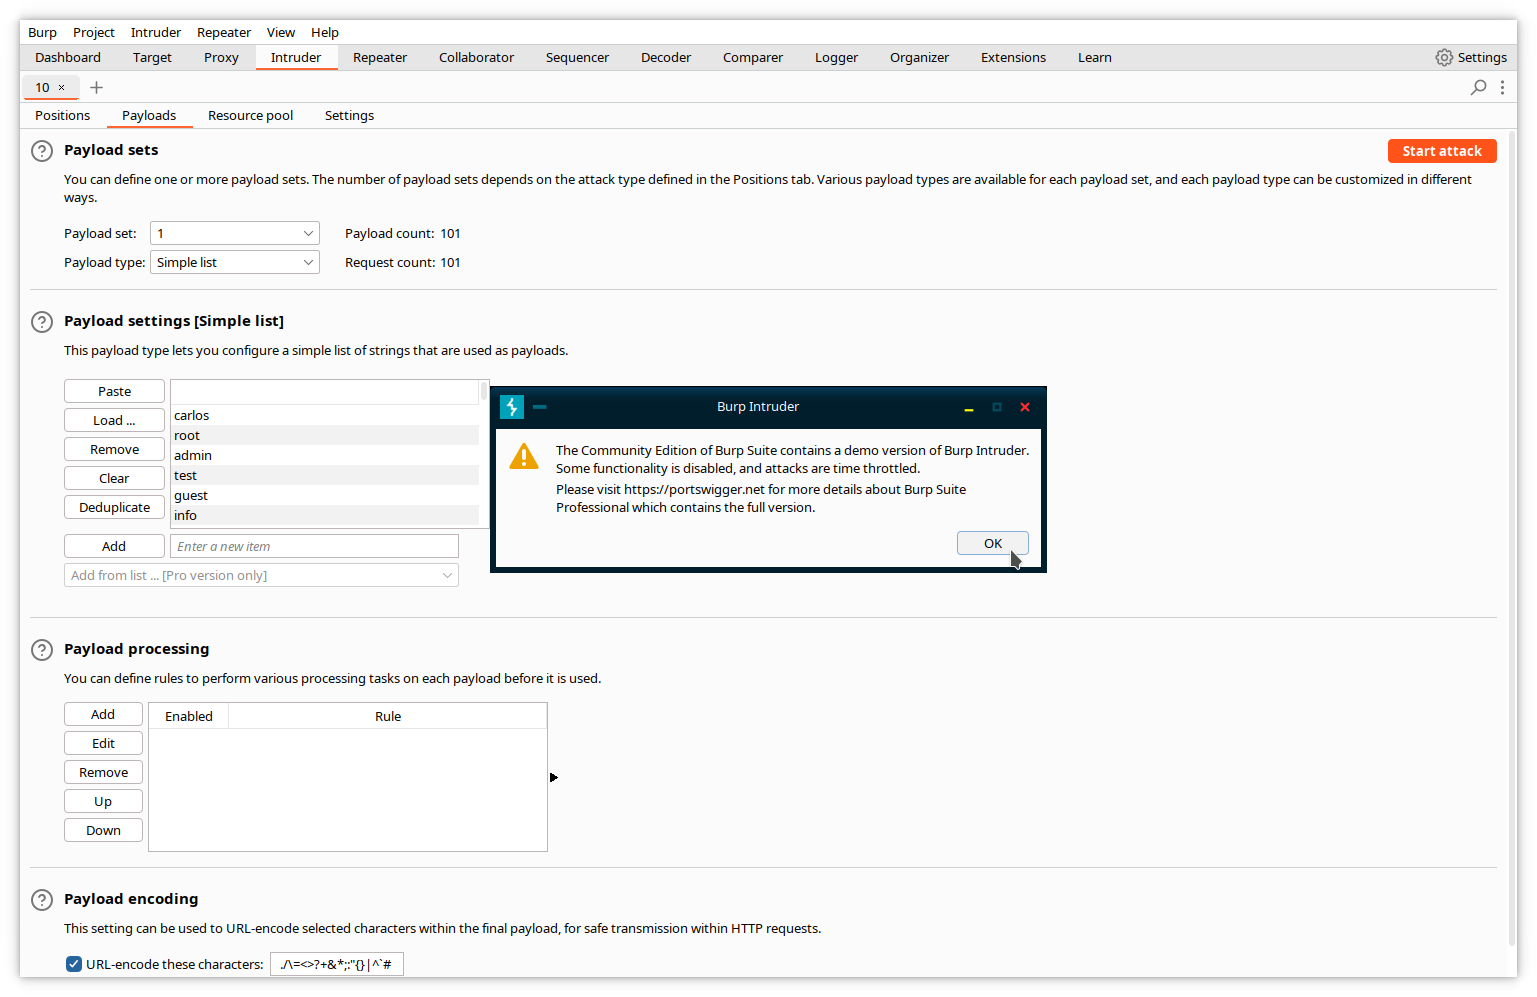
Click the Start attack button. A popup appears, warning you that the community edition only supports a limited set of features of Intruder, and limits the rate at which requests are sent. The larger the number of requests, the longer the delay between two requests. Dismiss the warning.
An attack window opens, where you can see a summary of each request sent by Intruder, with the payload value.
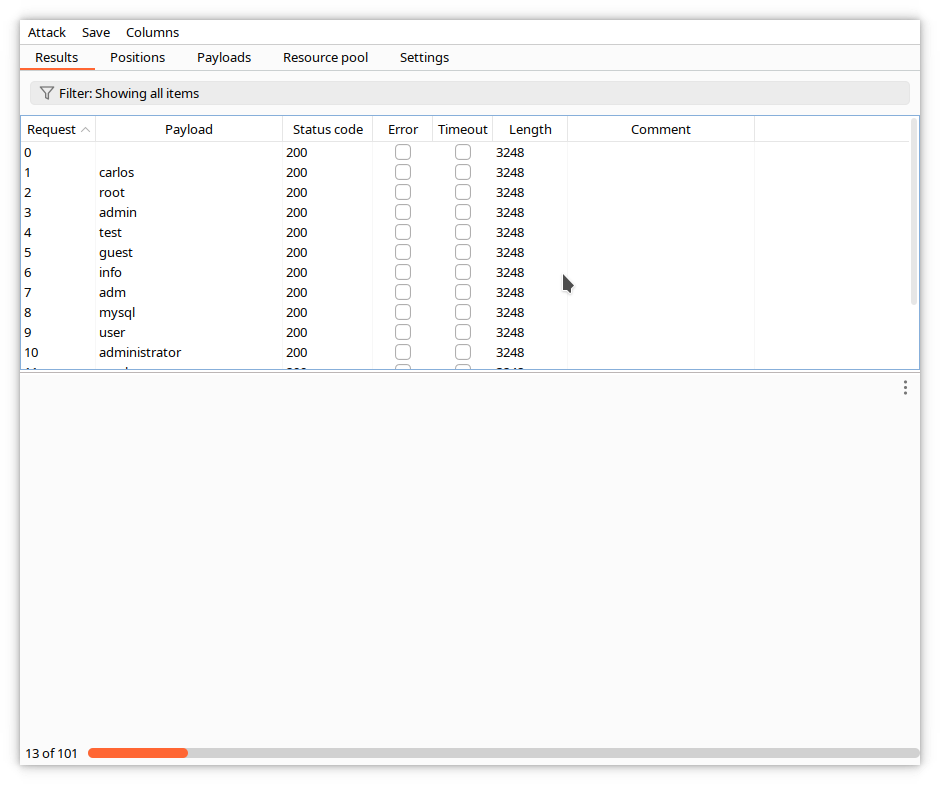
When the attack finishes, sort the responses by length by clicking on the title of the Length column. You can see that one of the responses is different.
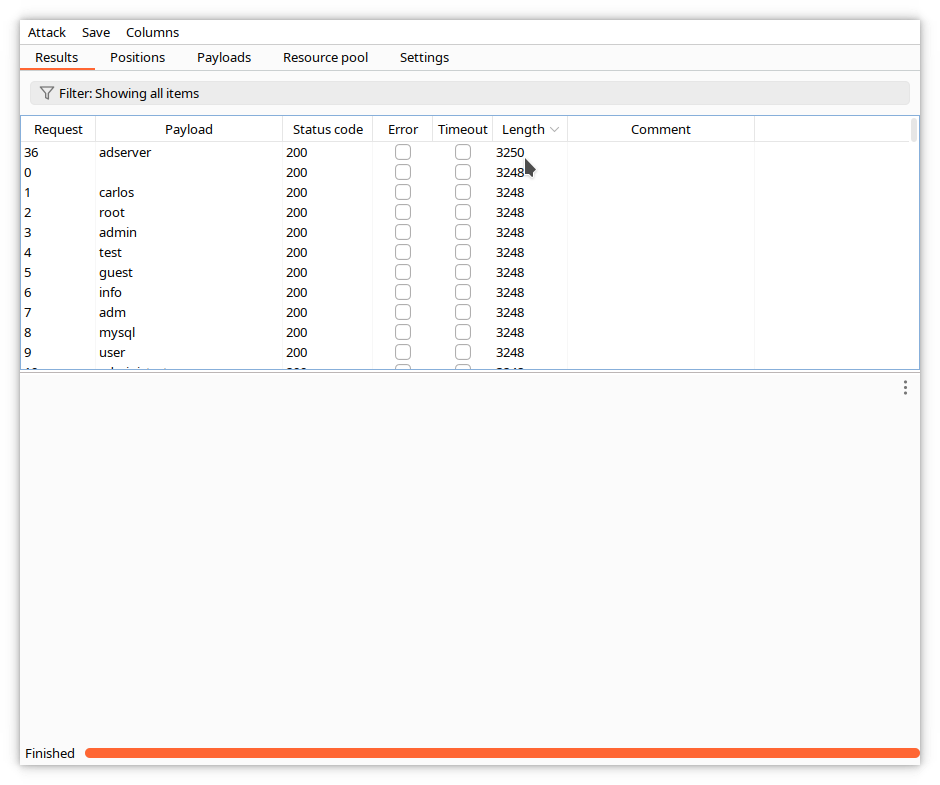
Click on the corresponding line, and examine the content of the request.
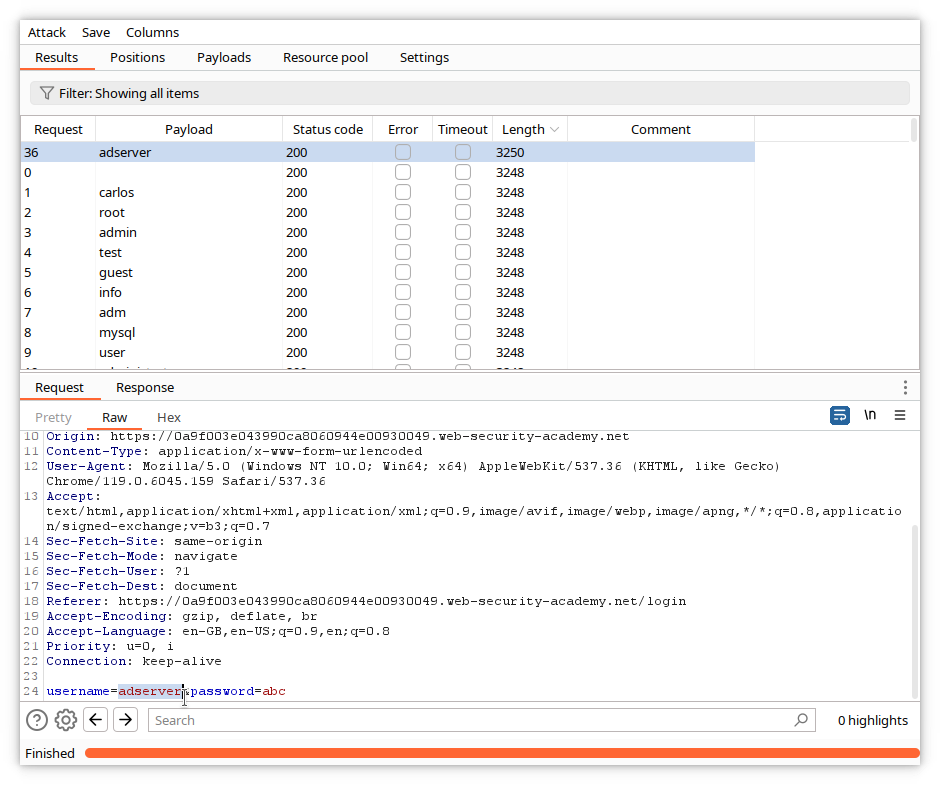
The different response corresponds with the request containing the adserver username. Examine now the response by clicking on the Response tab.
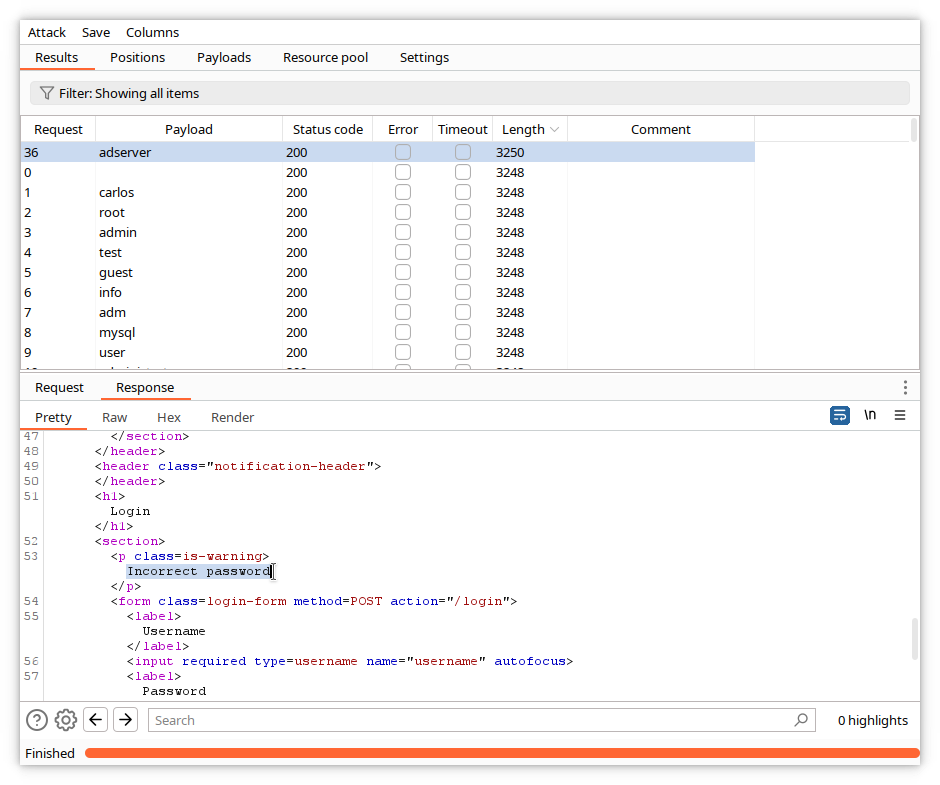
The error message has changed and is Incorrect password. This means that the proposed username is correct.
Let’s try now to find the password. We will use the same tools, with a different payload list corresponding to frequently used passwords. First, close the current attack window. Intruder will ask for confirmation. Click Discard.
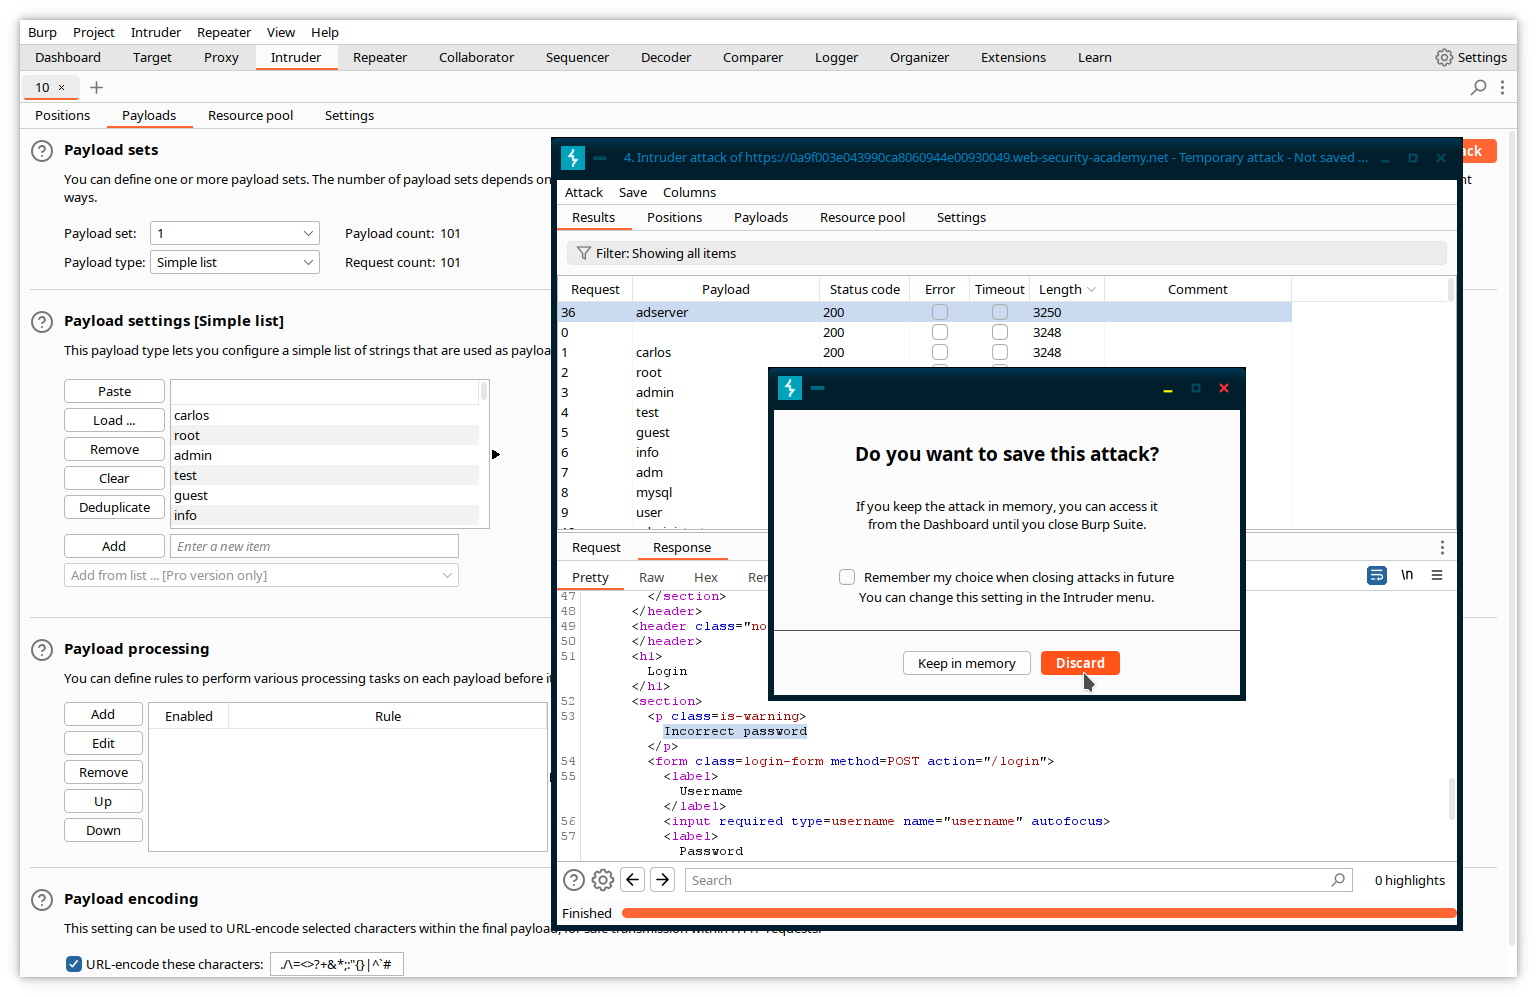
In the main Burp window, return to the original login POST message, highlight now the password variable, and send it again to Intruder.
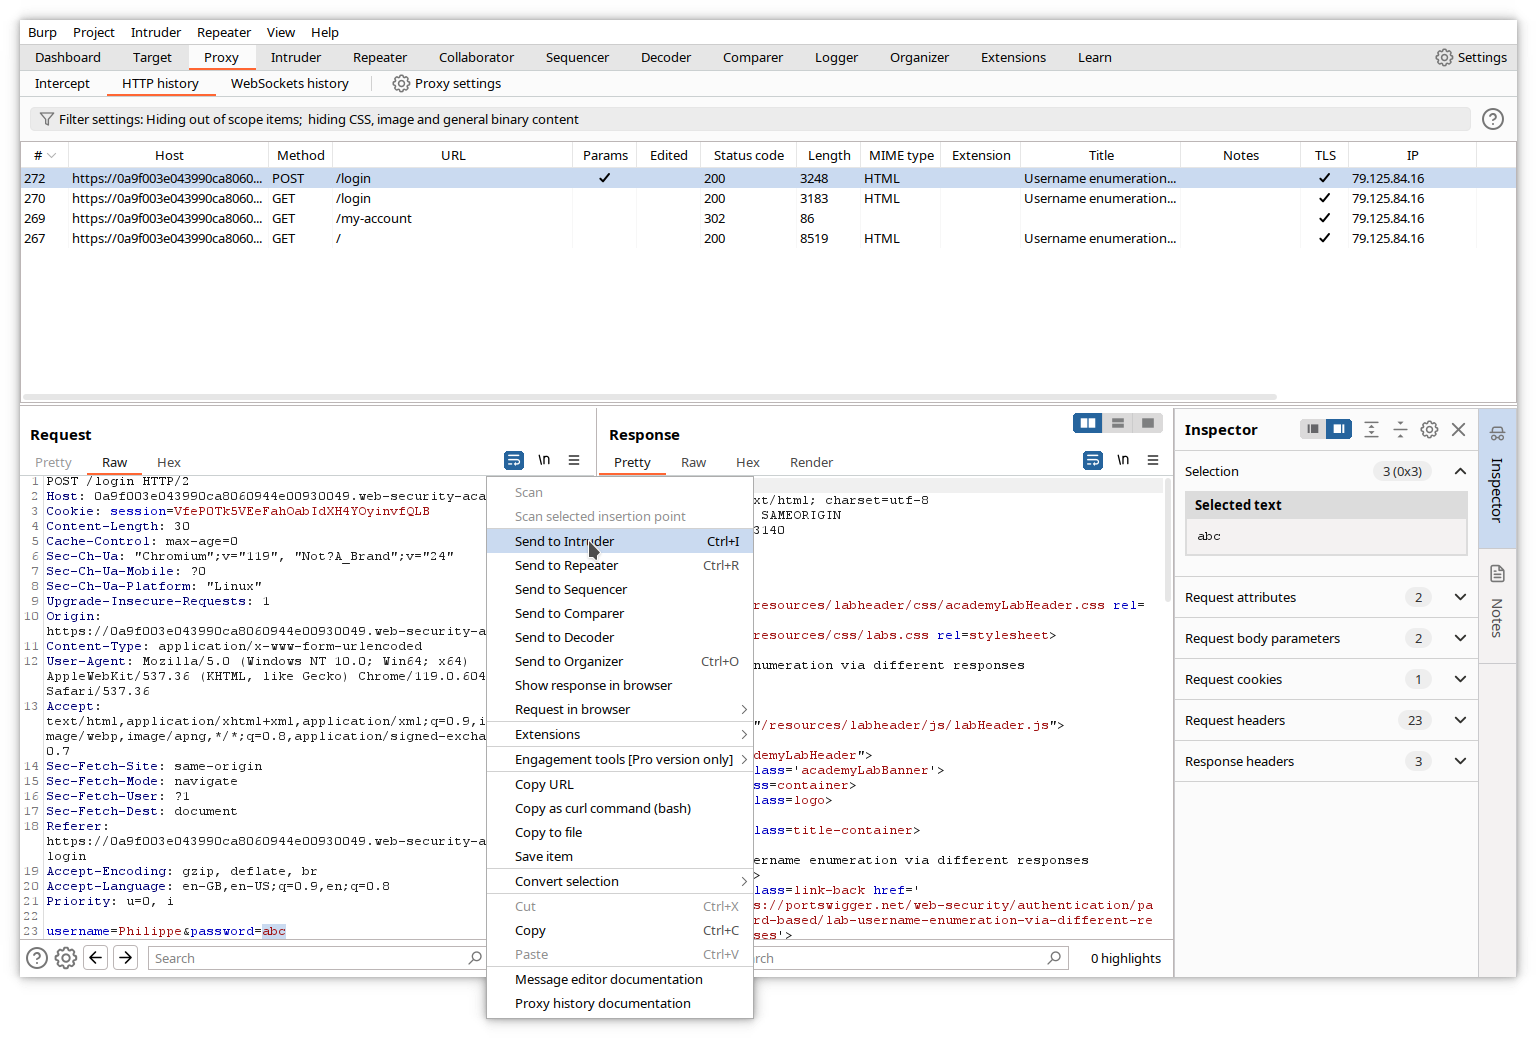
In Intruder, replace the username by the correct one, click the Payloads tab and load the file containing the password list.
Then, start the new attack.
Let it run.
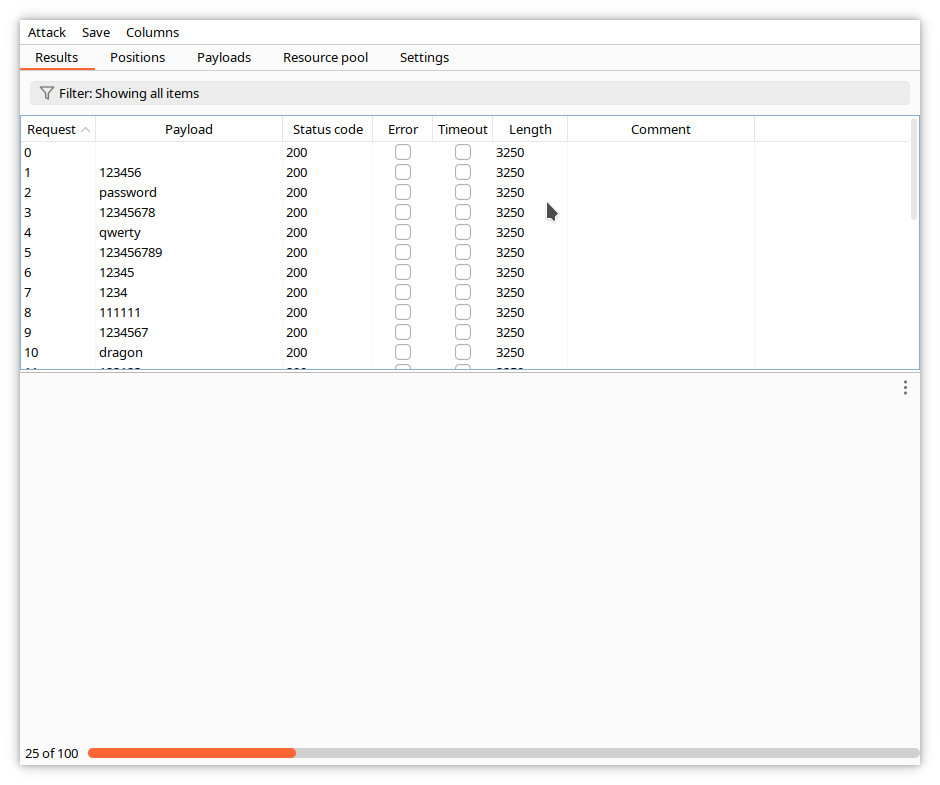
When the attack finishes, sort the responses by length, and select the unique one.
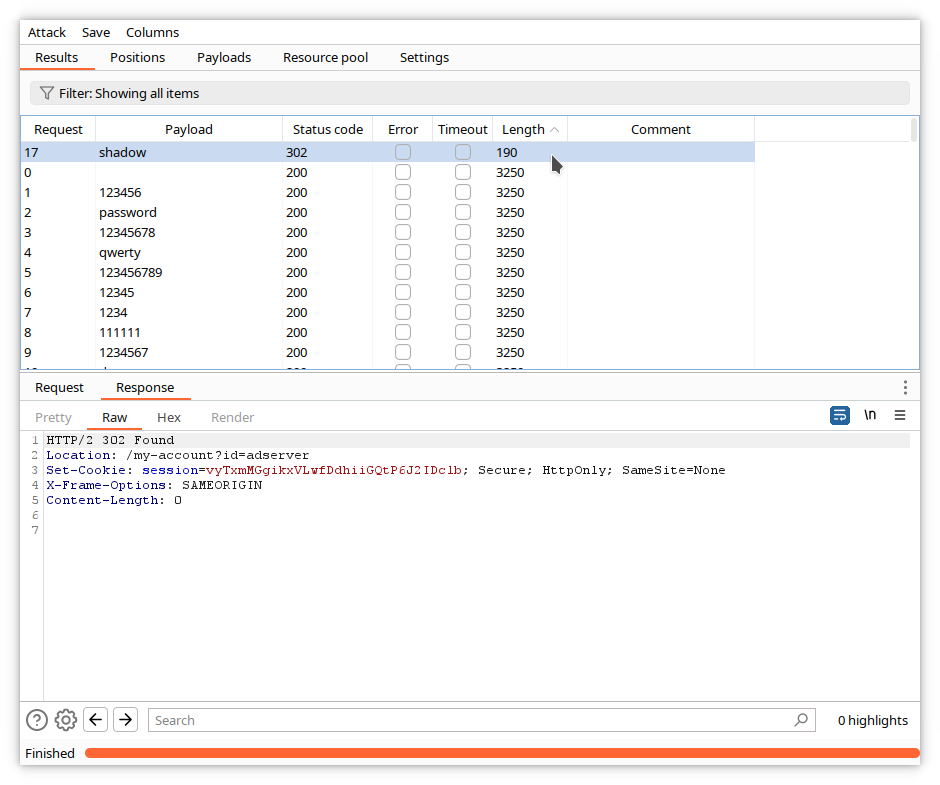
It does not include any error message, so we can assume it corresponds to the right password, in our case shadow.
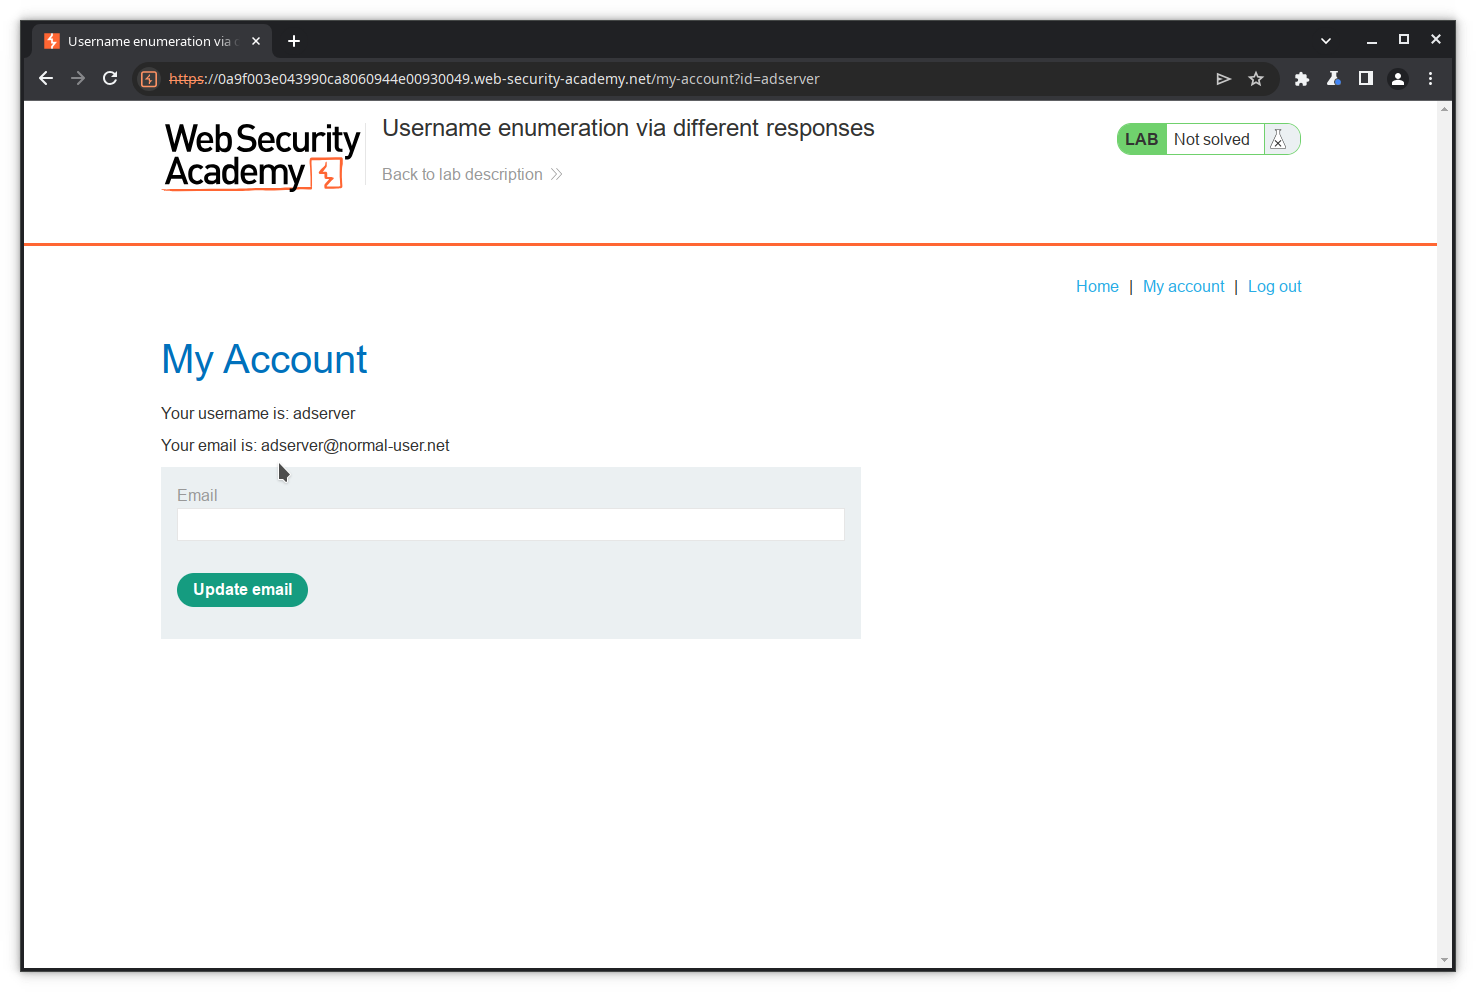
Let’s confirm in the browser by performing an interactive login with the found credentials.
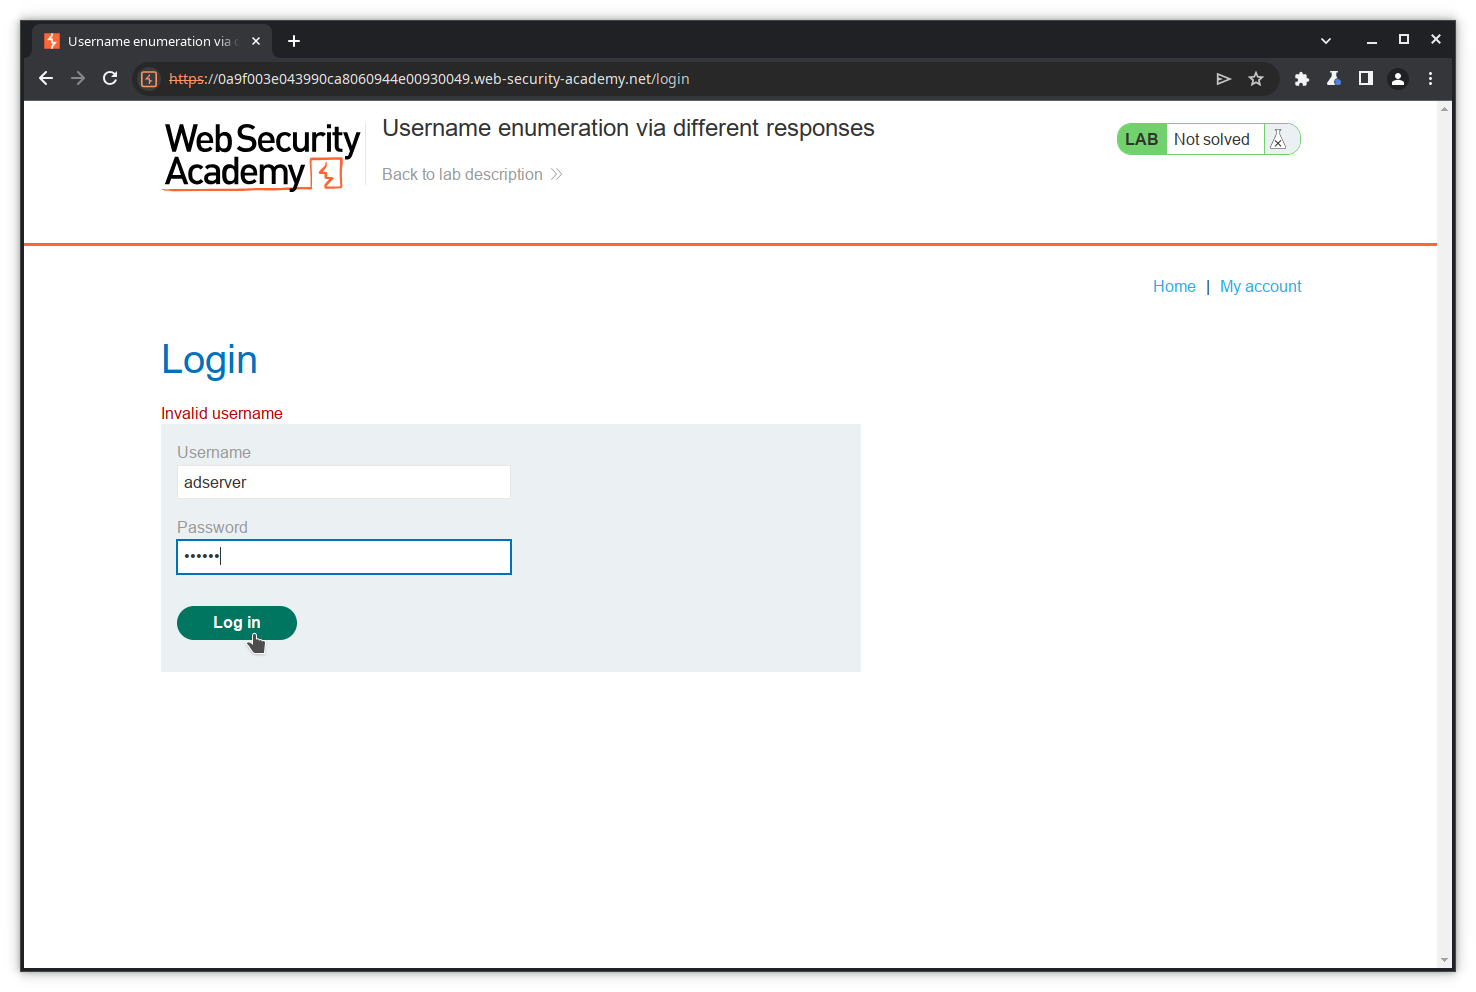
Success!!
Other tools
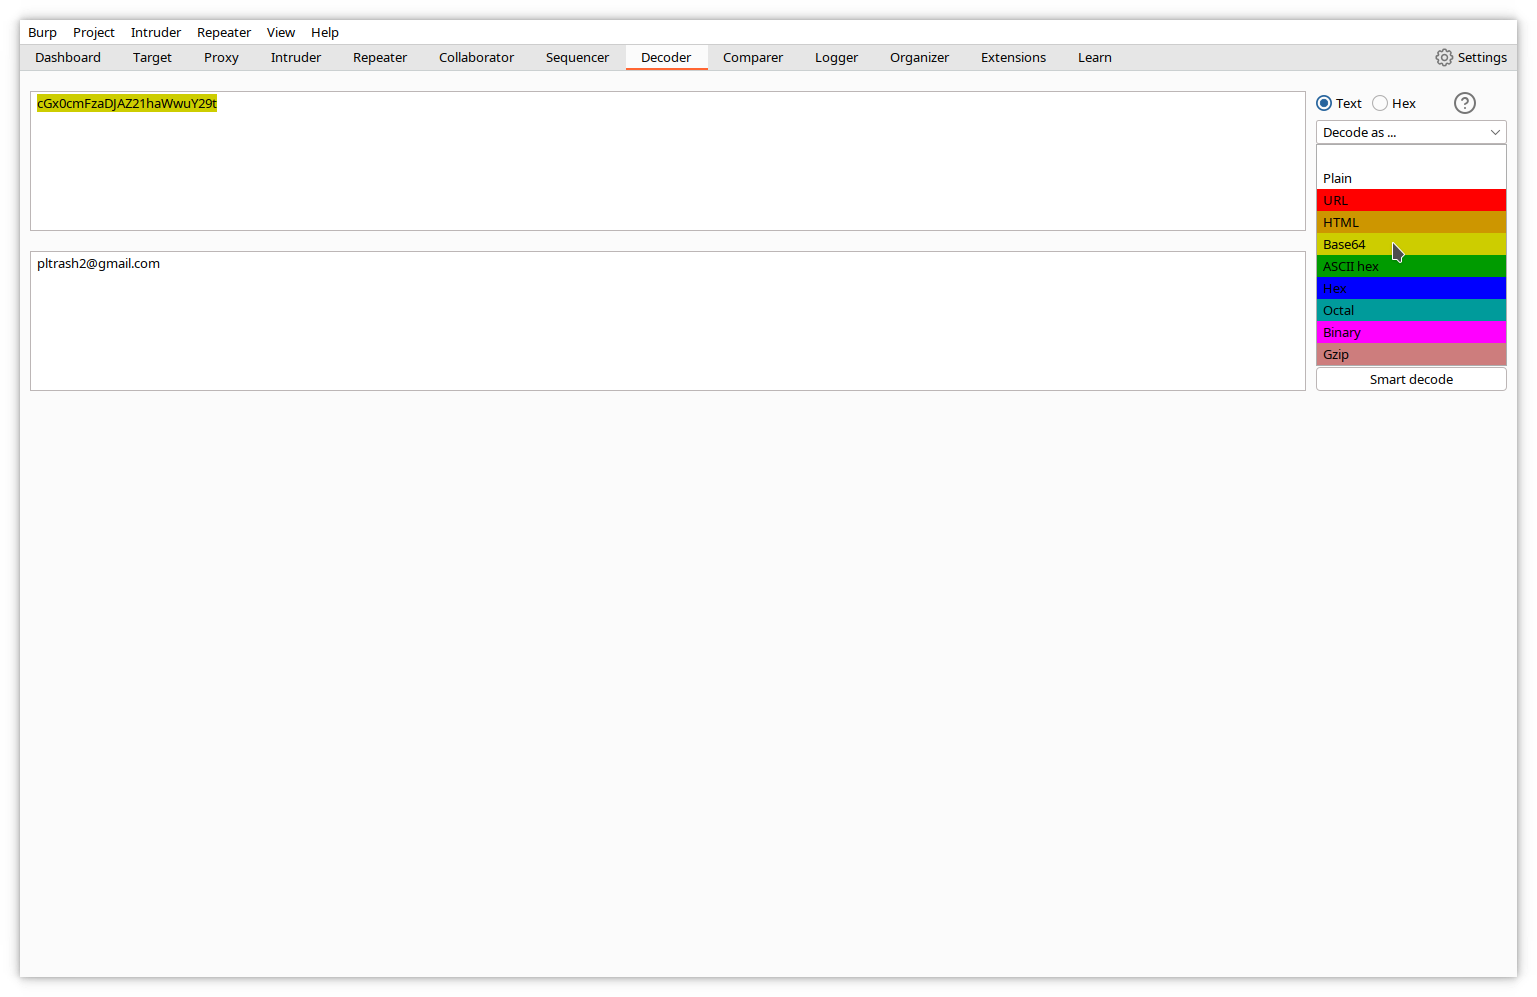
Decoder
As its name implies, Decoder is an encoder/decoder/hash calculator. It encodes/decodes from/to plain text, URL encoded, HTML, base64, hexadecimal, octal, binary, gzip, and computes hashes with many algorithms, including MD4, MD5, SHA-1, SHA-256…
Comparer
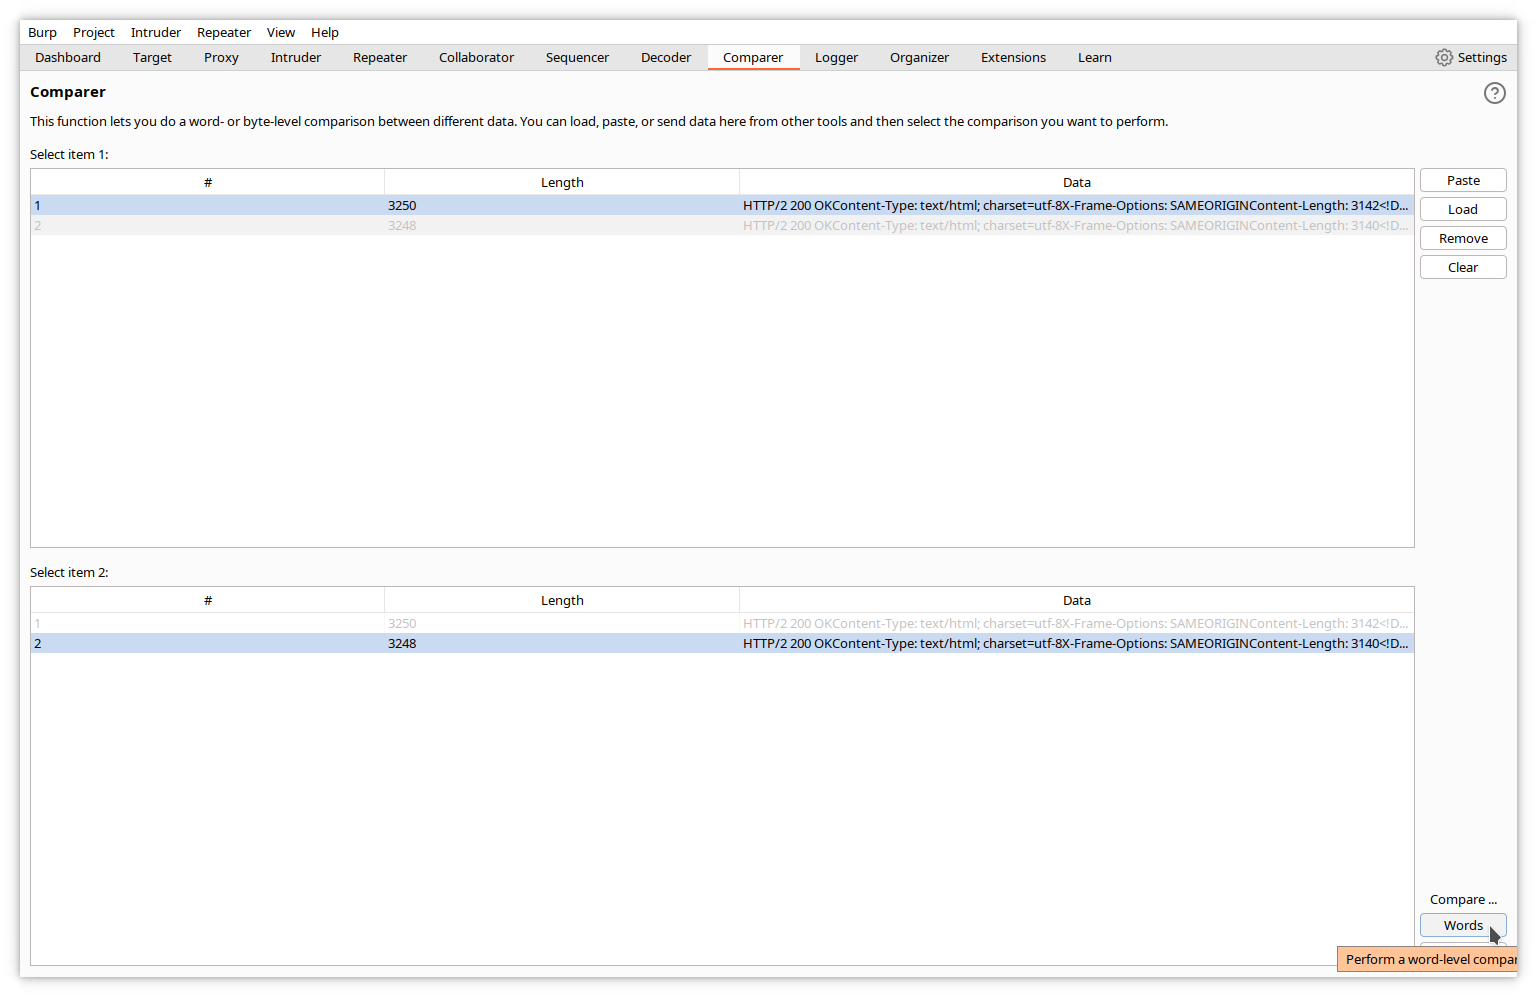
Comparer is a visual difference utility. You can send data from other Burp tools to it, or you can paste data or load it from files.
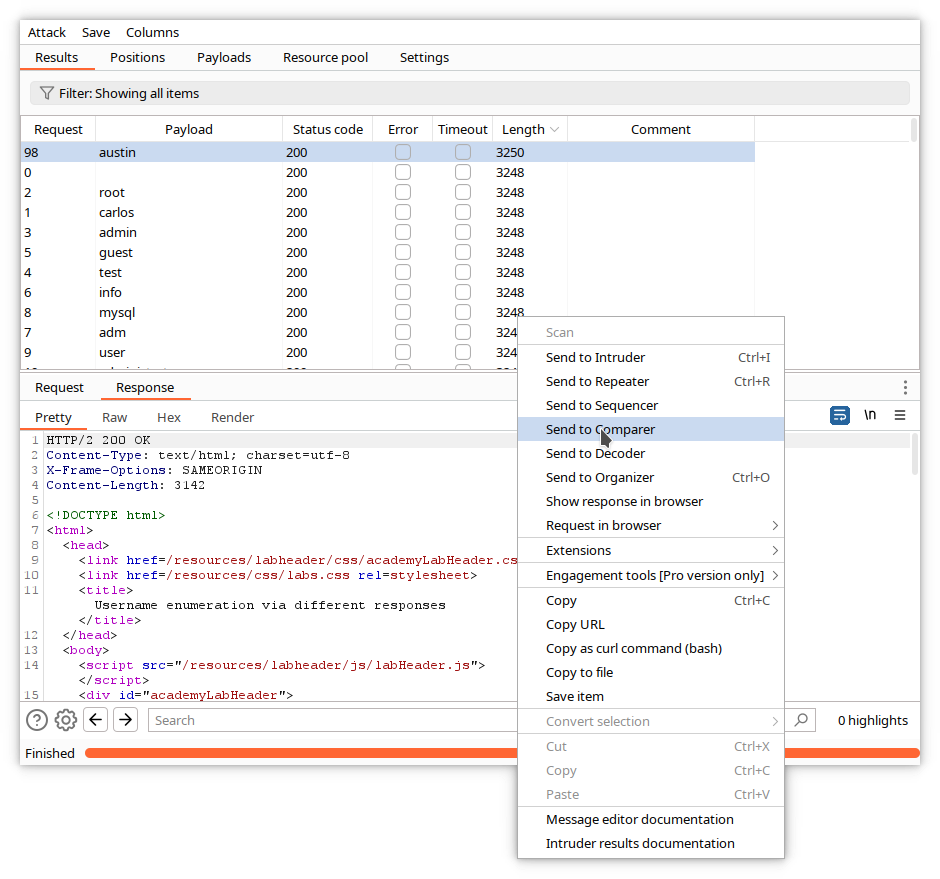
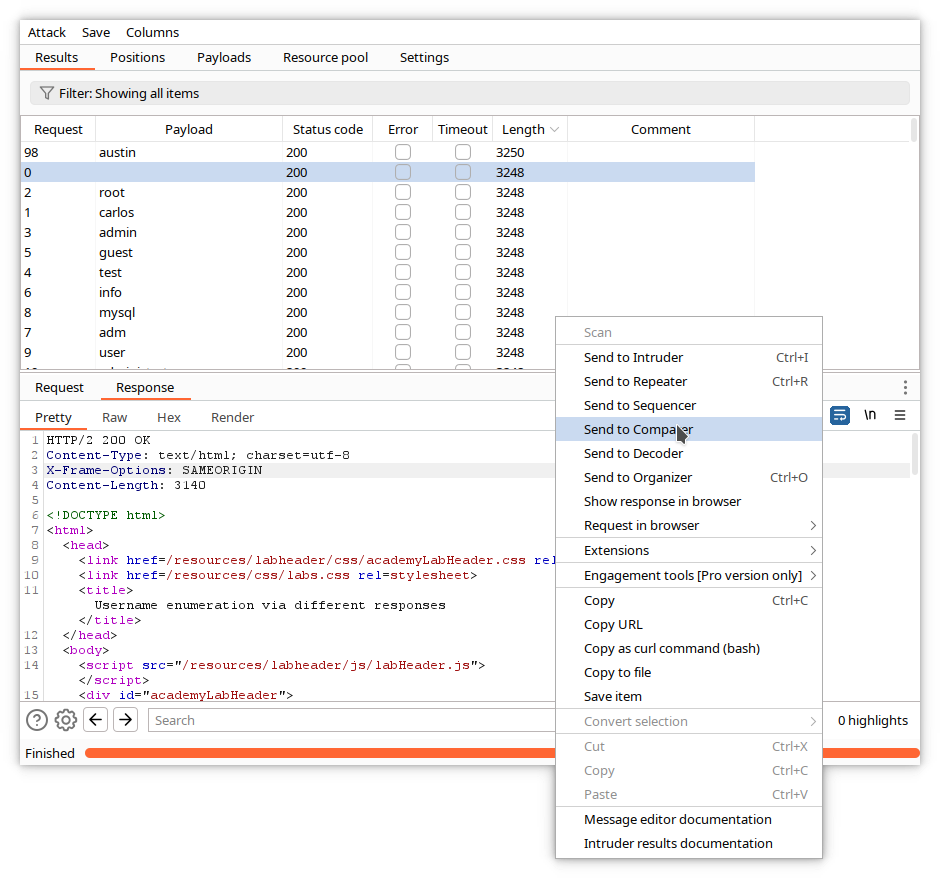
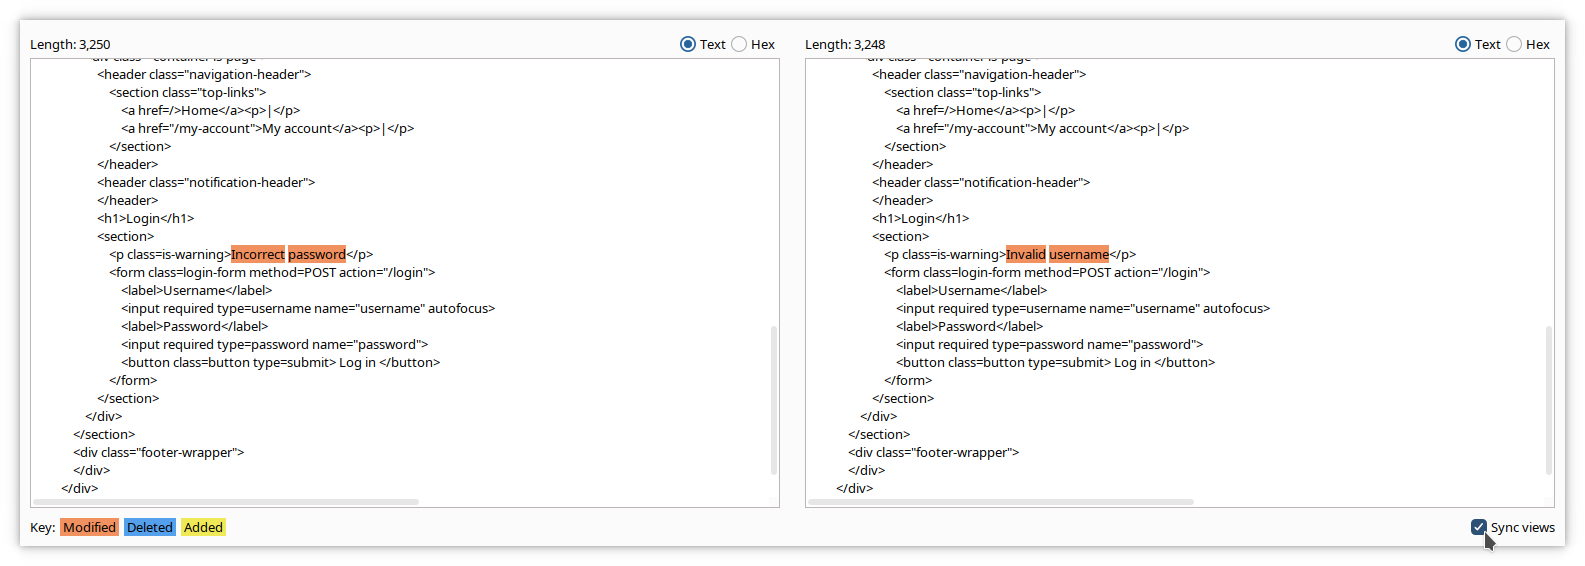
In the following example, we have sent the responses of our username attack described above and compared them in the 2 Comparer windows.
